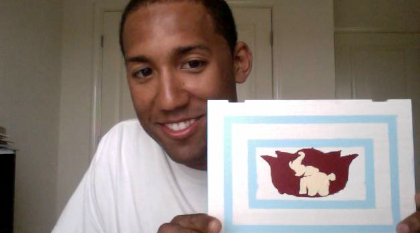
The Music Gift Box
Introduction:
A tutorial for a fun, inexpensive music box build. This is a completely "Robbie Walker original" design. I hope you enjoy this tutorial as much as I enjoyed creating it!
Quick Background:
While on a neurosurgery sub-internship at the Massachusetts General Hospital in Boston, MA, I met a remarkable person for whom this project was inspired. I decided to share the build as I think it is a fun, unique, and thoughtful gift idea for those who like to think outside of the box (no pun intended).
A "Music Gift Box" is a fun way to combine a typical gift card with gift giving as the box can be filled. The box can be completely customized to reflect the special aspects of the person you appreciate.
I have included a video tutorial along with detailed instructions below.
Have fun!
-Robbie
Materials (Tutorial Time = 00:02:30)
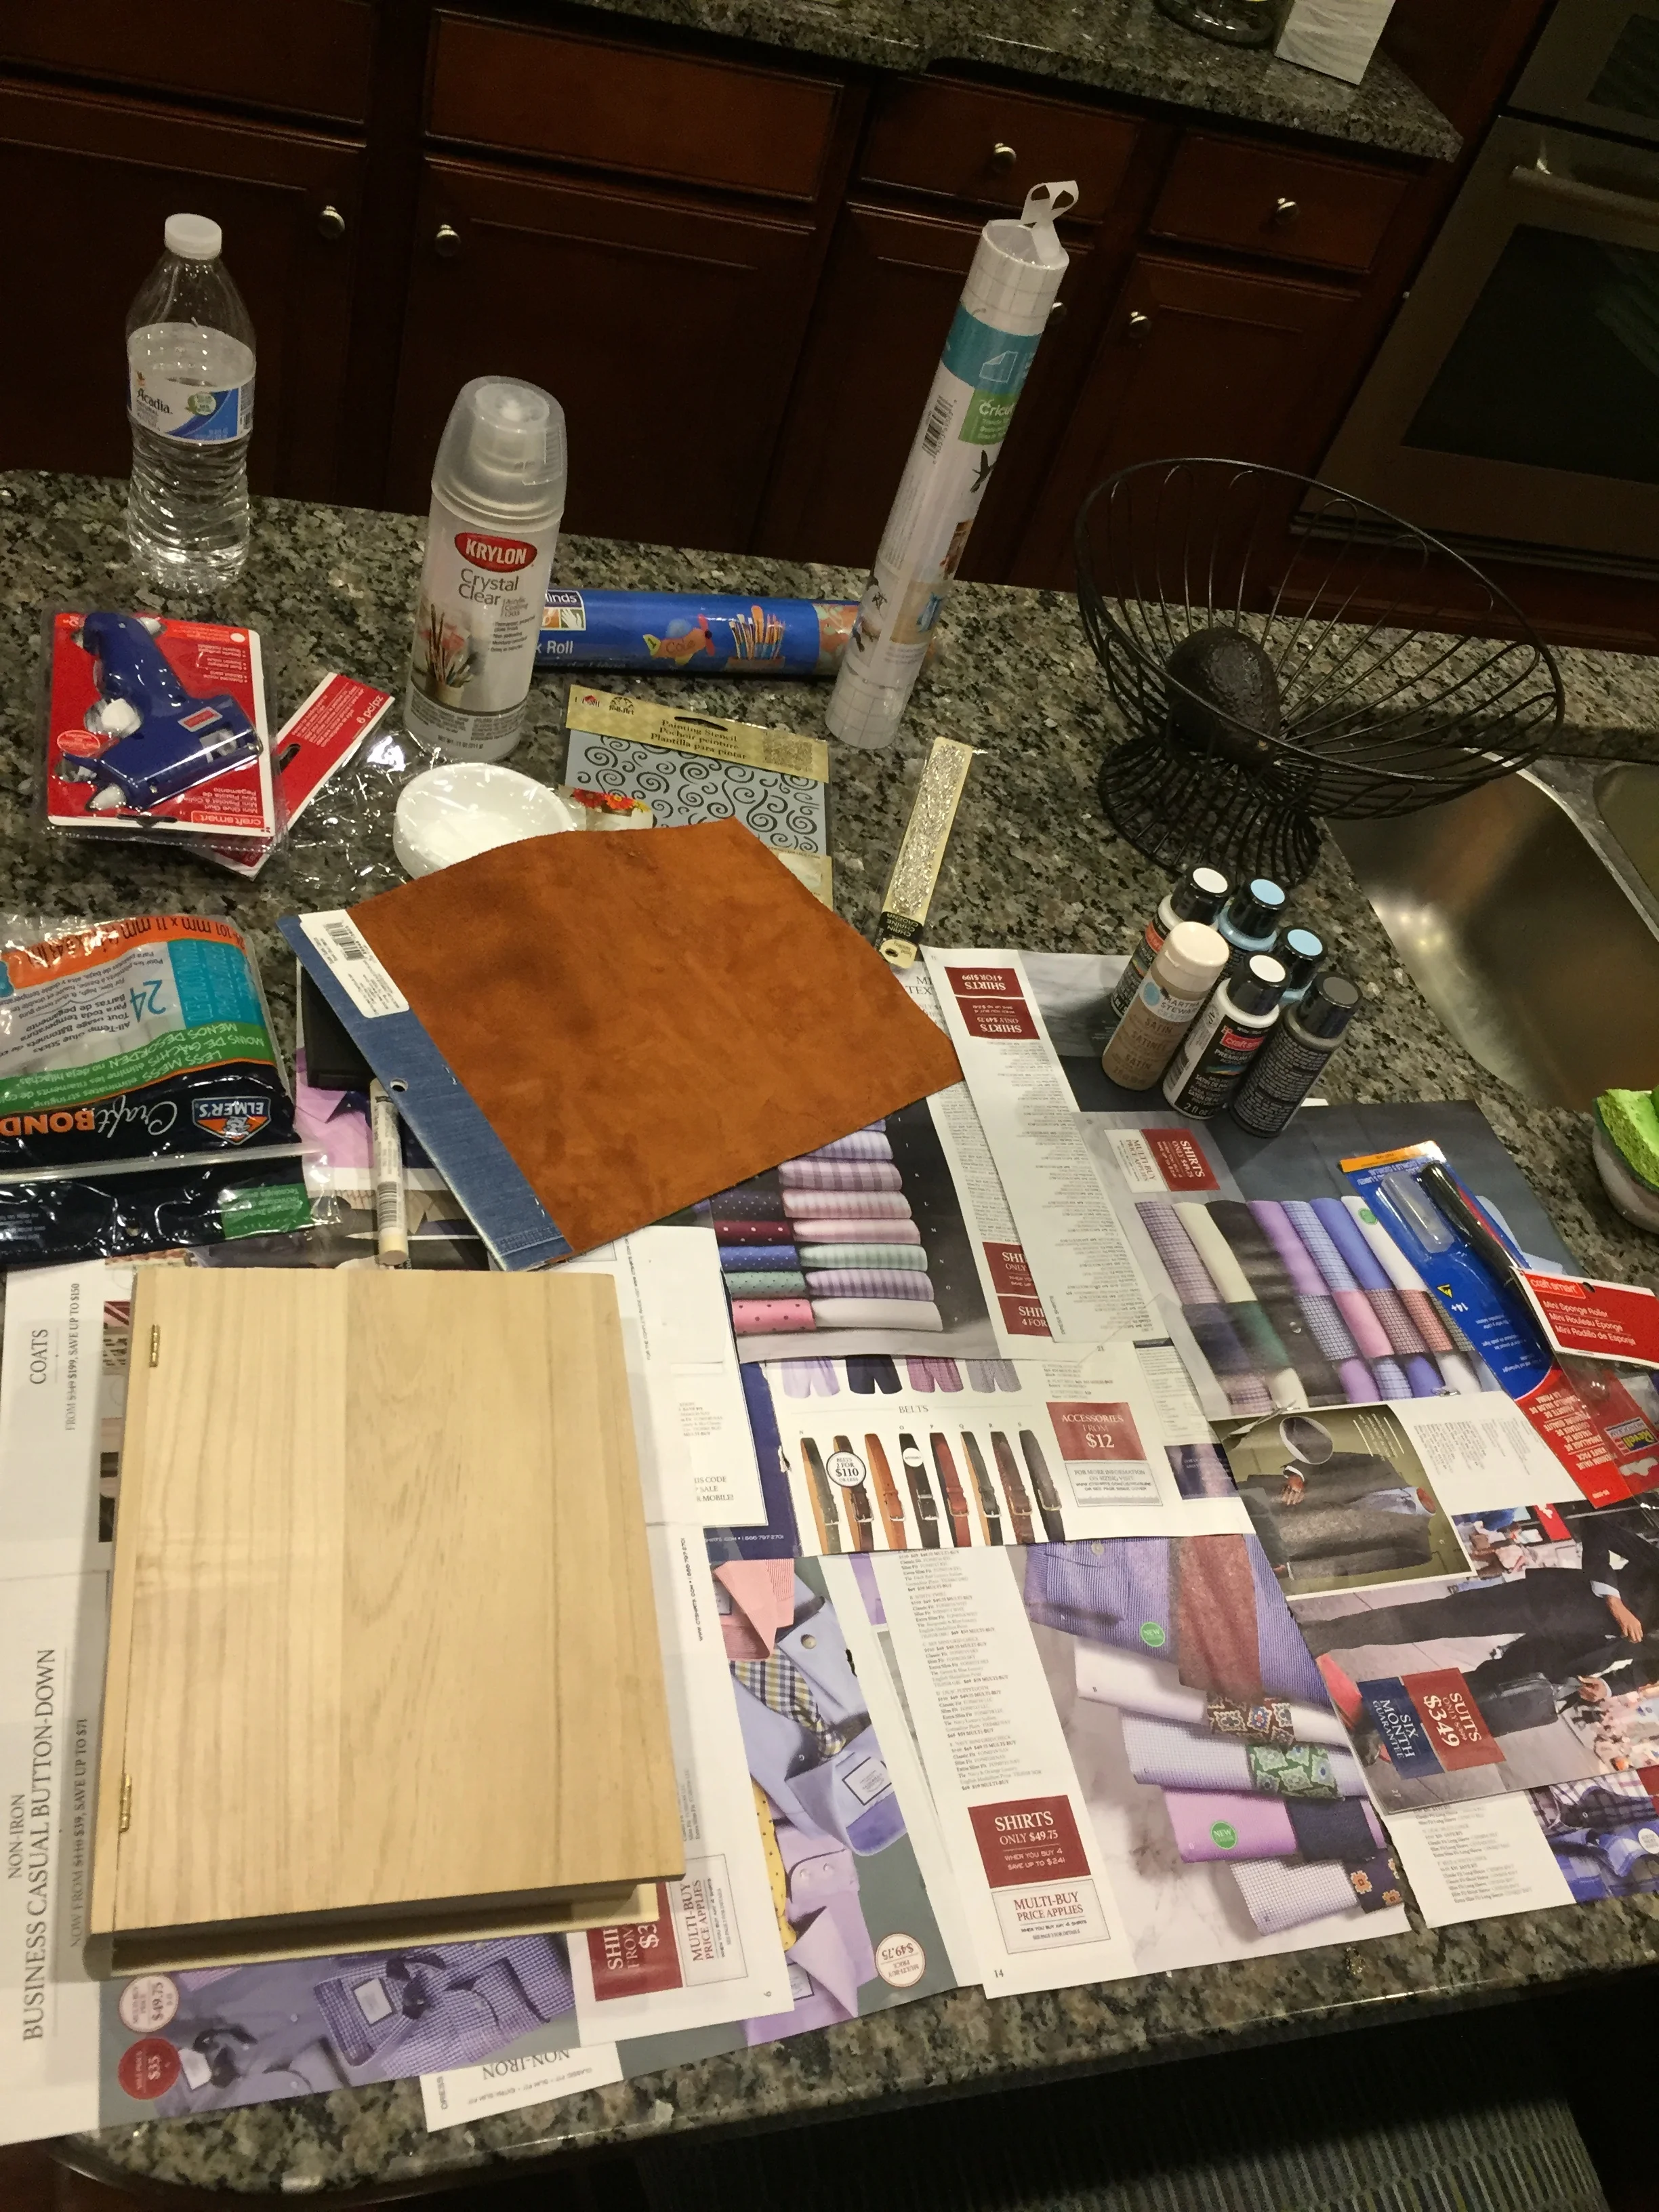
Key Materials
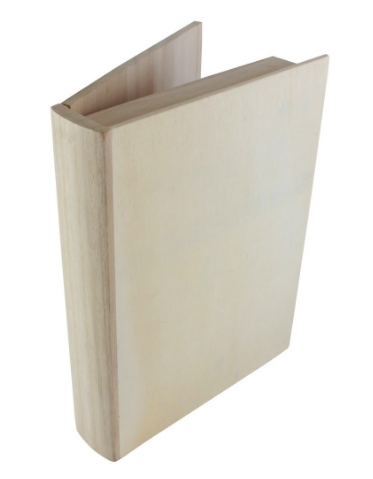
- Unfinished Wooden Box (either prebuilt or custom)
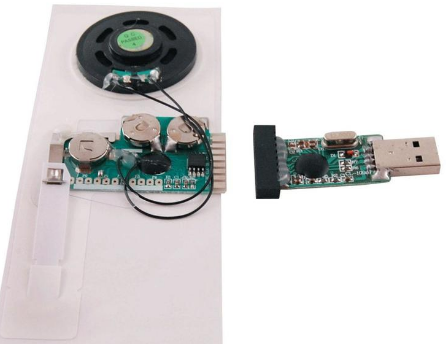
- Sound Module
- Brass Hinges
- Neodymium magnet
- Ceramic magnet
- Insulated copper wire
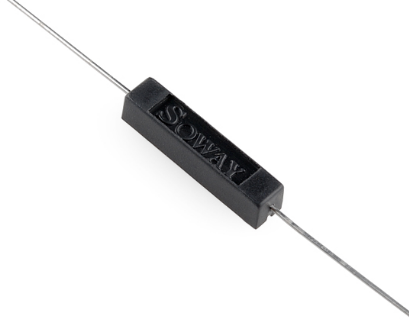
- Insulated Reed Switch
- Electrical Solder and Soldering Iron
- Wood Carving Set
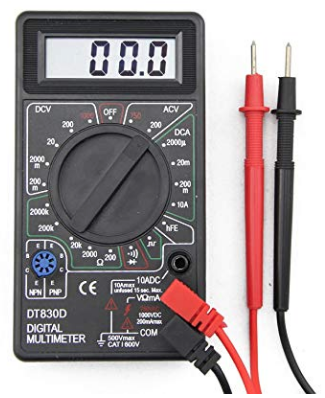
- Multimeter
- Super glue
- Plastic Wood
- Pliers (or Needle driver)
- Exacto knife
- Small picture frame (used 5x7)
- Paint (recommend Satin style paints)
- Paint brushes (used foam rollers and foam brushes)
- Painter's tape
- Krylon Acrylic Crystal Clear
- Fine Sandpaper
- Metal Jewelry Chain
- Box Lining (I used leather)
- Fabric glue such as E6000 or hot glue
Methods
Prepare the Box for the Circuit (Tutorial Time = 00:09:58)
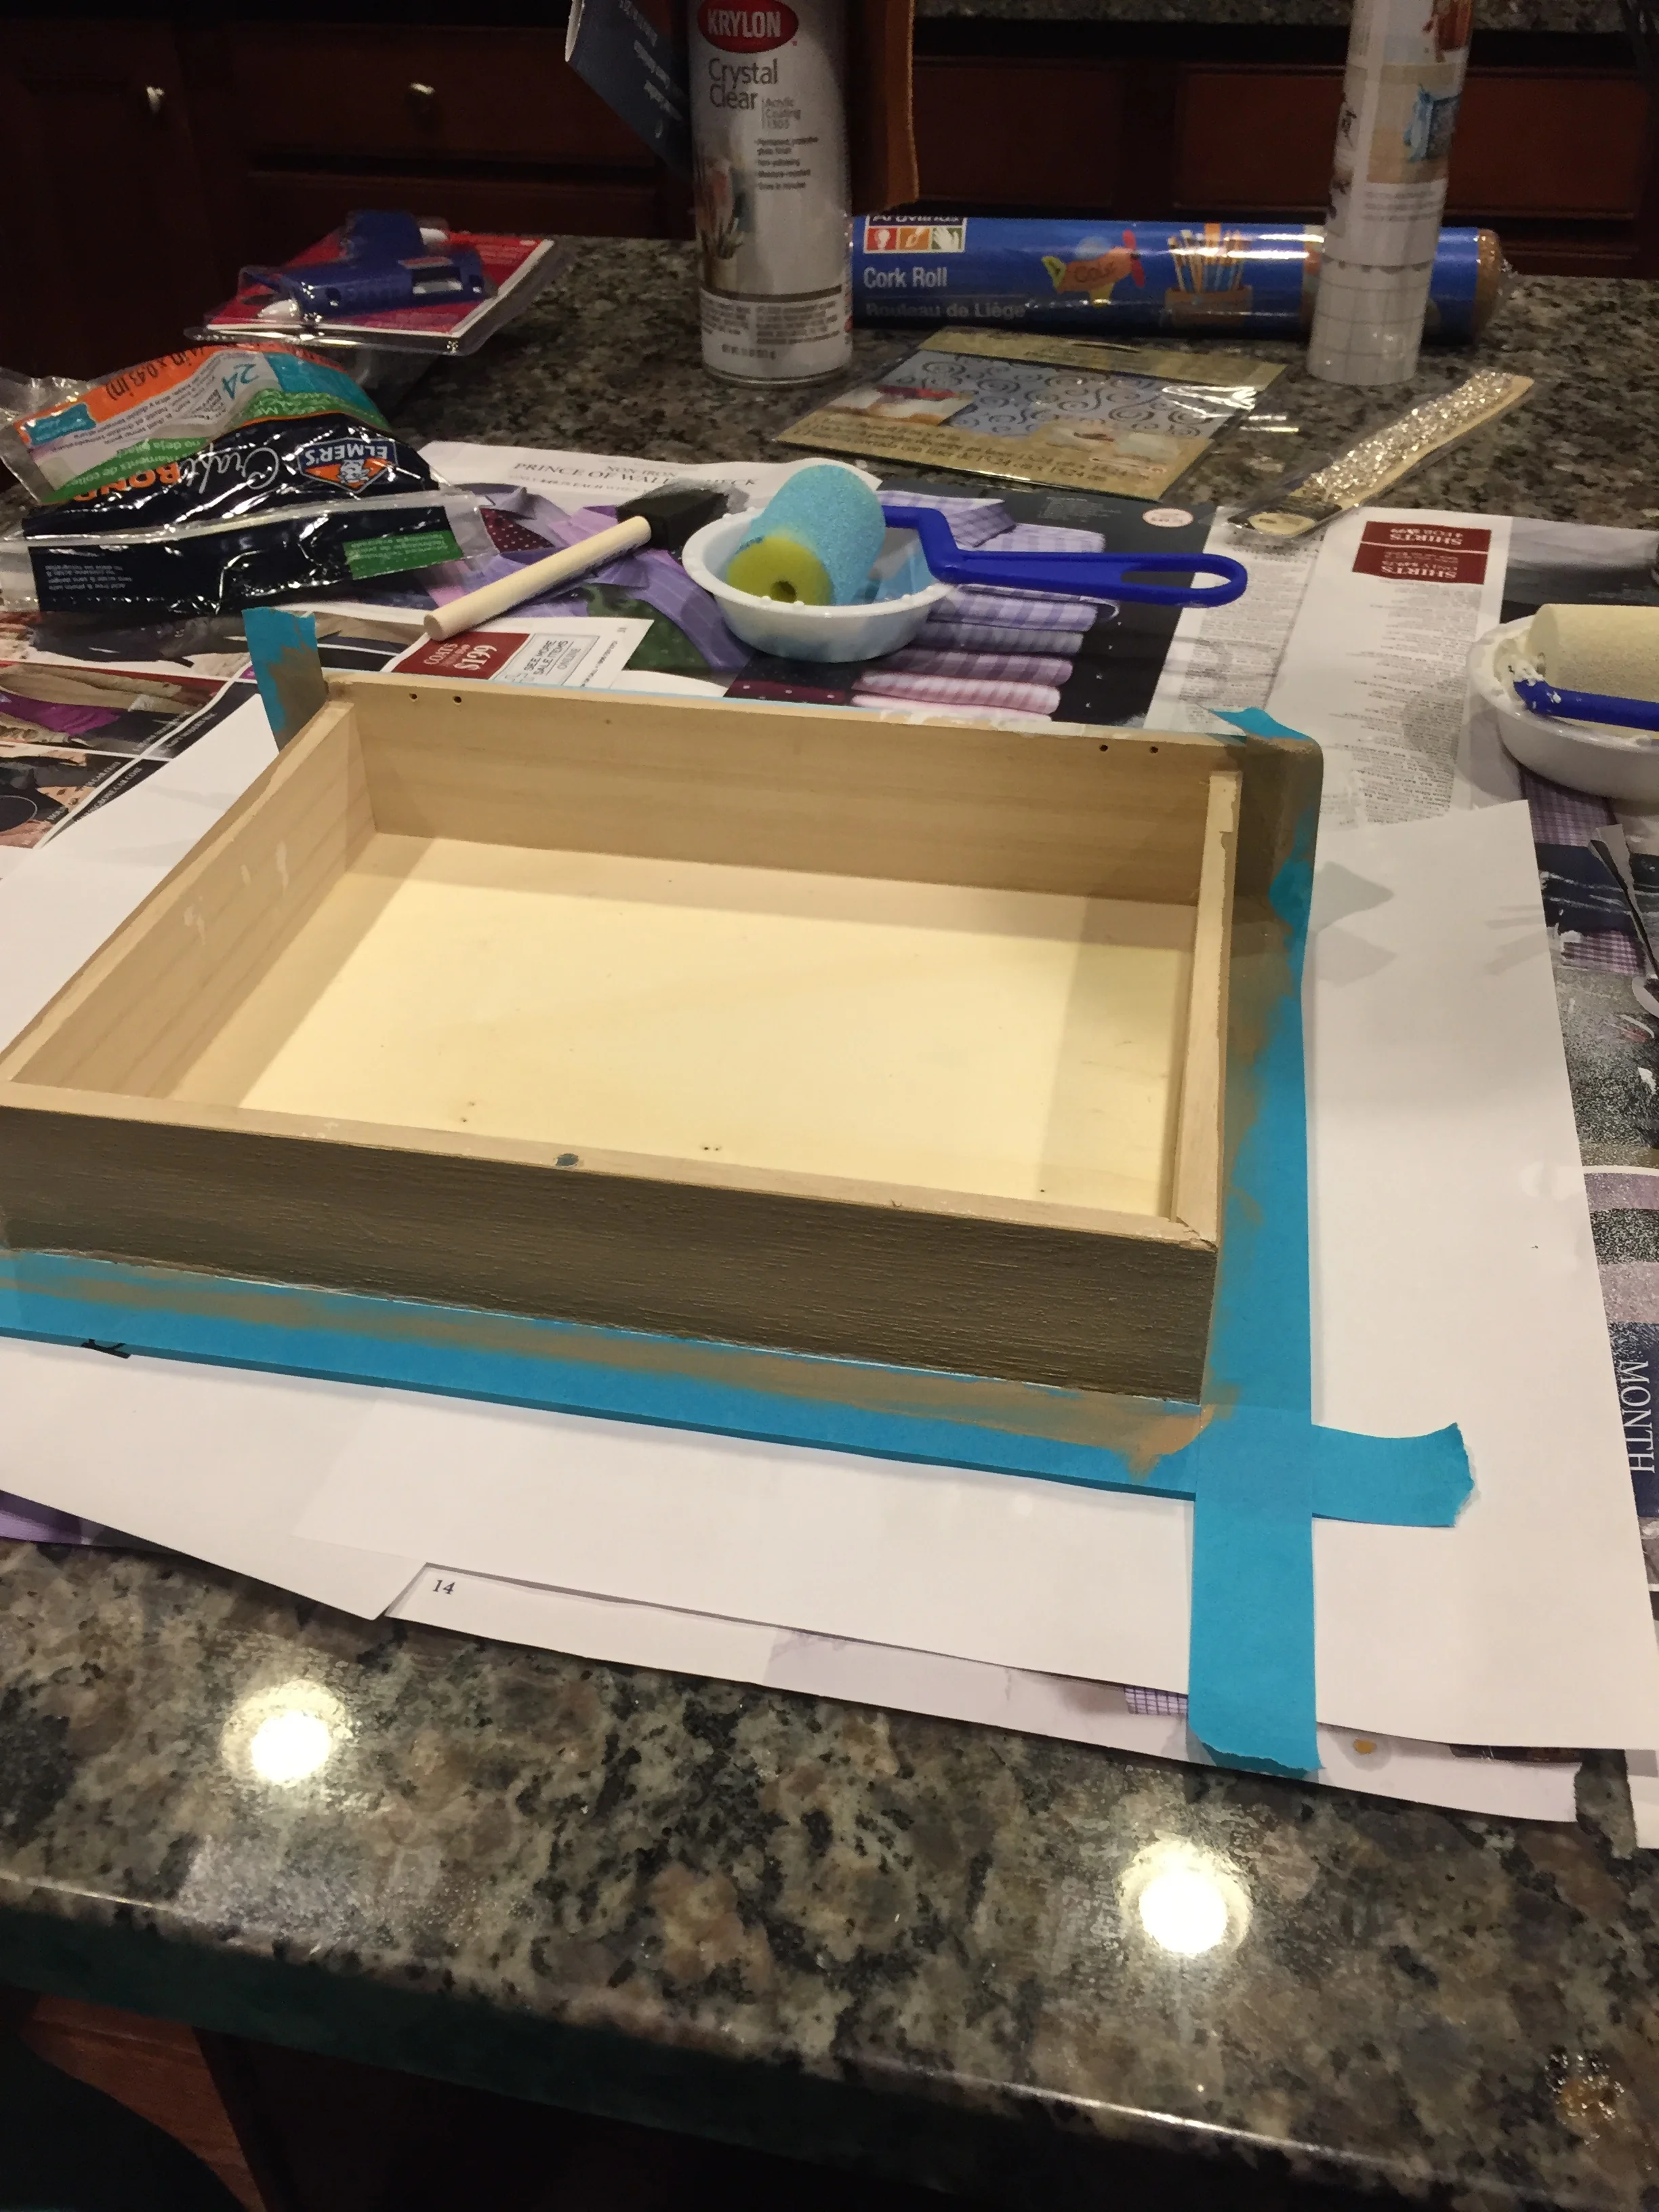
- Remove the lid from the base of the box. (This will make handling box and painting easier.)
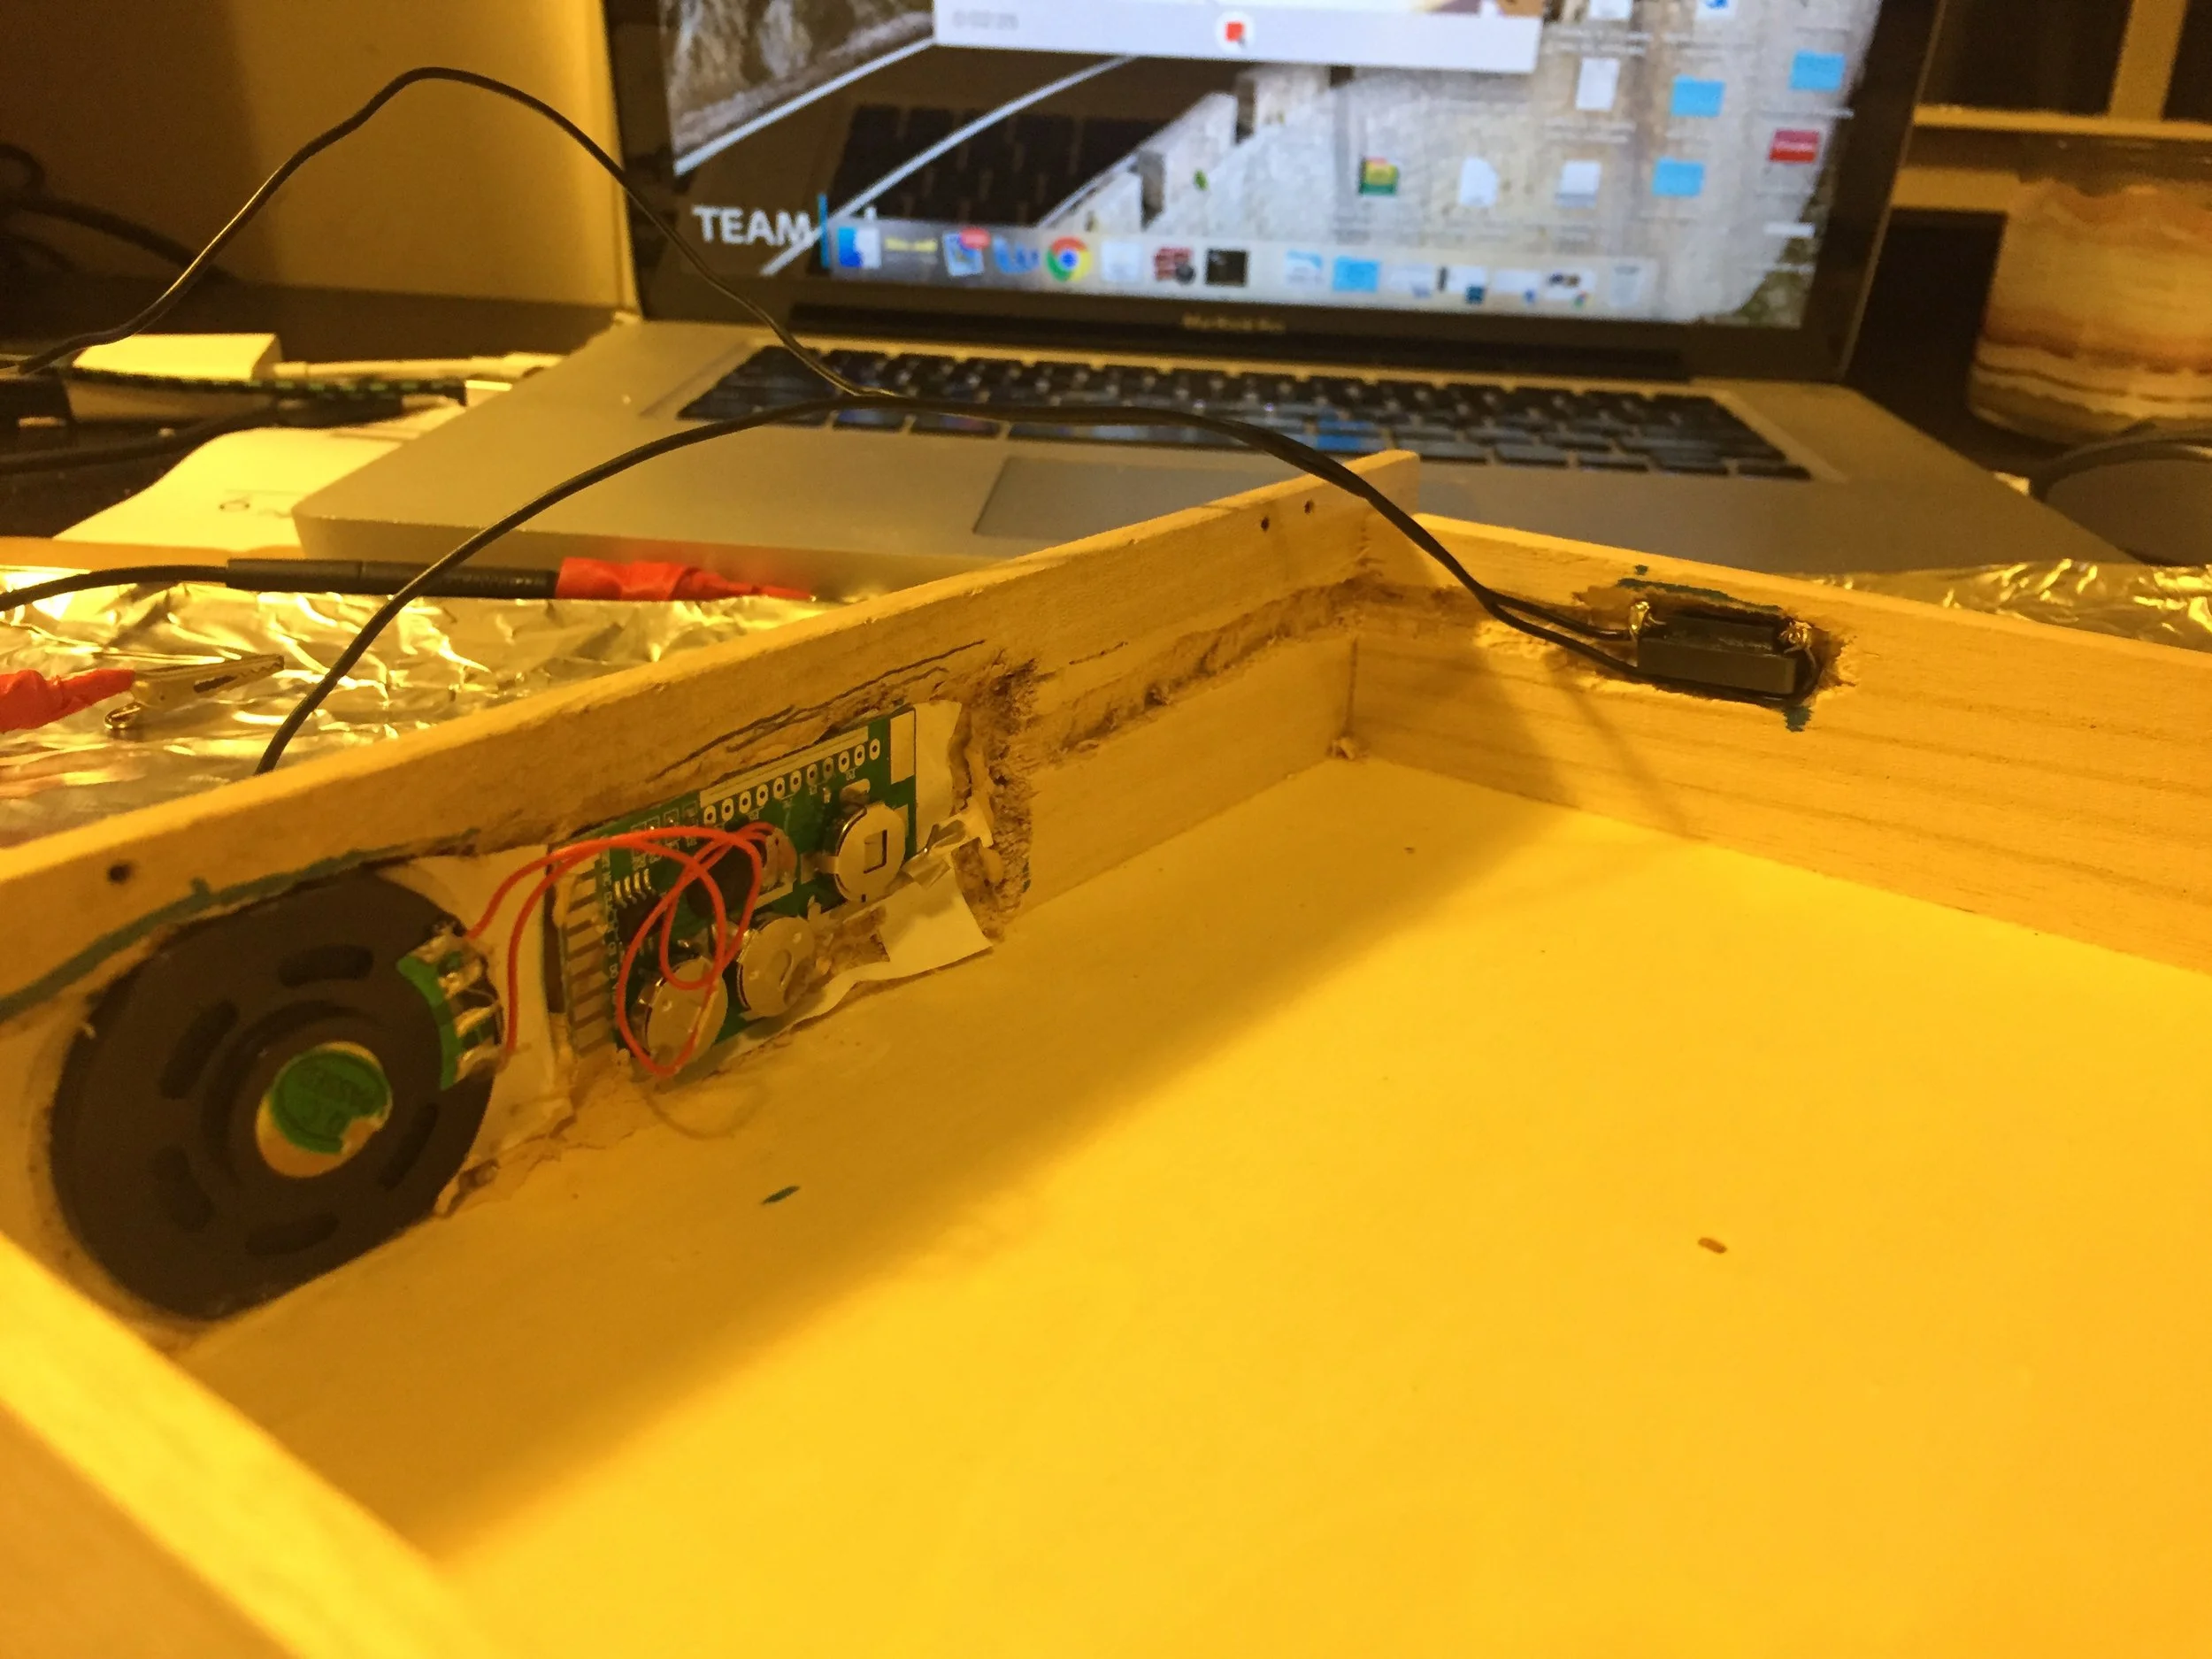
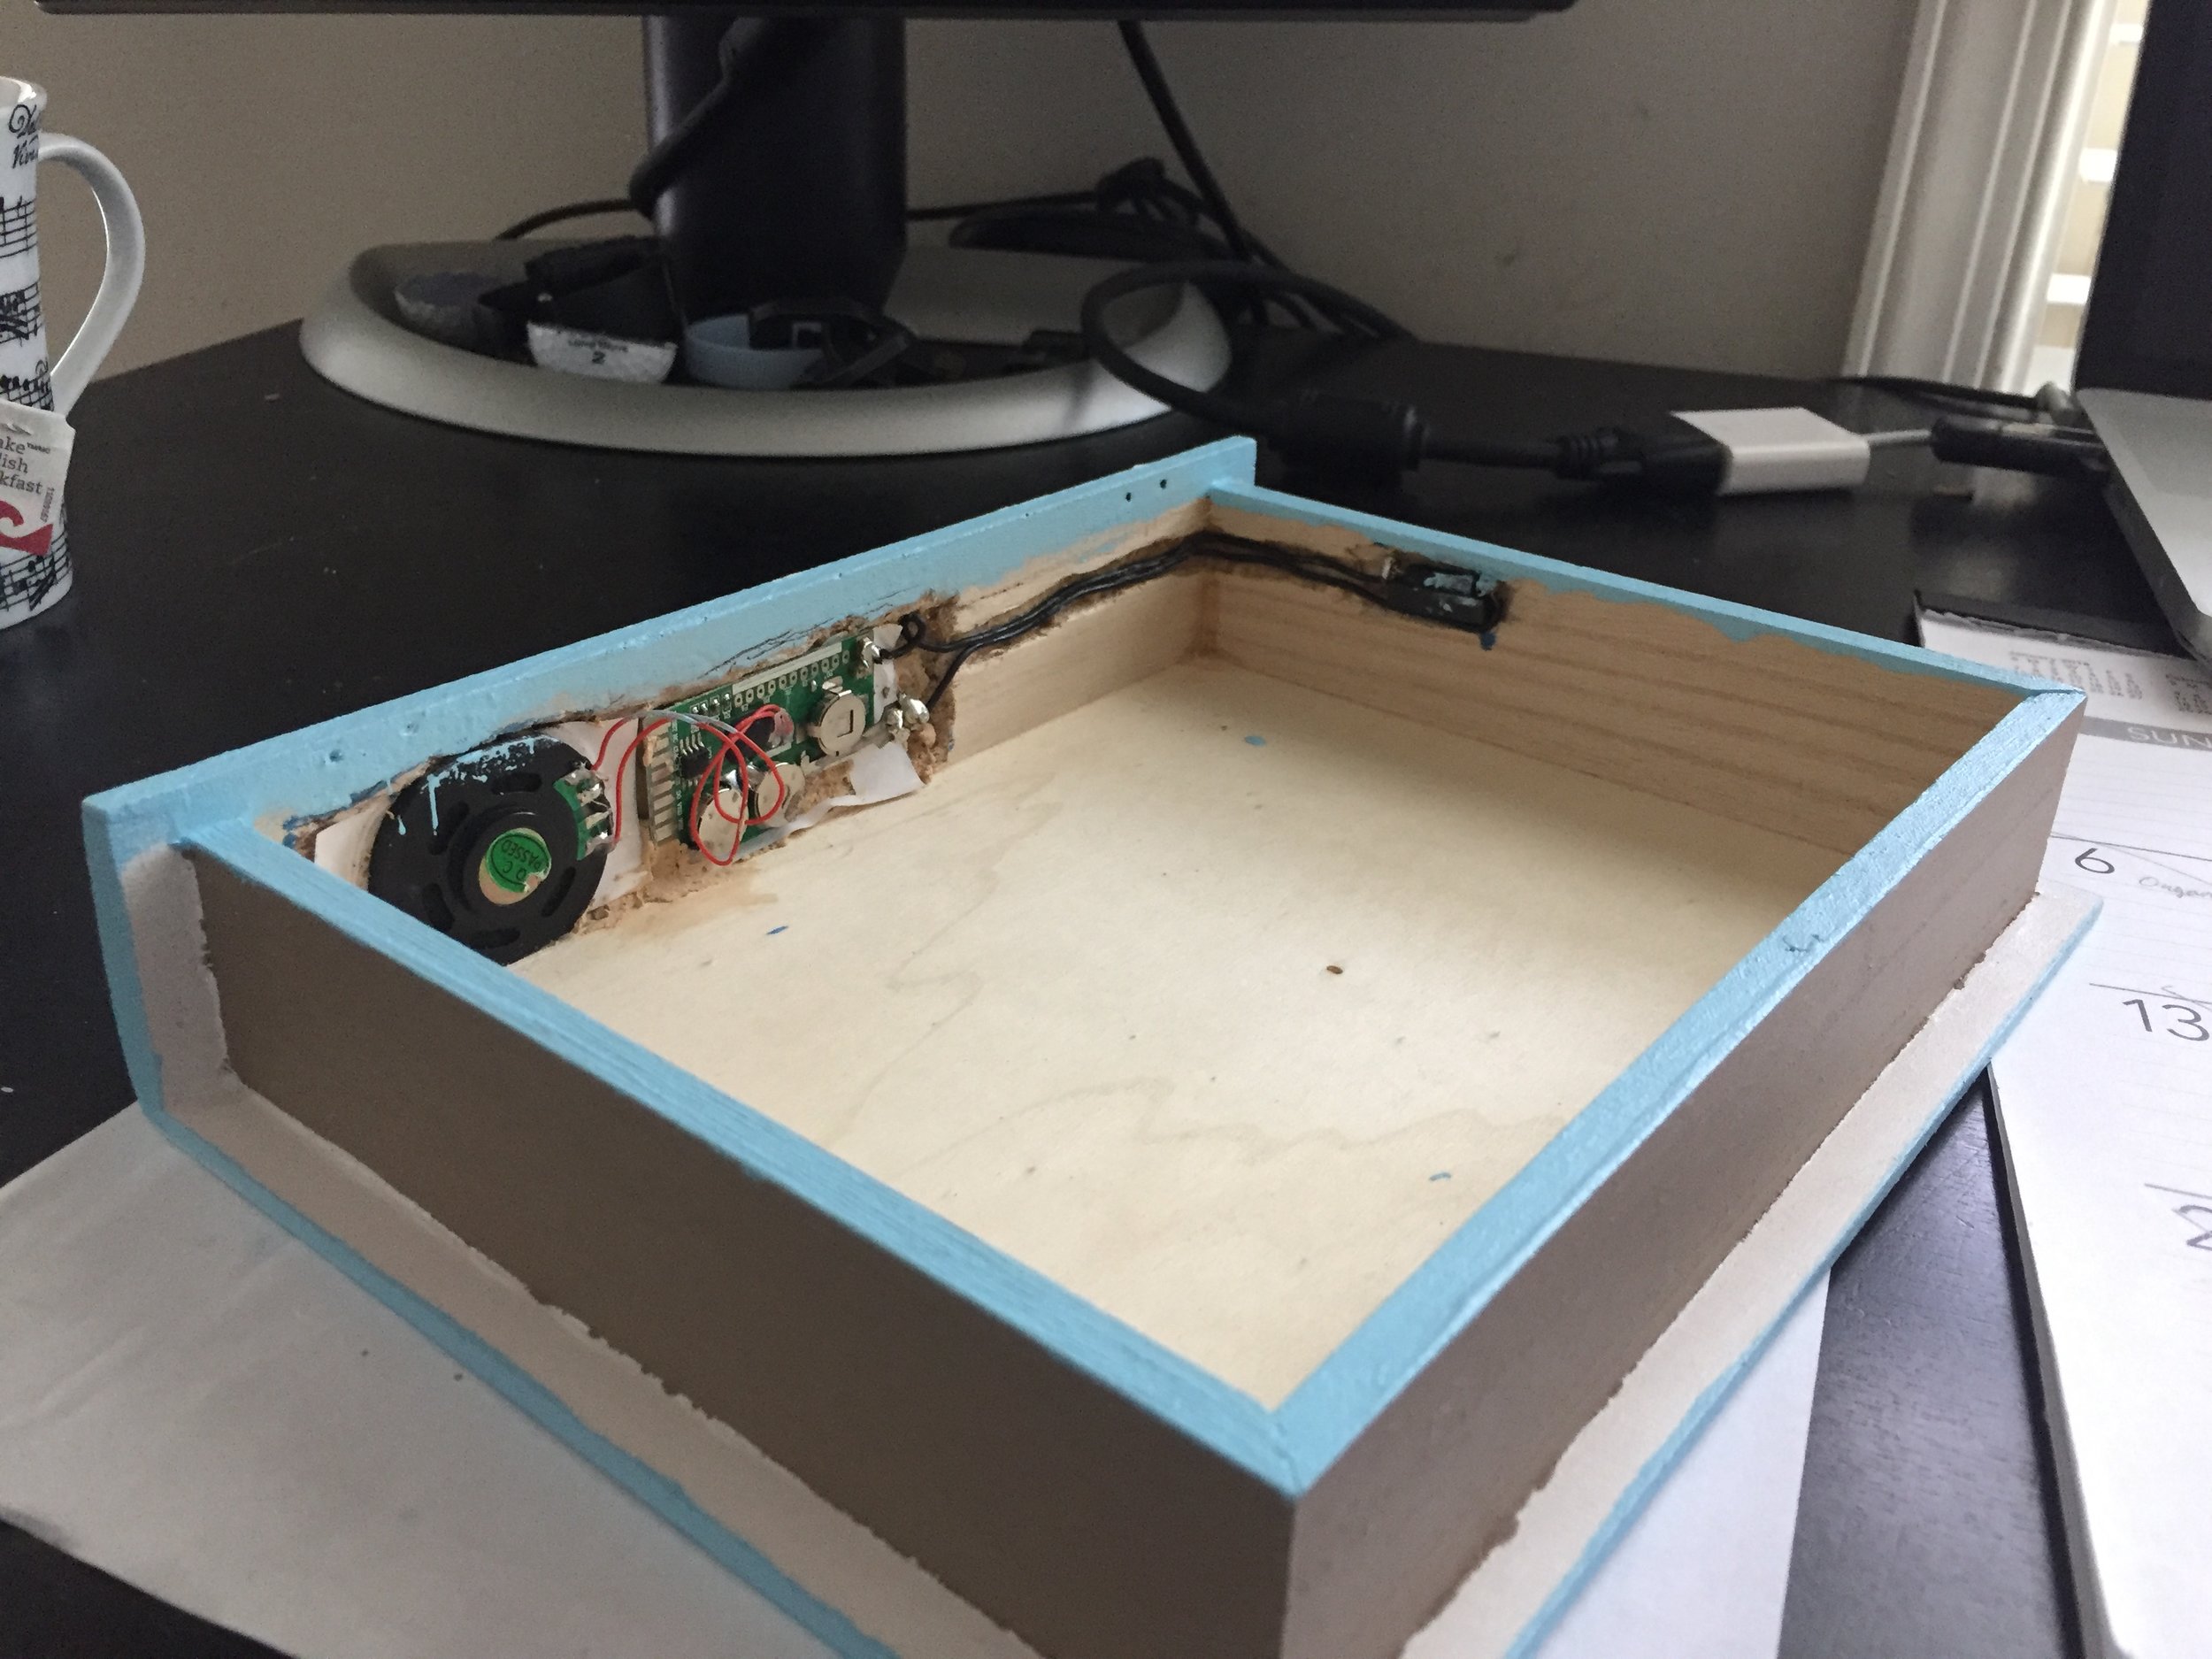
- Use a sharp carving tool to create a recess along the posterior wall large enough to house the sound module.
- Create an additional recess along a lateral sidewall large enough to house your ceramic magnet with stacked reed switch.
- Connect the posterior and lateral wall recesses with a narrow recess wide enough to hold two copper wire widths
- Note: The recesses need to be deep enough that when inserted the electronics will sit flush with the non-recessed wall. If you dig too deep and form a hole, fix this by use of Plastic Wood. Fill the hole on both sides and let sit for a few hours. Then sand the external wall until smooth.
Inserting the Sound Module (Tutorial Time = 00:28:53)
- Follow the instructions included with the sound module you chose and program the song of choice to it.
- Free the speaker from the microcontroller by cutting the white adhesive between the two devices.
- After testing that the song plays when the two metal contacts touch, remove the sliding white paper divider.
- Use a small pliers (or needle driver...works better) to bend flexible metal contact point downward and away from the metal plate embedded in the PCB board. There should be no sound playing.
- Test that the module integrity is intact by touching a copper wire to the bent end and embedded end so they are connected. Sound should play.
- Fill the posterior wall recess with plastic wood. This is to provide extra stability and strength to the carved out wall.
- Use super glue to cover the back of the module and insert the sound module so that the microcontroller is positioned closest to the lateral edge that will have the reed switch.
- The sound module should sit comfortable within the posterior recess with no part extending out of the recess.
- Wipe away any excess plastic wood that may have been pushed out after insertion
- Let dry for a few hours
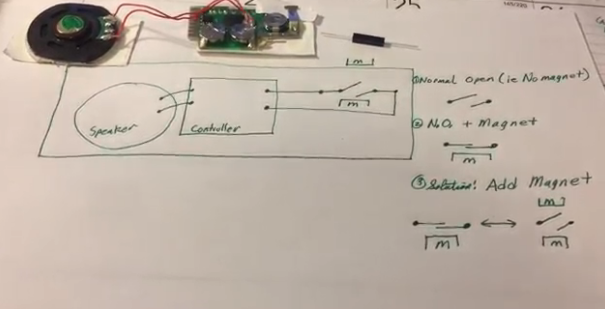
Building the Normally Closed Reed Switch (Tutorial Time = 00:12:16)
- Use your multimeter (MM) and magnet to check that your insulated reed switch (RS) is in good working condition
- Use a narrow pliers (or in my case needle driver) to coil the wire ends of the RS. Make the coils sit-up vertically so they will not touch the magnet.
- Re-test the RS using your MM and magnet to ensure no damage to the inner metal filaments
- Attach the base of the RS to the flat length of the ceramic magnet using a "control tip" super glue applicator. Wait a few minutes until dry.
- Re-test the RS with the MM. You should hear continuous sound. Pass a neodymium magnet over it and the sound should stop.
- Congrats you just made the ON/OFF switch!
Connecting the RS to the Sound Module (Tutorial Time = 00:28:52)
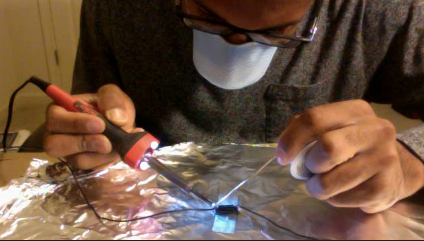
- Prepare the Soldering area. You should do this outdoors. If you must do it indoors, please be careful. Open windows, turn on a fan for ventilation, and where a mask to avoid fumes. Cover a cardboard sheet with two layers of tin foil. Tape the foil in place to avoid slipping.
- Power up the soldering iron and allow it to warm up.
- Place the RS switch in the middle of the soldering field with a piece of Scotch tape to hold in place.
- Measure out two copper wires from the edge of the Sound Module to the RS recess.
- Use a wire cutter to remove about a 1/2 inch of insulation from one side of both wires.
- Insert the bare wire end into a metal loop on the RS and wrap the free end so that the wire is firmly connected to the RS. Repeat for the other side.
- Solder the ends of the RS so the wire will be permanently affixed to the RS.
- Use the MM to check that the integrity of the RS is preserved by checking the circuit both at the ends of the RS and the new wire ends.
- If everything checks out, insert the RS/Magnet system into the lateral box wall recess fixing it to the wall with Super Glue. Run the most anterior backwards and underneath the magnet.
- Run both wires toward the Sound module.
- Solder one wire to the bent metal contact point on the Sound Module
- Solder the other wire to the embedded metal point on the Sound Module
- Music should be heard at this point as the circuit is complete! Use a neodymium magnet to the check that the ON/OFF functionality is working by passing this magnet over the RS. Music should stop at a specific point. Record this point and measure it on the lid.
- Use your carving tools to cut out a recess on the lid the same size as the neodymium magnet
- Do not leave the magnet in place yet.
- Use Super Glue to hold the wires in their tract along the edge of the box.
- Congrats you've built the circuit and the music box! Now time to decorate!
External Design:
- Painting (Tutorial Time = 00:38:20)
- Use Sandpaper to smooth out the external surfaces of the box
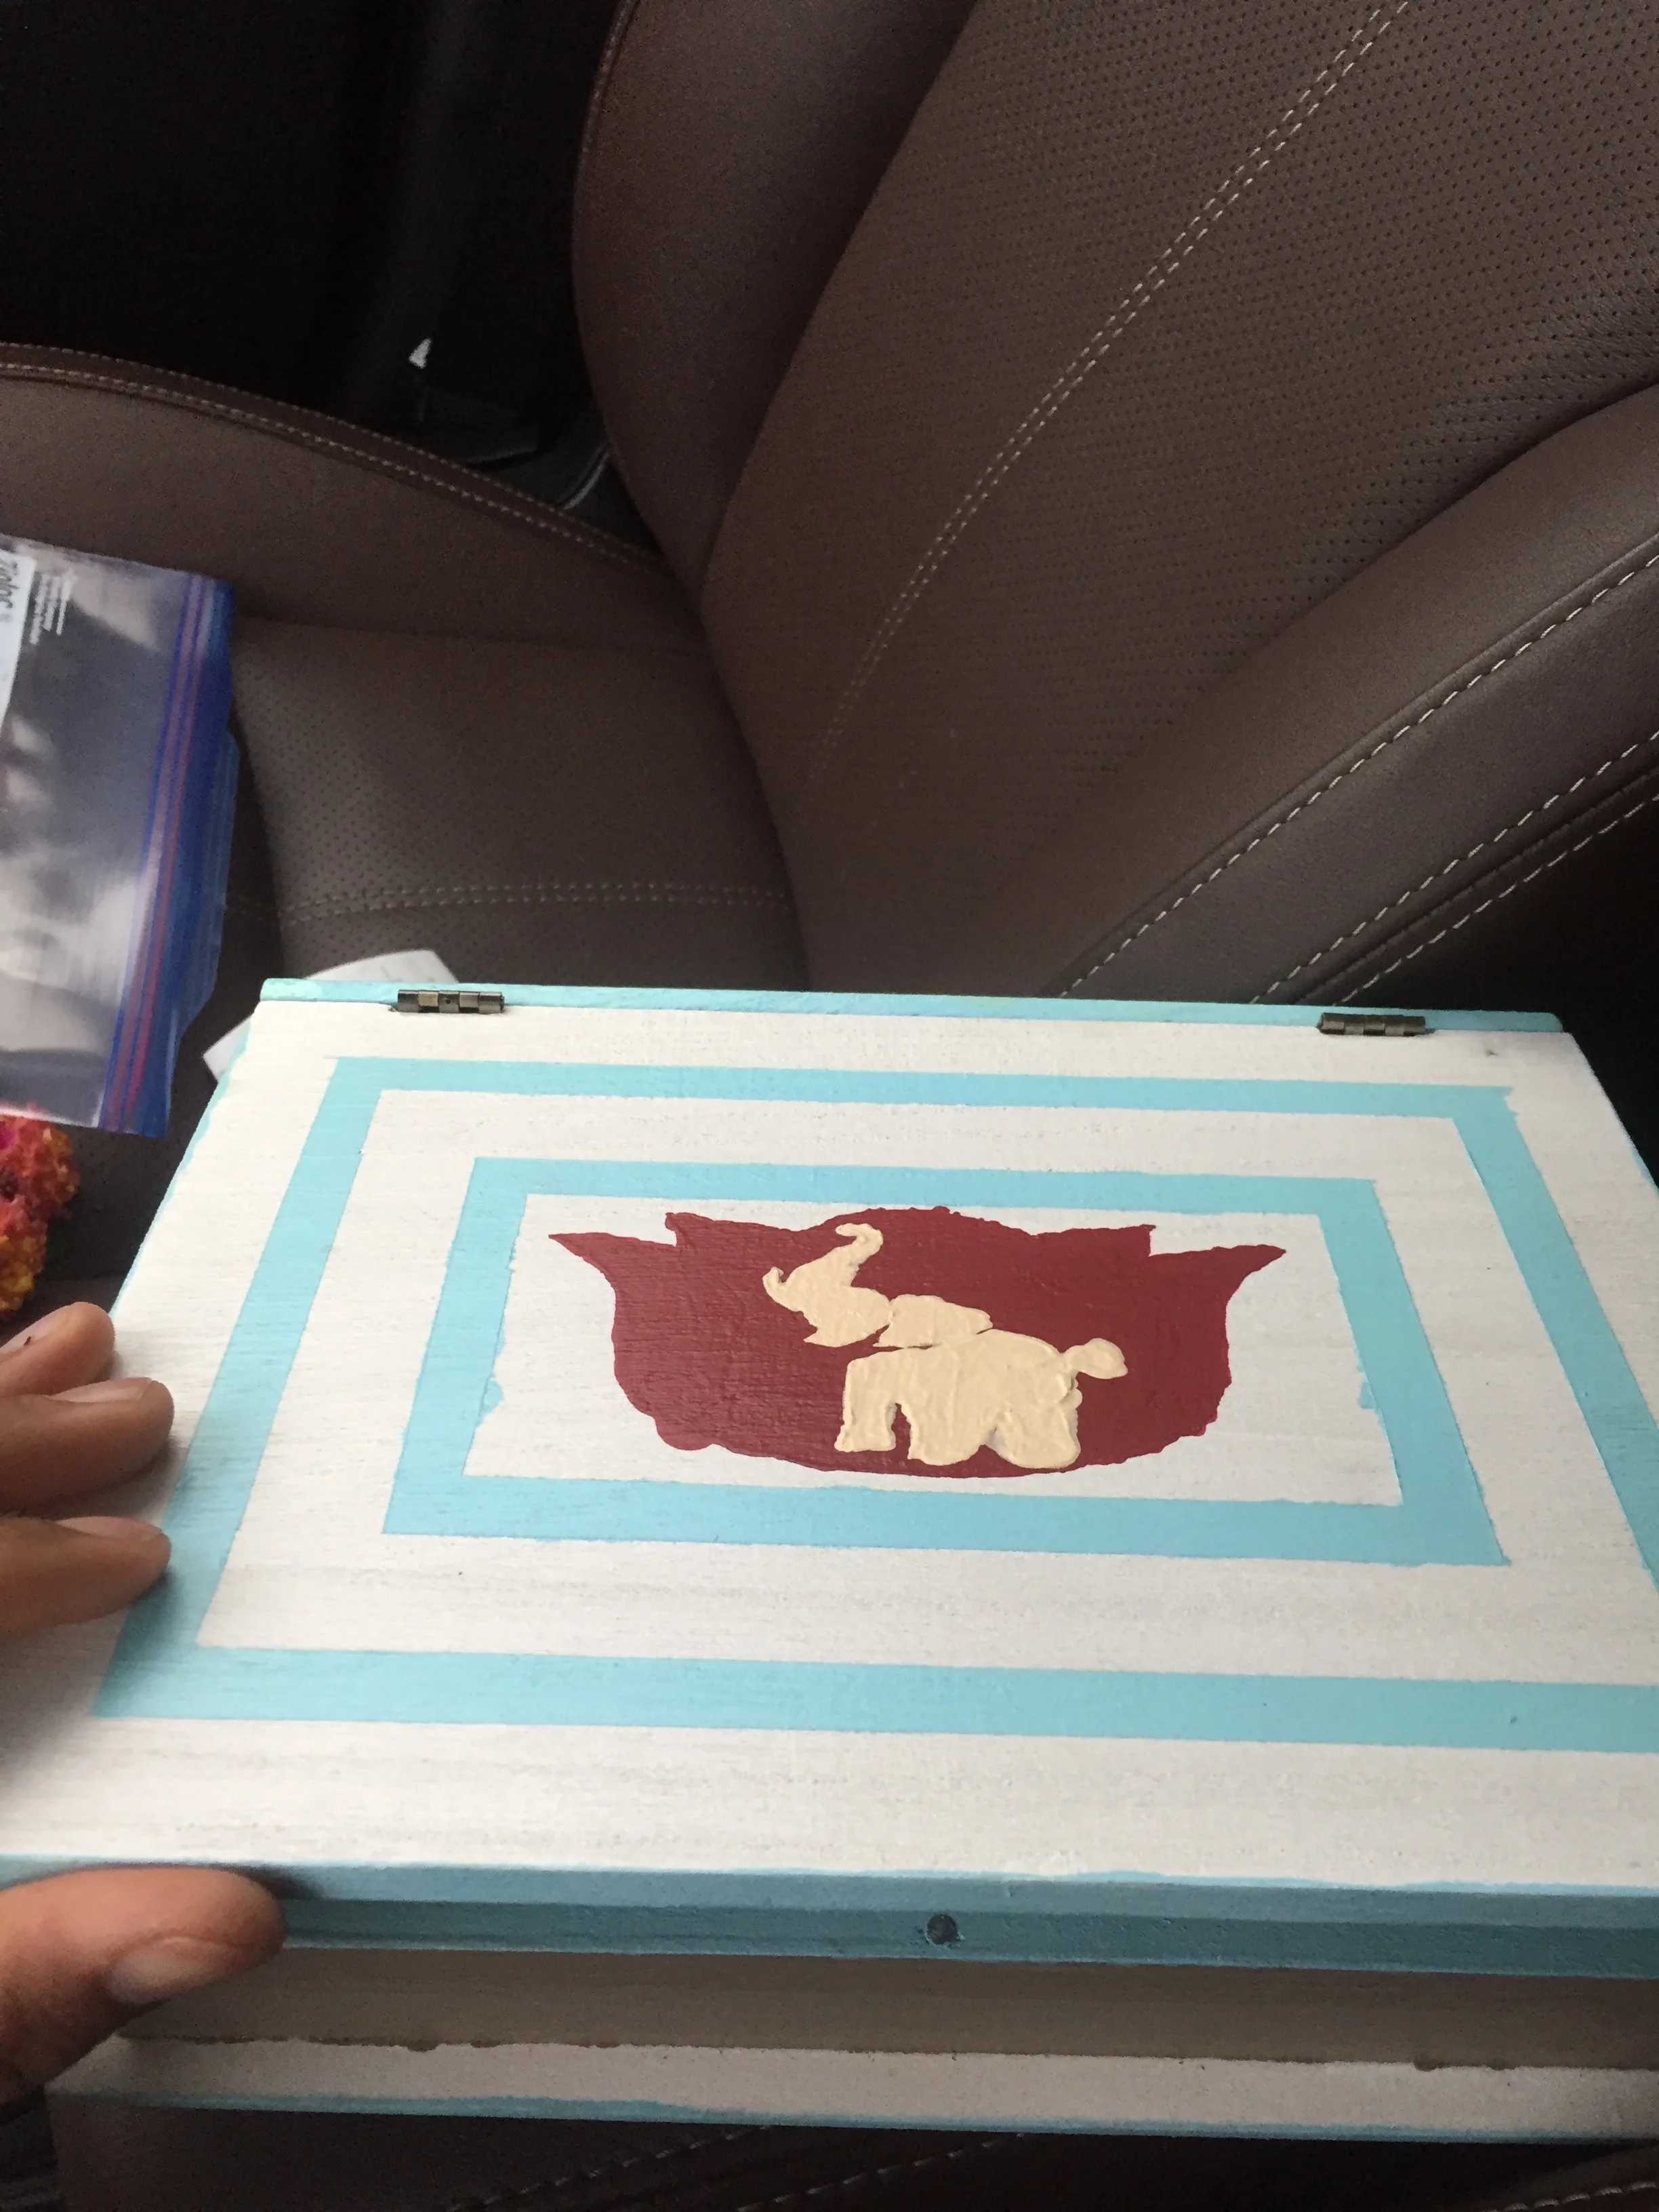
- Using rollers and paint of choice, do 2-3 coats letting the surface dry before applying the next coat.
- If using multiple colors, I recommend laying down a base color (for me that was white). Then use Painter's Tape to protect and cover already painted areas. Also can use Painter's tape to create designs such as vertical lines or squares.
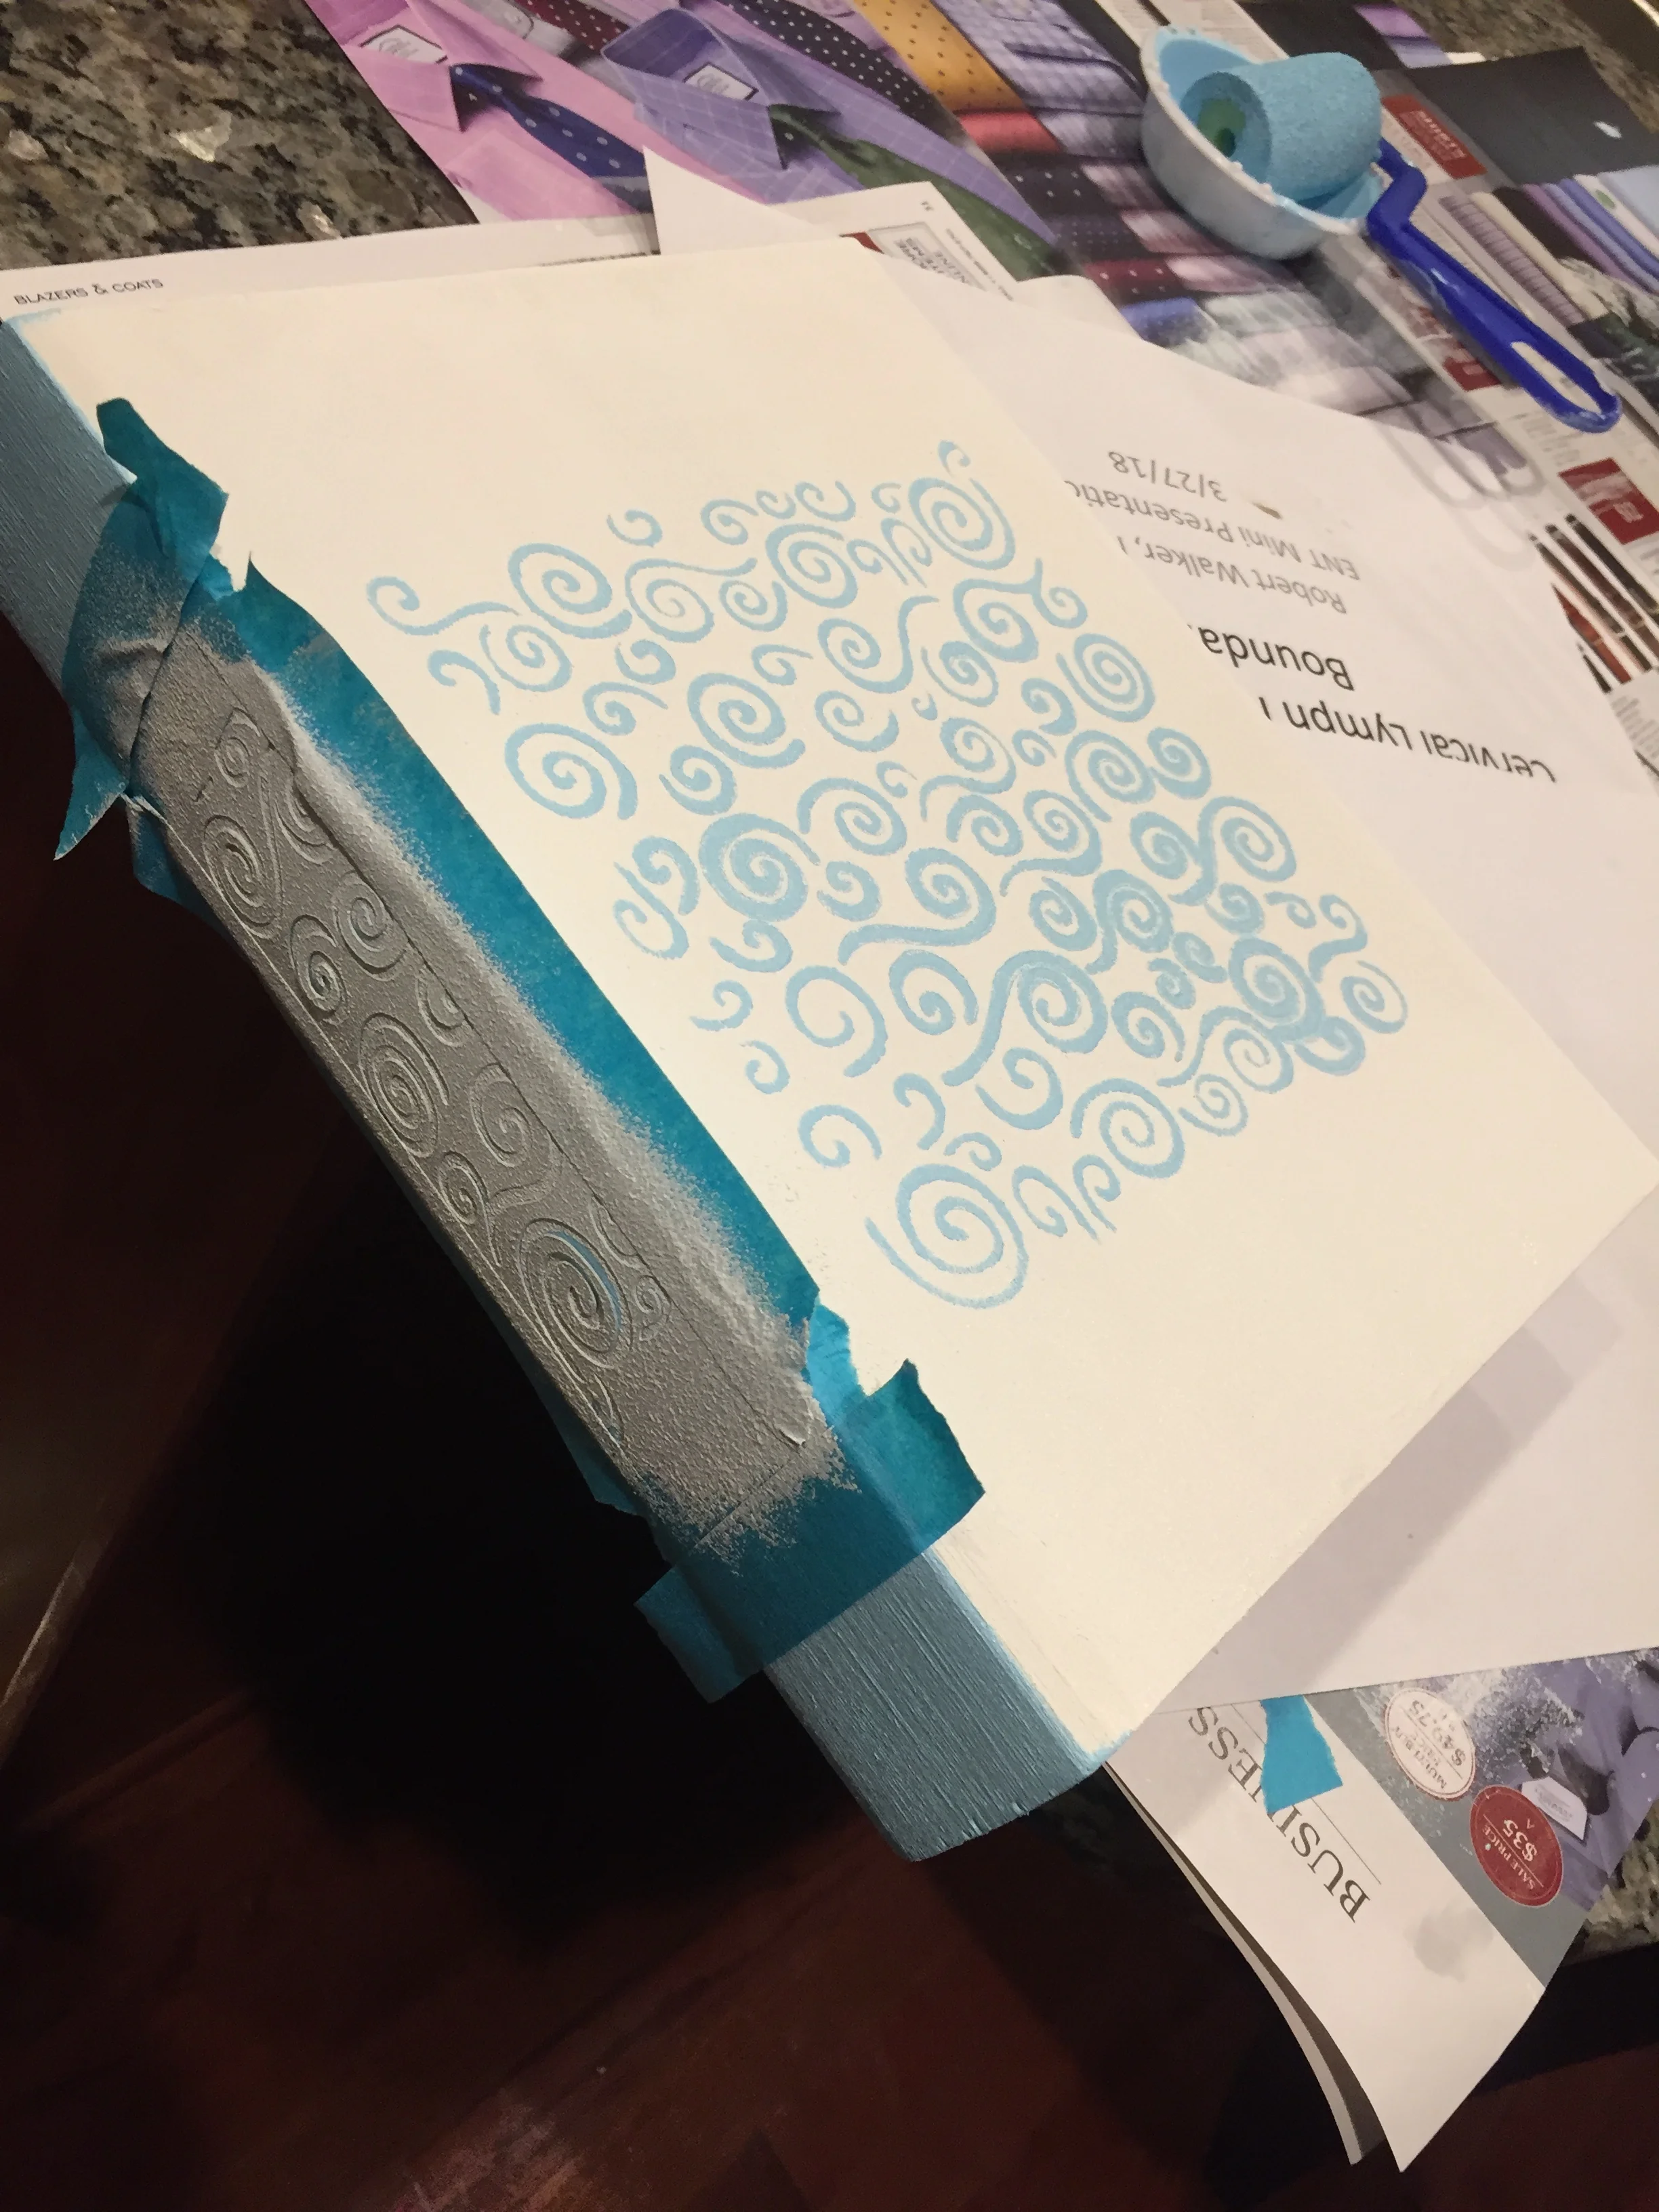
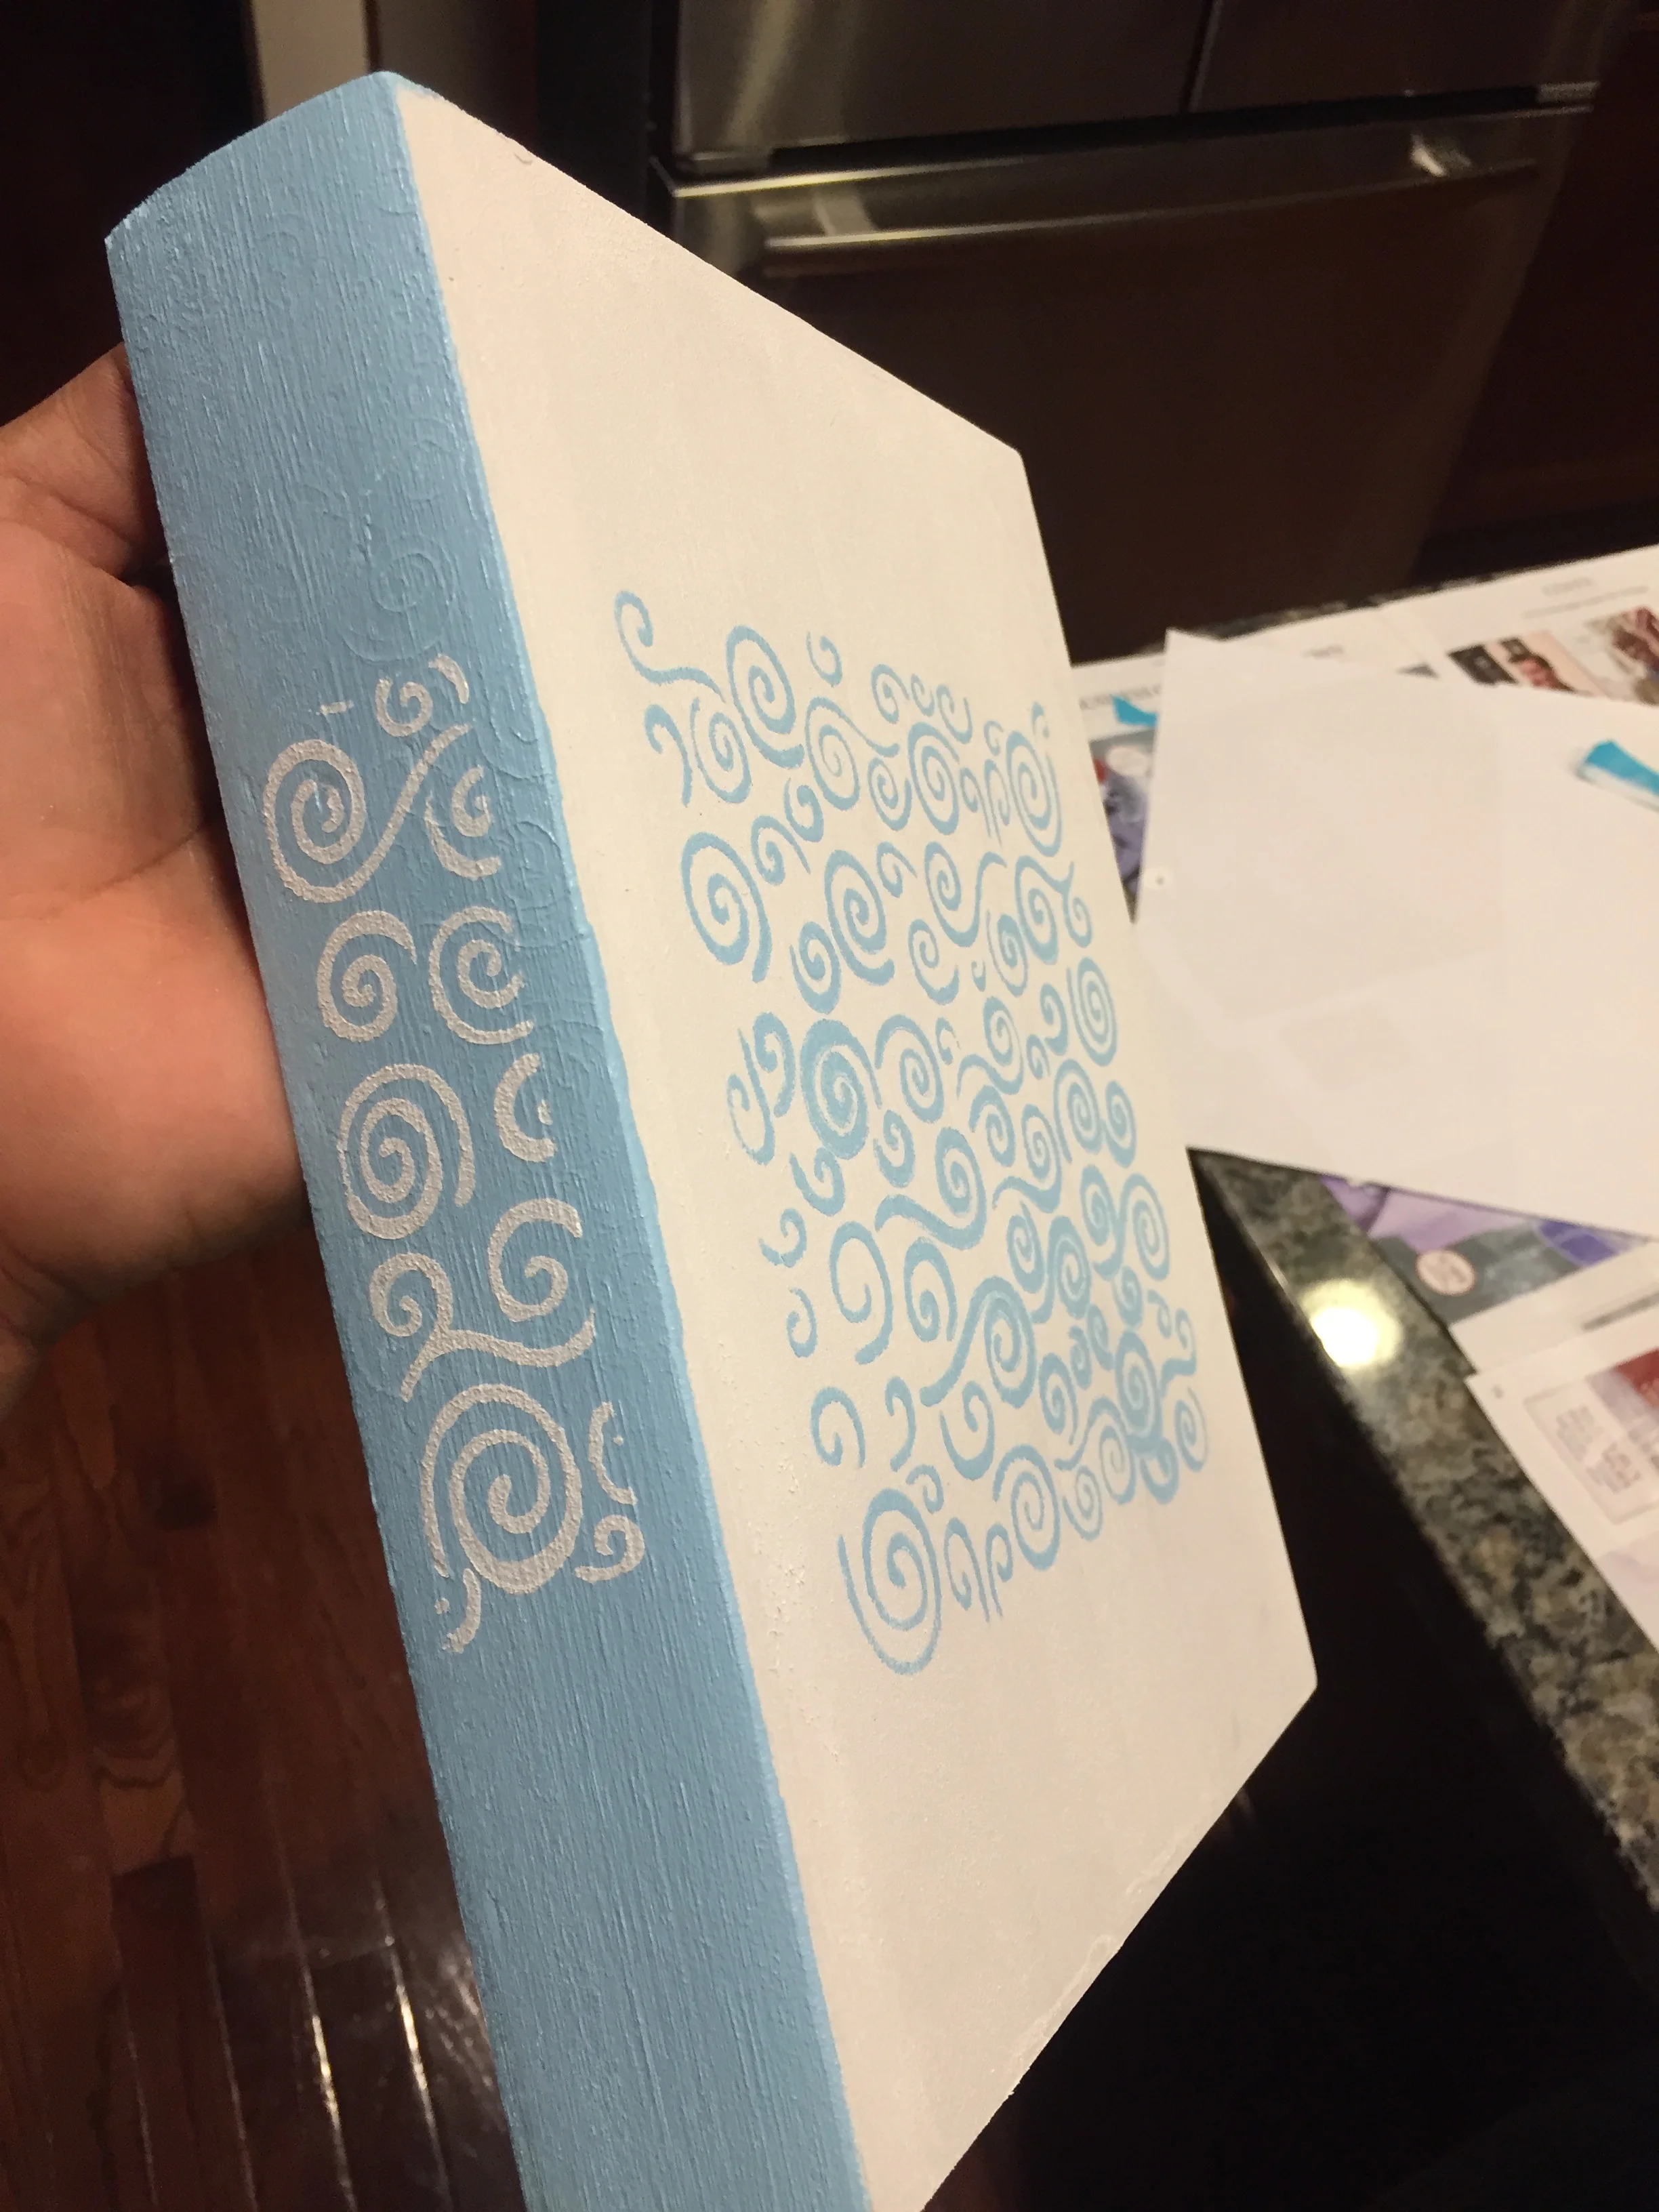
- Stencils (Tutorial Time = 00:40:04)
- Stencils can be purchased. However for true personalization you should try a custom stencil!
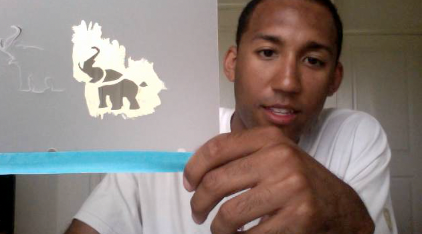
- You'll need a sharp Exacto Knife for this. A scalpel works just as well if you have one.
- First, find an image. Try Google Images.
- Paste the image into the a Powerpoint Slide. If you wish, you can grayscale the image and remove external features with a free photo editor called GIMP.
- Adjust the size of the image. Please double check by printing onto regular printer paper, cutting it out, and placing it where you want it on the box.
- When set, place the printed image onto a piece of cardboard and tape in place
- Overlay this with a relatively thick piece of plastic. I used a Binder divider for this. Previous attempts with a paper cover were not rigid enough when painting.
- Use the knife to cut the outline of the image from the plastic.
- This may take a few attempts, because some parts of the image should not be cut so that structure is preserved on the stencil. See video.
- When complete, place the stencil over the selected area on the box and tape in place with Painter's Tape.
Internal Design:
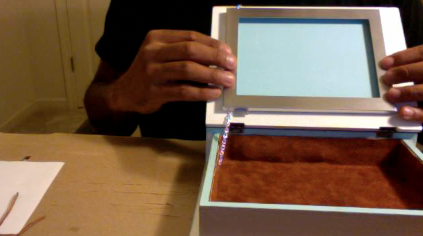
- Chain Installation (Tutorial Time = 00:50:34)
- Use very short screws (no more the height of the lid)
- Measure the length of chain so that the lid will hold at about 120 degrees when opened
- Attach an end of the chain to the lateral wall of the box base (not to lid yet.)
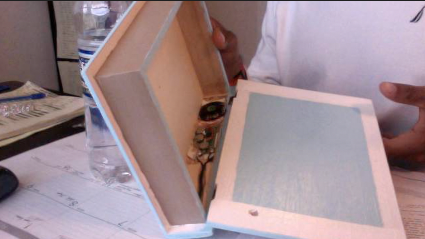
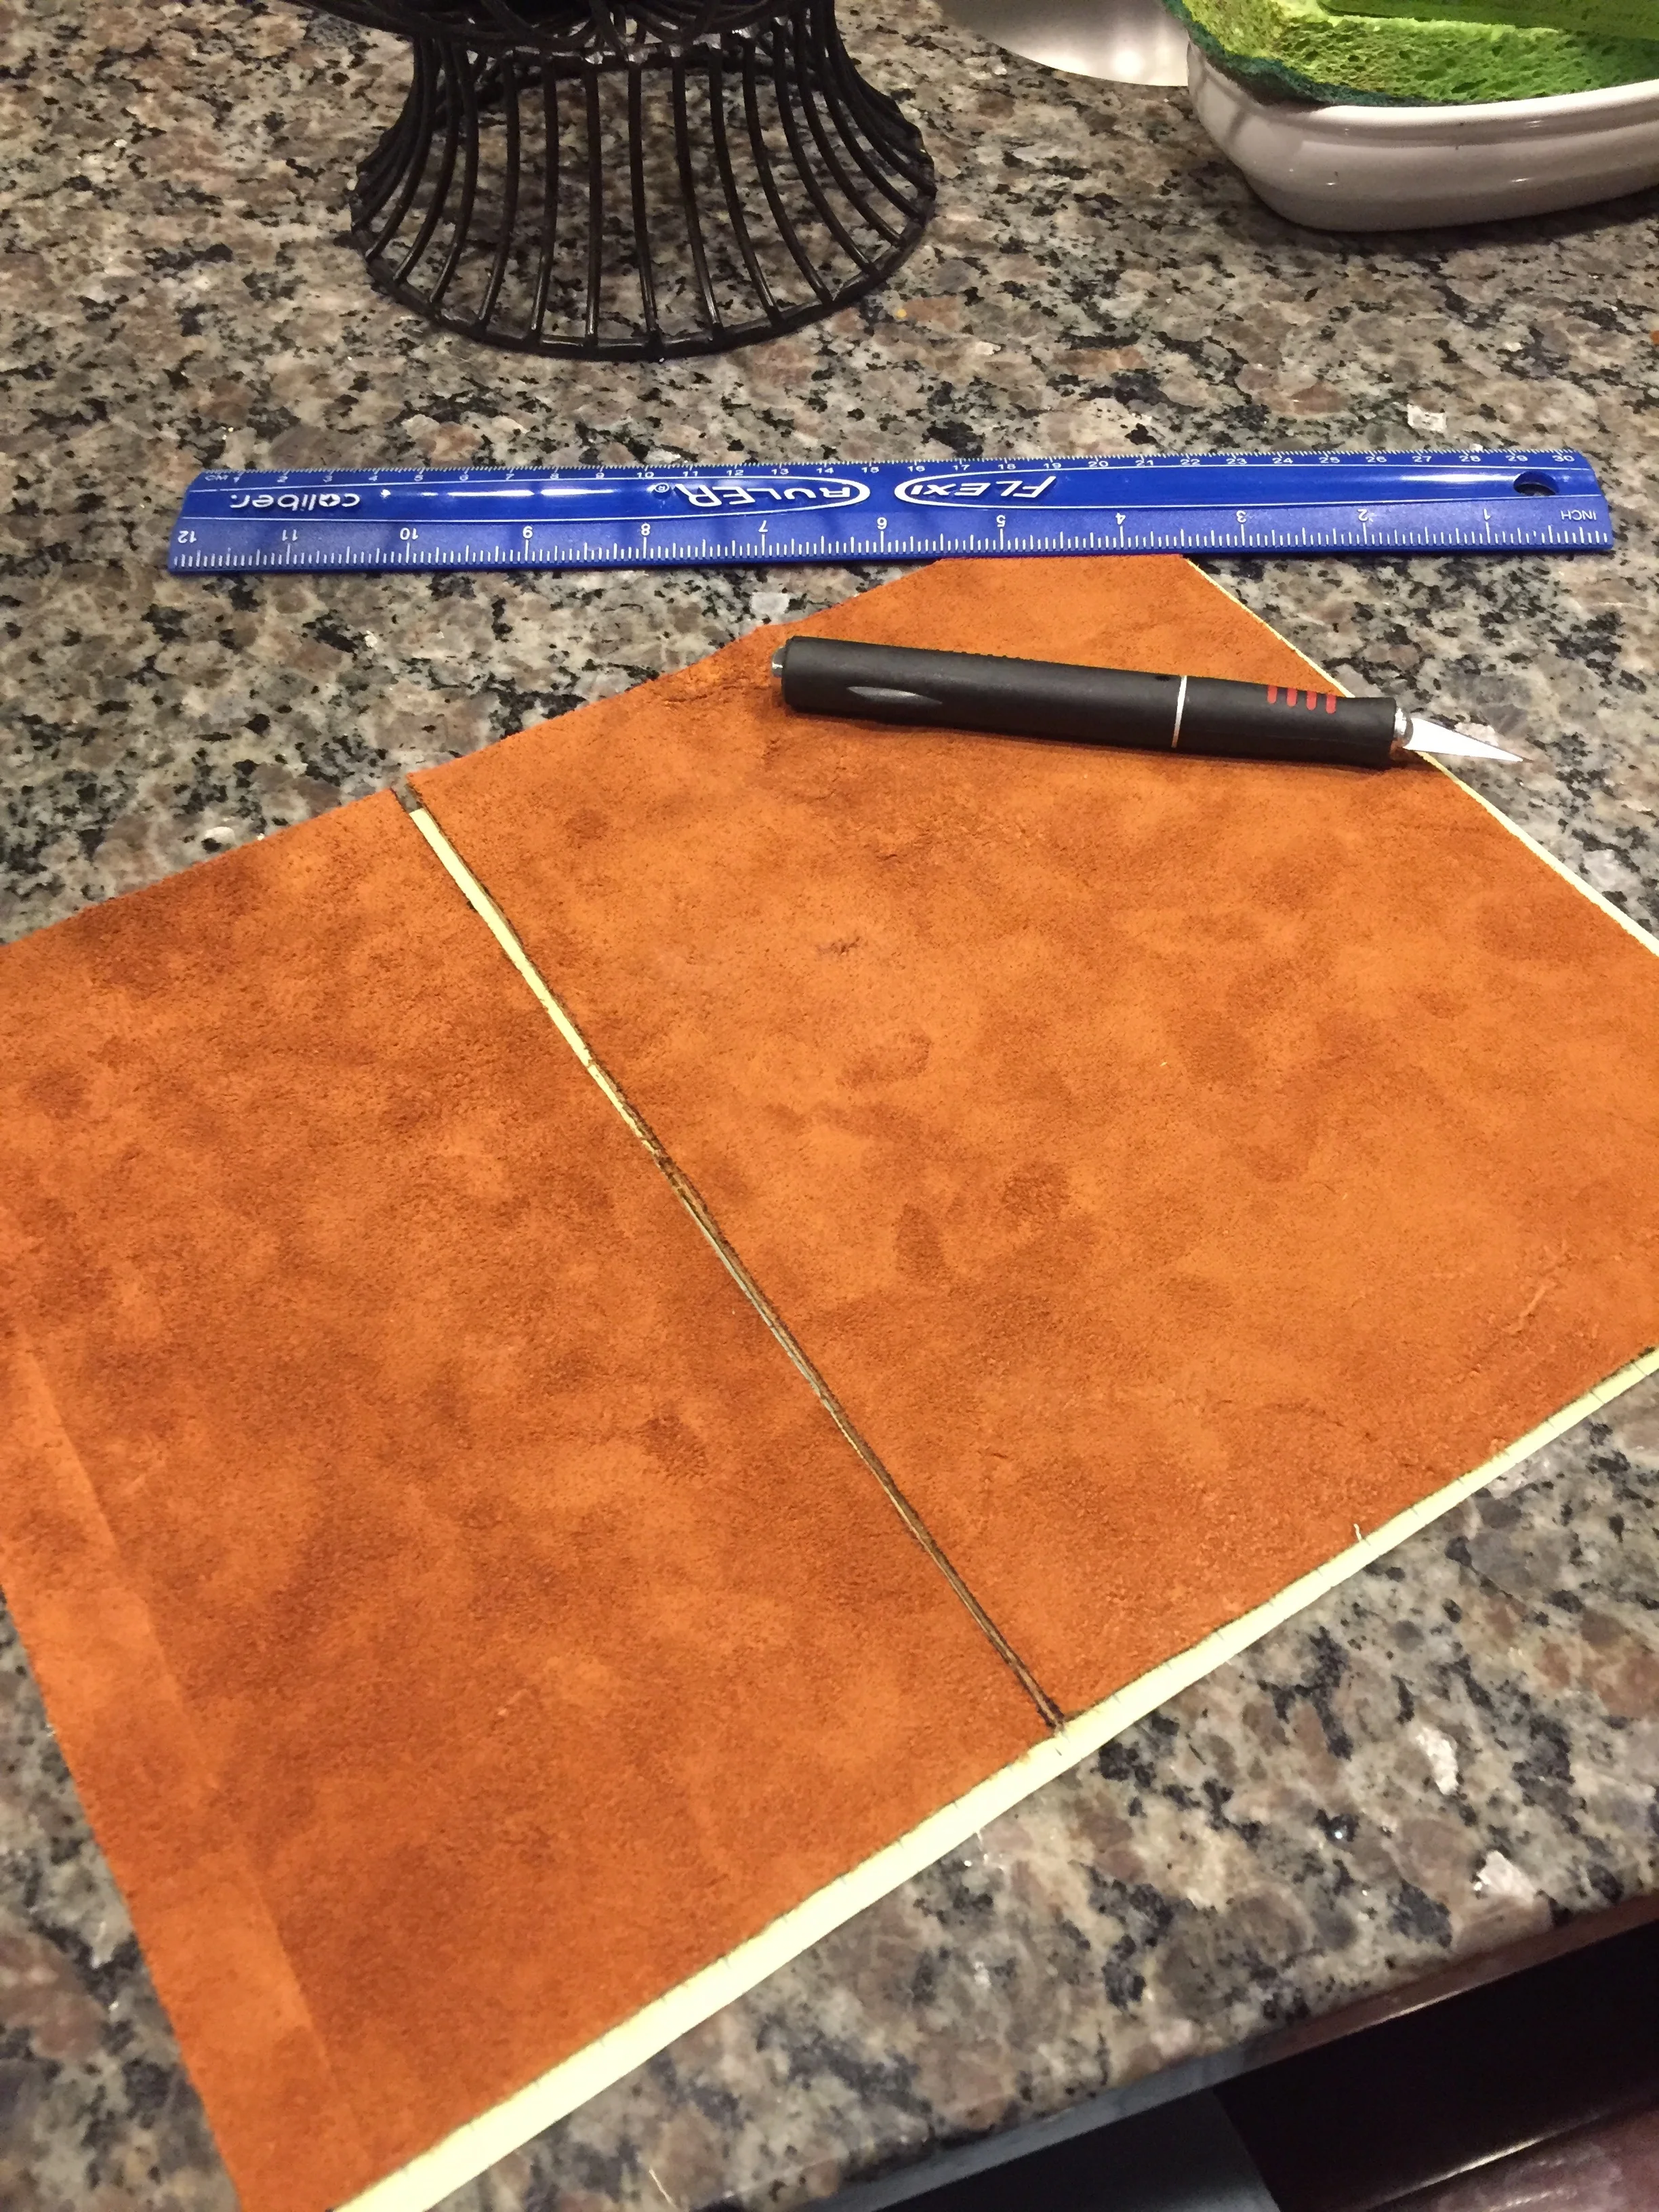
- Lining (Tutorial Time = 00:54:24)
- I used suede leather, but you can get creative. Cork, metal, vinyl, etc can be used.
- I used 5 pieces. One for the bottom then 4 cut for each side.
- Use a plastic glue (hot glue gun or other liquid plastic glue). This has great bond strength and will disperse when the lining is applied.
- Attach the sides first to avoid glue dripping on the bottom piece
- The lining on the chain side, you will need to cut a hole for the chain to pass through the lining. Pull chain through prior to adhering the lining so you do not forget.
- Attach the bottom lining last.
- Coffee Stained Antiqued Background and Collage (Tutorial Time = 01:02:42)
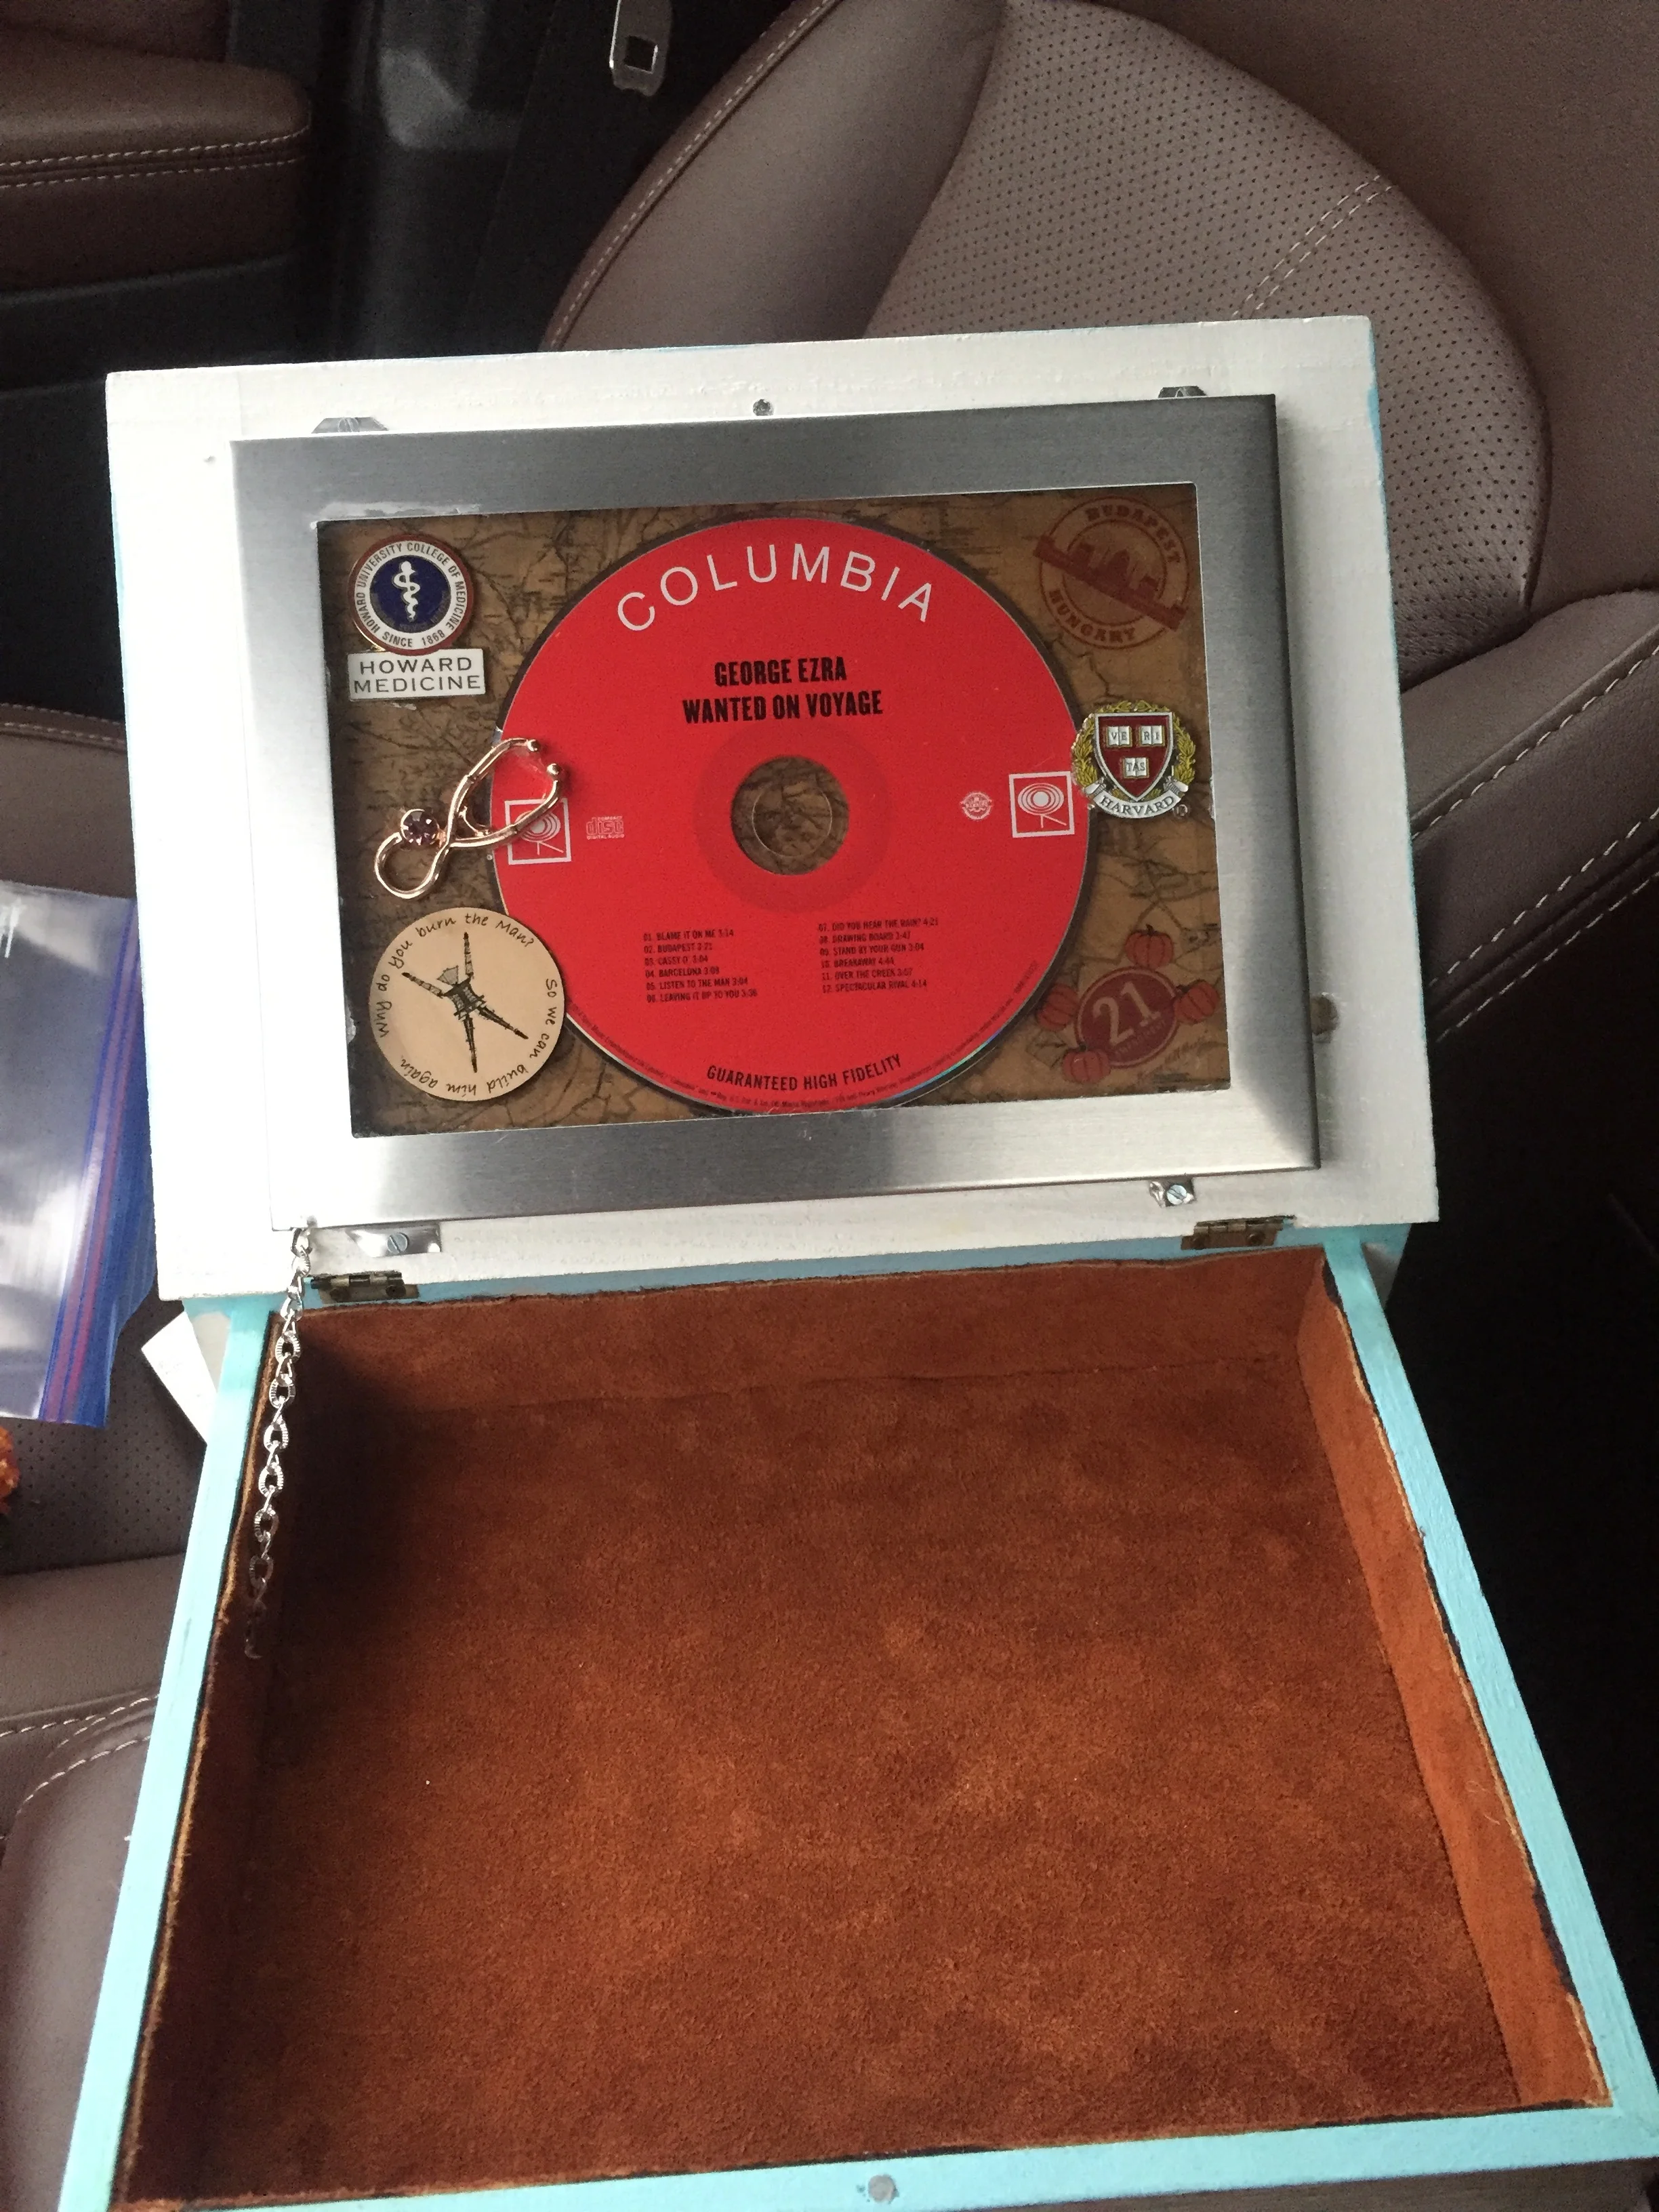
- You can be as creative as you like! For me I created a collage of items that were special about the person.
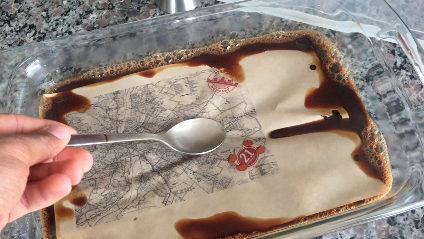
- You can create a Coffee Stained Antique background that will give it a classy feel
- Use regular white typing paper. Also neat to print an image. For example, I used a map of Budapest
- Use a large flat basin (eg. glass cassorole dish) large enough to hold the size of paper desired.
- Fill with warm water (about 1/2in in height)
- Add ~1cup of instant coffee (Did not see too much of a change with adding more)
- Stir until coffee is dissolved
- Place your sheet of paper gently in the coffee water bath and let sit for about 1-2min
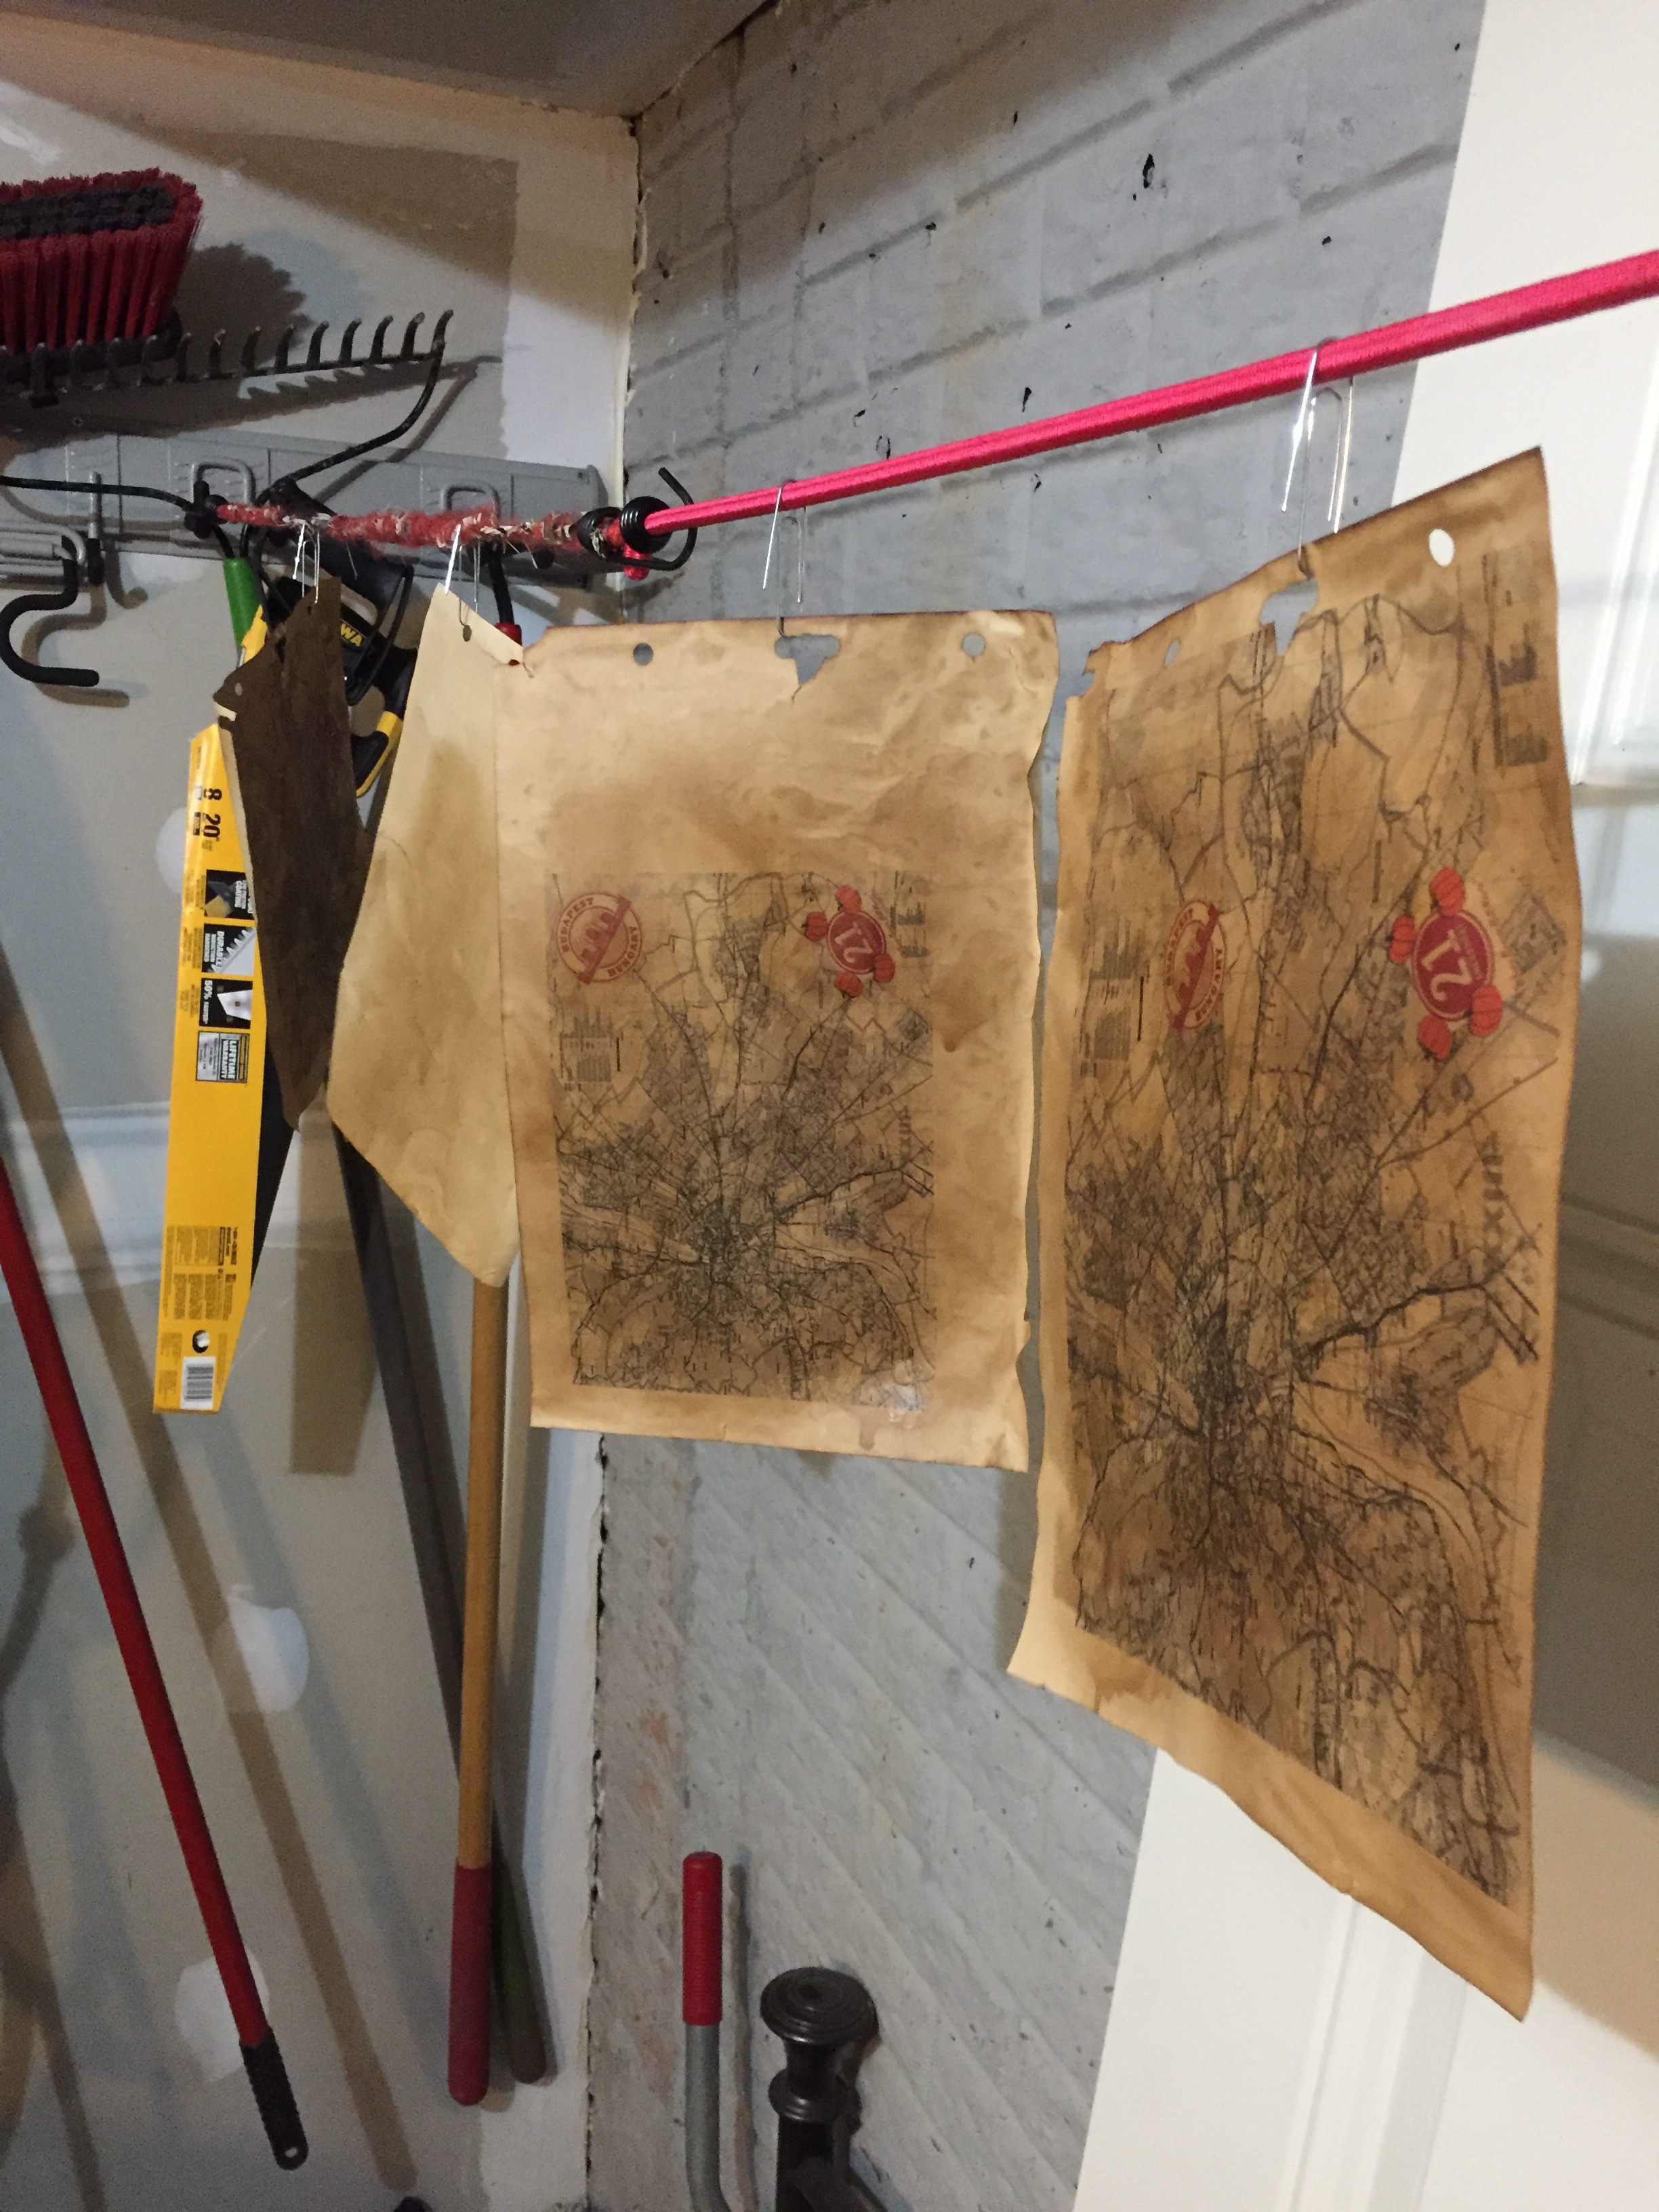
- Very gently remove the paper by holding at both ends to avoid a tear.
- Lie it flat on a cookie sheet and let dry for several hours. You can place outside or under a fan to quicken drying times
- Note: By crinkling the paper prior to soaking you can give an even more antiqued appearance
- Once dried align the paper to the desired location on the lid and and glue in place
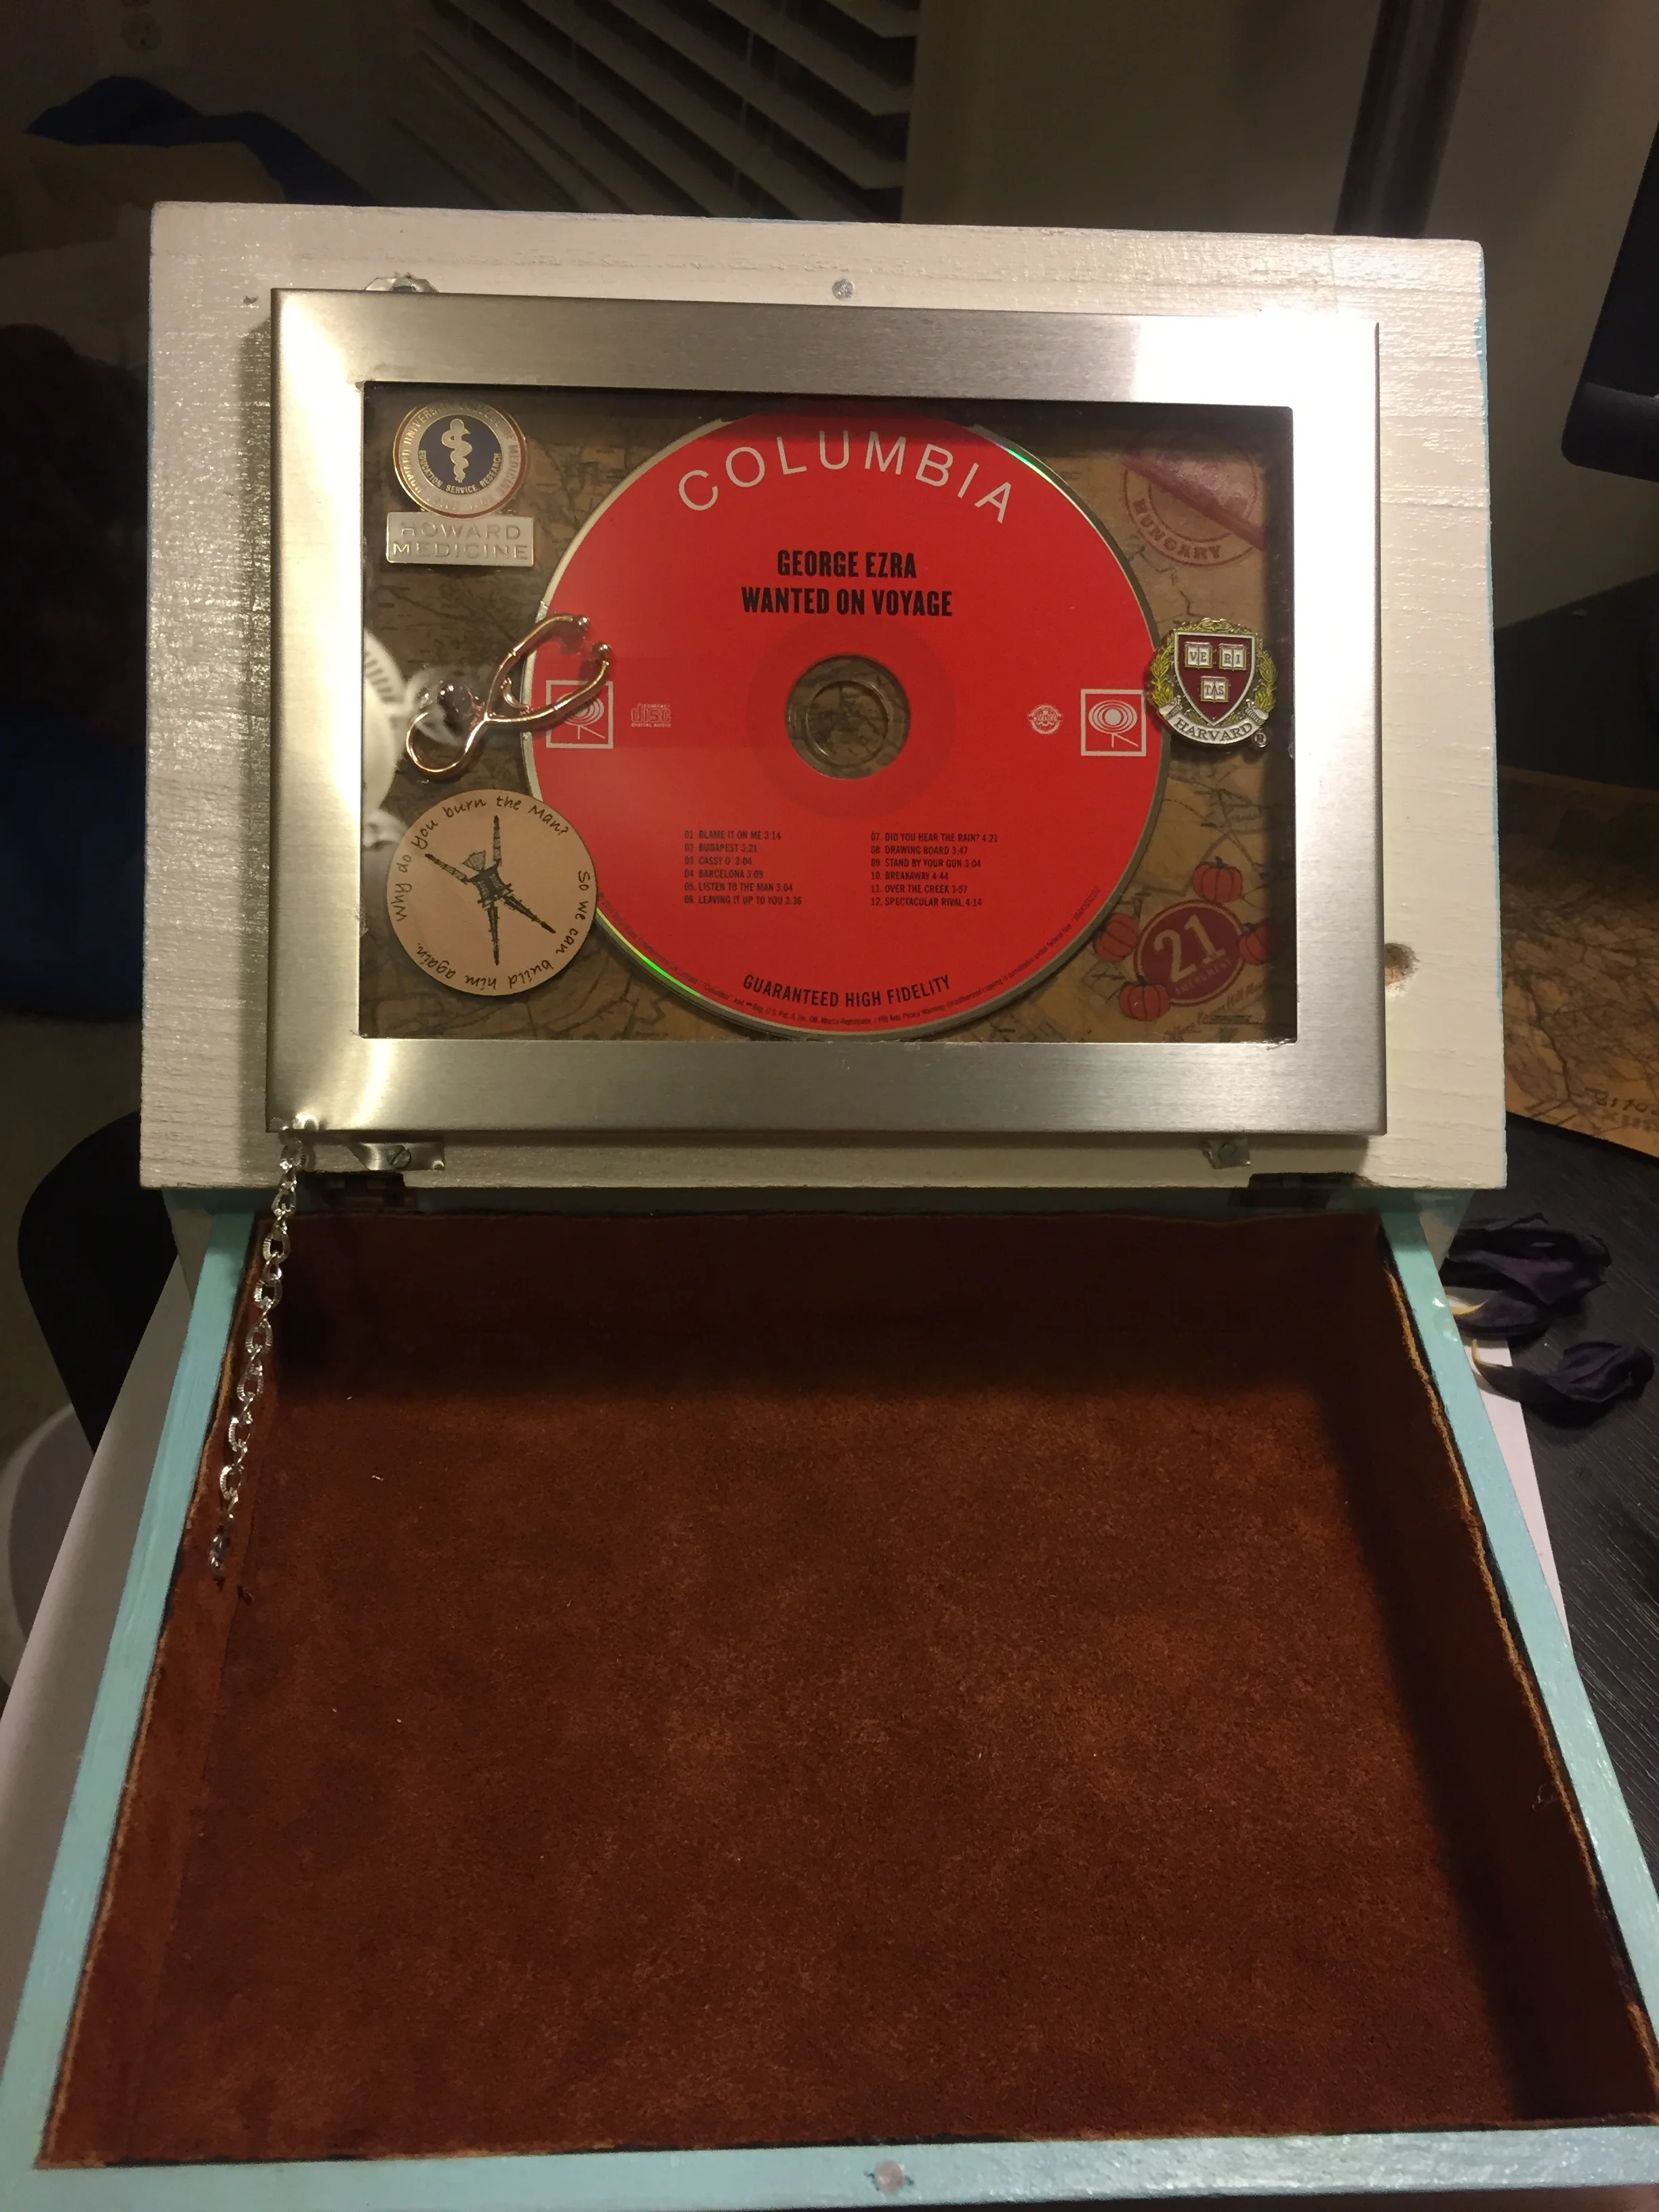
- Collage: Adding little items to the lid that remind you of what makes the person special is also a fun way to add an even more personal touch.
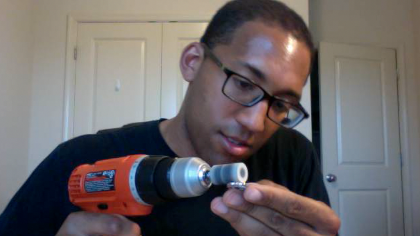
- Lid Framing (Tutorial Time = 01:08:02)
- Glue the glass of the frame in place with Super Glue or Clear plastic glue.
- Use a metal drill bit attached to a power drill to create a hole in the center of each cut edge the width of the screws being used.
- Repeat this process the other 3 corners of the fame.
- Next, bend this cut segment outward so that it rests flush against the wood of the lid
- For metal, use scissors to cut two slits about 1cm long and about 1cm apart along the edge that holds the frame backing.
- A metal frame is perfect but others can be utilized.
- For my build a 5x7 picture frame worked perfectly. But use whatever works for you.
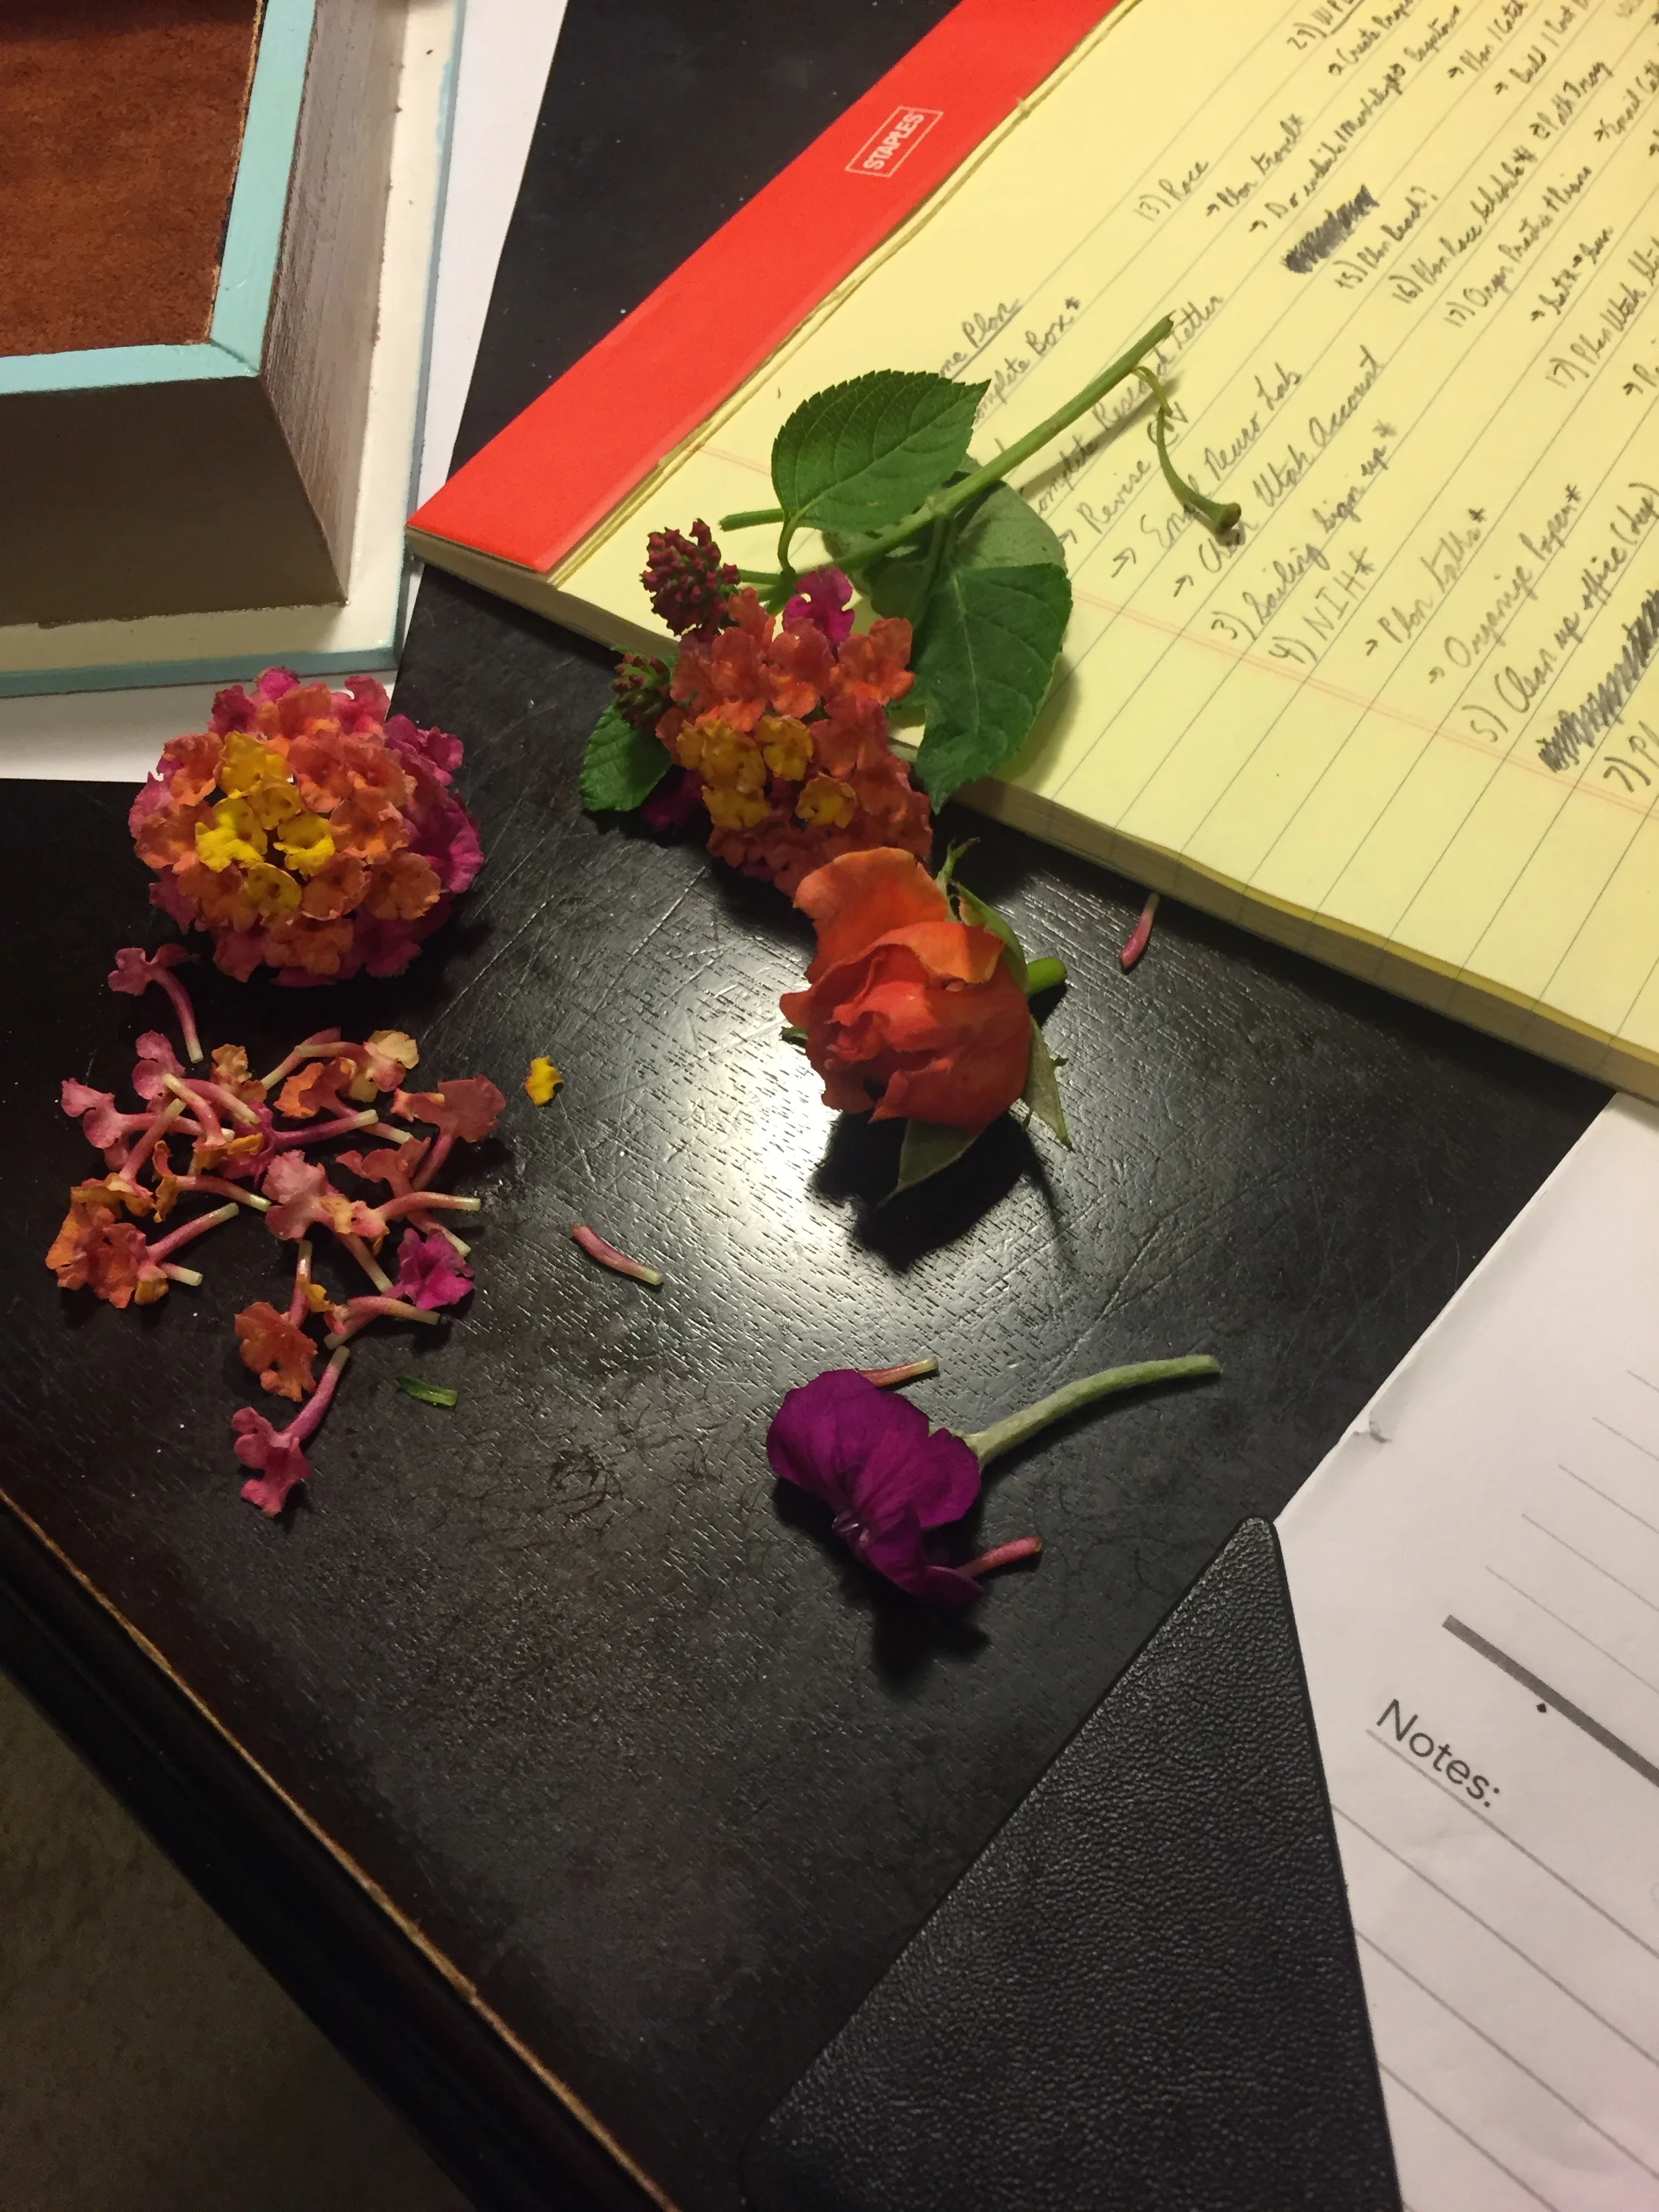
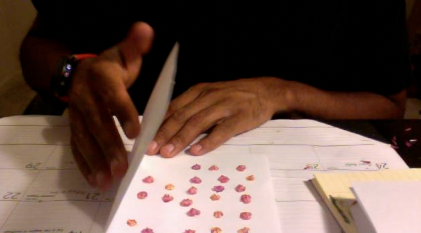
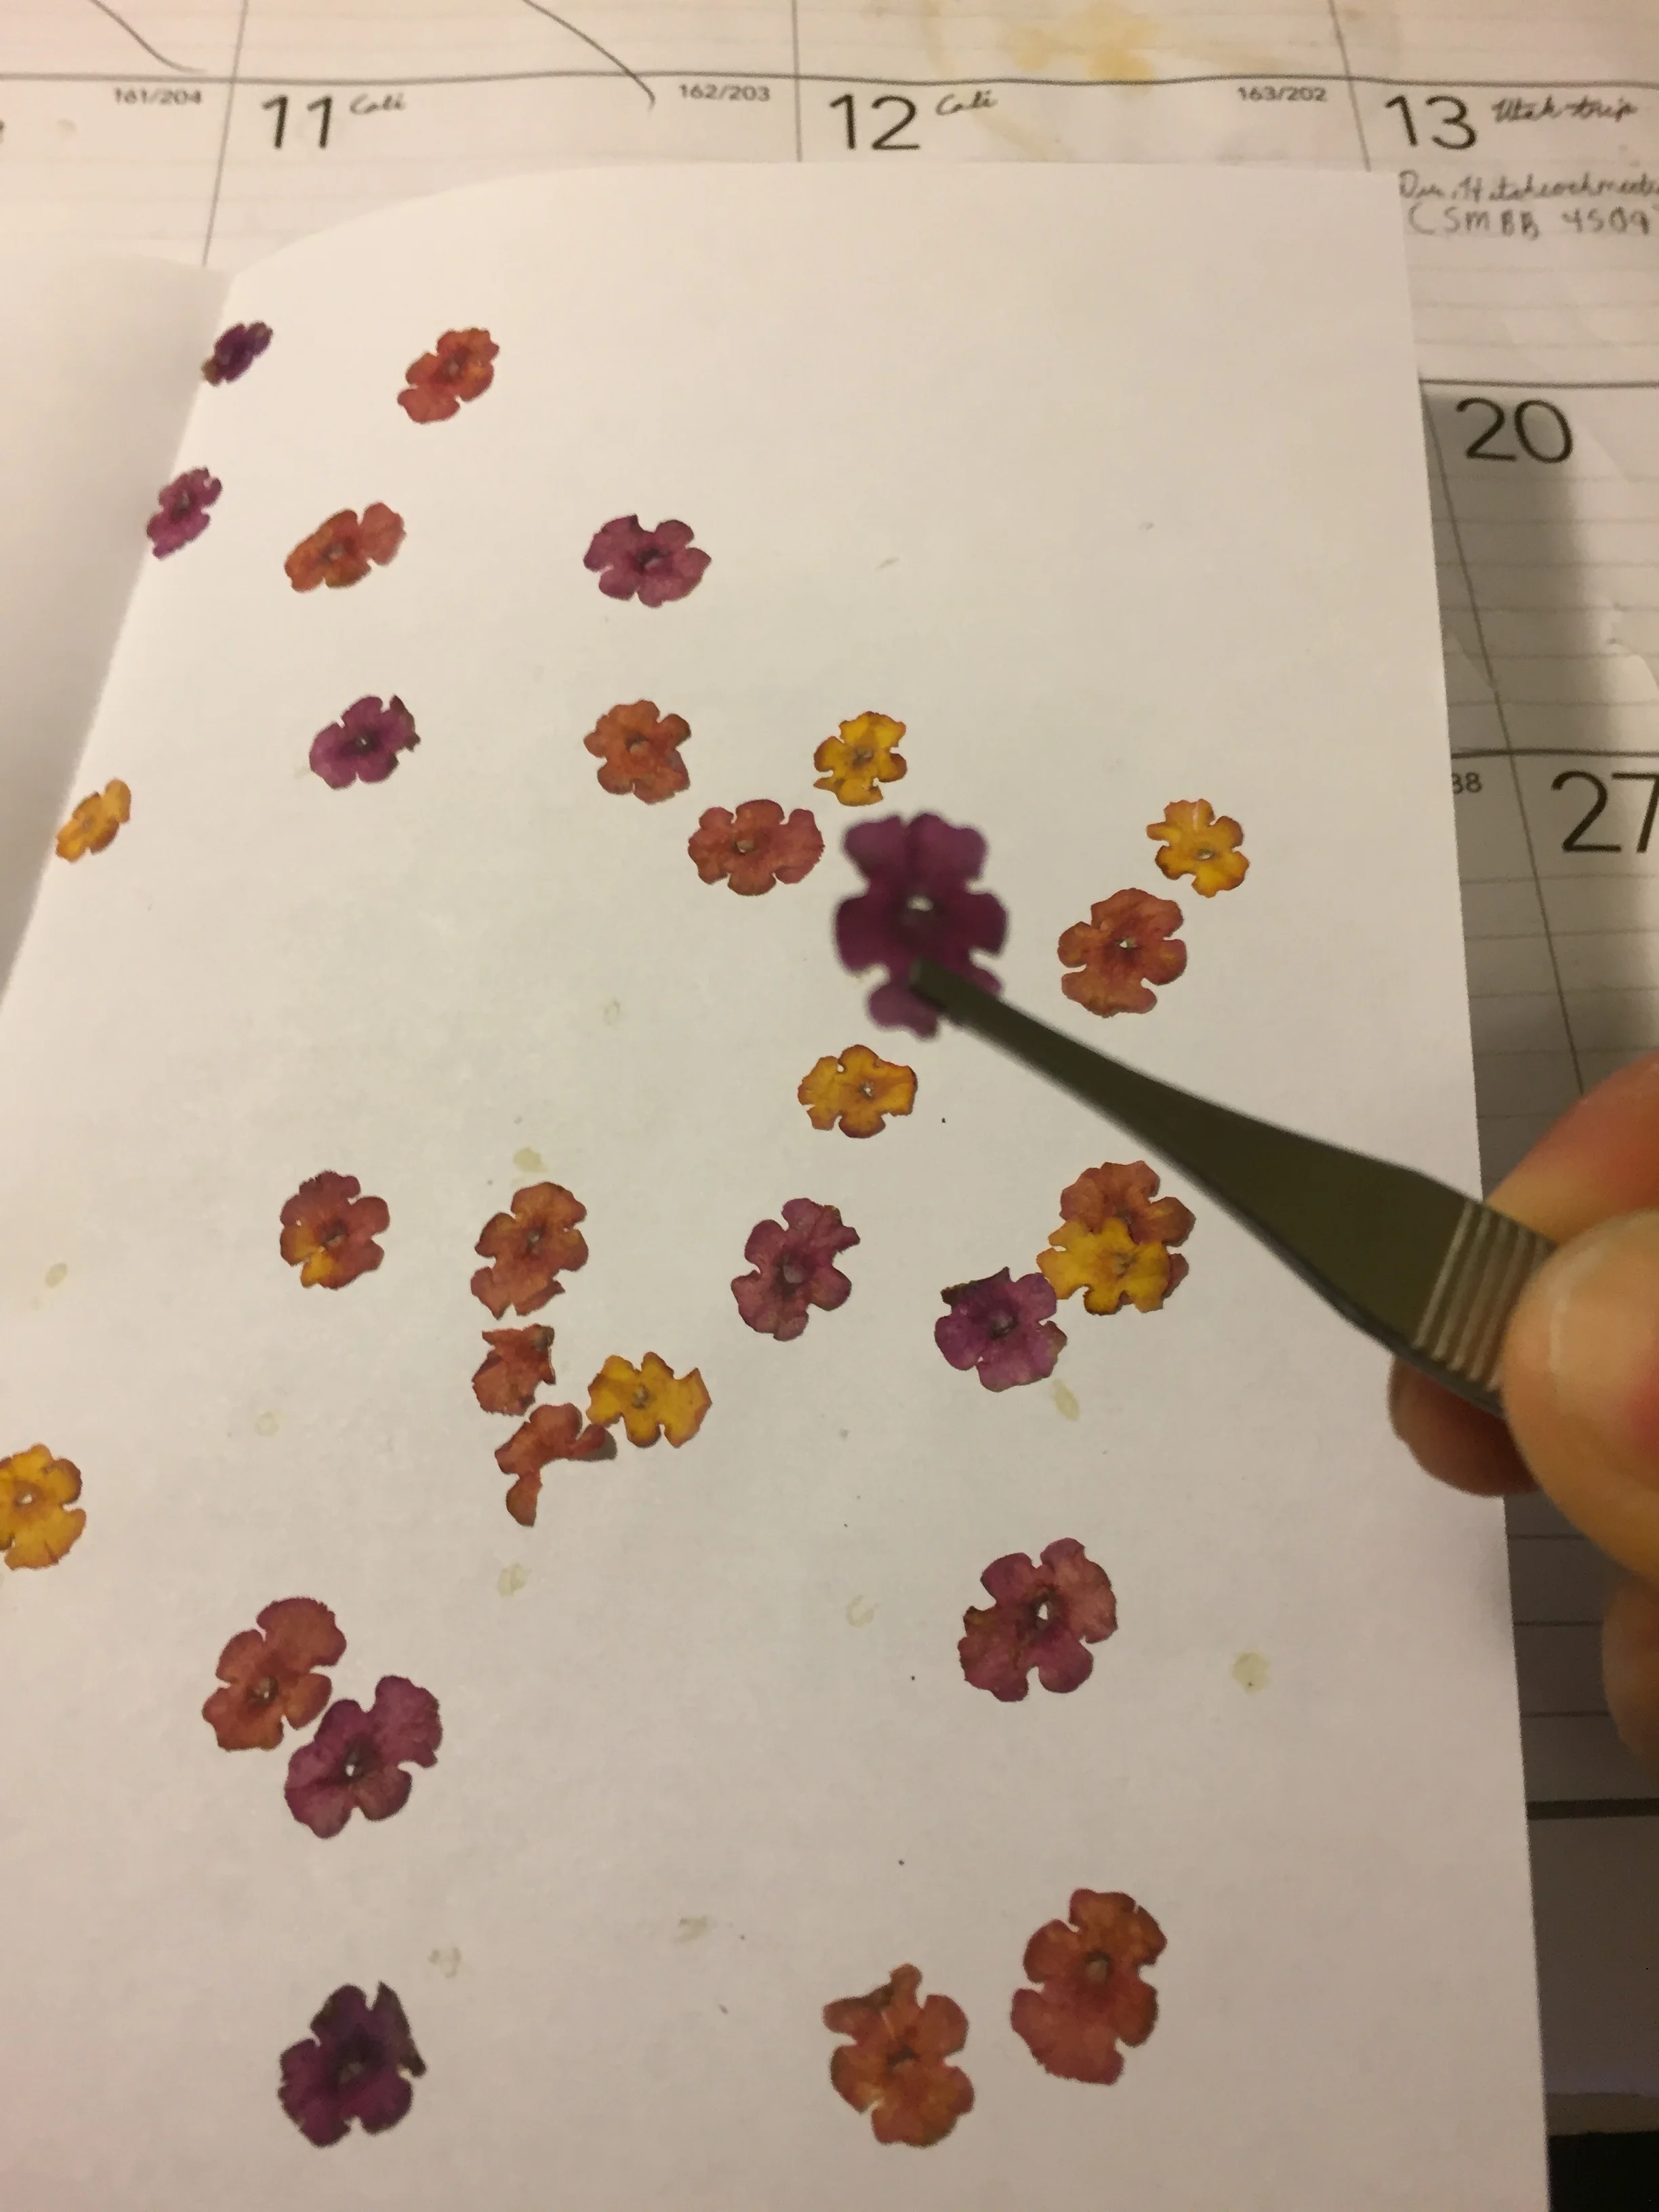
- Pressing Flowers (Tutorial Time = 01:14:47)
- Using sharp scissors remove the stem/stalk of the flower being used
- Fold a piece of white printing paper in half
- Lay the flower petals between the folded paper
- Press gently yet firmly
- Put the folded paper inside of a book (the heavier the better)
- Add weight on top of the book by adding more books
- Let sit for 2-3 days
- Carefully remove the paper and petals should be flat and dry!
- Use super glue to attach to the lid
Filling the Box:
Here is the really fun part. Fill the box up with what ever fun, peculiar, inventive, creative, crazy, wild gift you can think of that will make the person smile, cry, laugh, or evoke any other desired emotion when opened.
Final Steps:
- Wrap the box in your favorite wrapping paper
- Add a large ribbon bow
- Deliver it
Happy gifting :)
Date completed: 6/8/2018