
Leo Board Tying and Suturing
3D Printed boards for tying and suturing
tying board
The Tying Board components were designed using a CAD software and is composed of the following components:
1) Base and Lid - The base is simply an open box with a shallow ridge at its top to allow the lid to sit flush on top. The base is filled with sand for weight. The lid holds the 3 tying sections.
2) Tie against resistance (Image 1) - 3 multi-tiered cylinders are positioned in a triangular fashion on the lid surface. I call these tiered cylinders Tension Towers. Each Tension Tower is made up up of bottom and top tier of the same diameter and a middle tier of a smaller diameter. The small diameter portion is used to hold a resistance band.
3) Basic tying arch (Image 2) - this is a 2in high arch that is used for basic tying
4) Deep tying (Image 3) - here surrounded a basic tying arch with a 4in tall hollow cylinder. The cylinder has two side cut outs that allow for easy passing of the suture when preparing to tie. The goal I envisioned here was to practice holding tension on the knot while working in a confined area.
The 3 tying stations are arranged on the lid and 3D printed as a solid piece. Then the base is filled with sand and the lid is placed over it to complete the board.
I use a higher percentage infill and also a special cubic design when 3D printing to ensure adequate strength and durability. Each board is printed in PLA+.
Additionally, I provide a 2 color (blue - white) practice tying cord to help students learn the basic hand motions prior to working with thin suture.
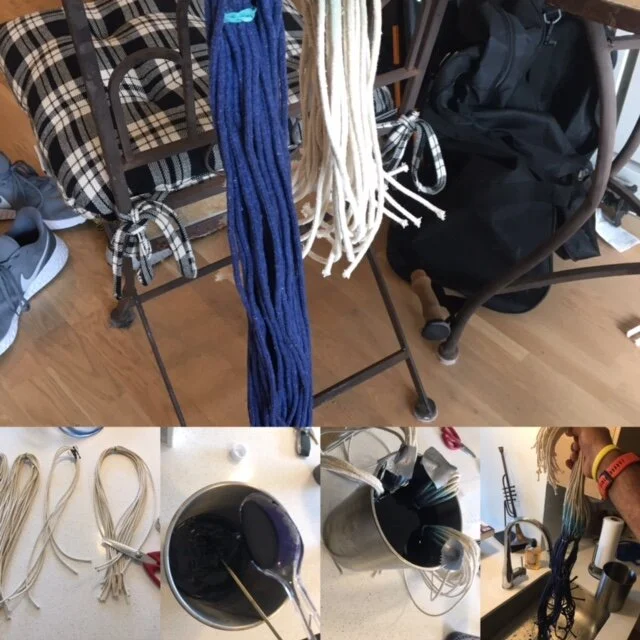
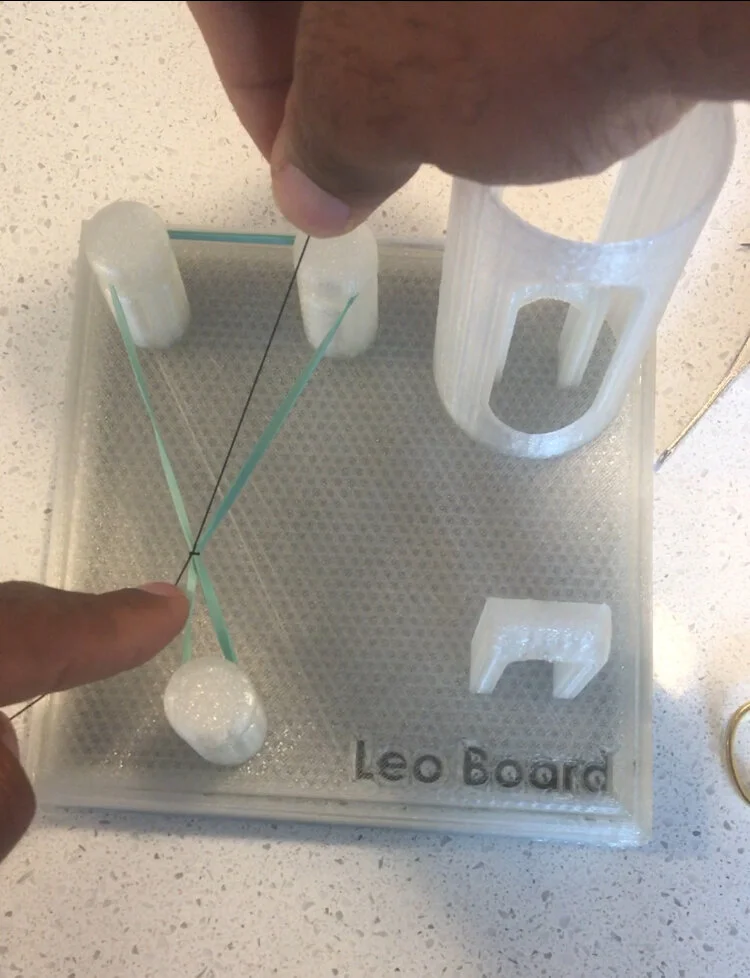
Image 1 - Tying against resistance
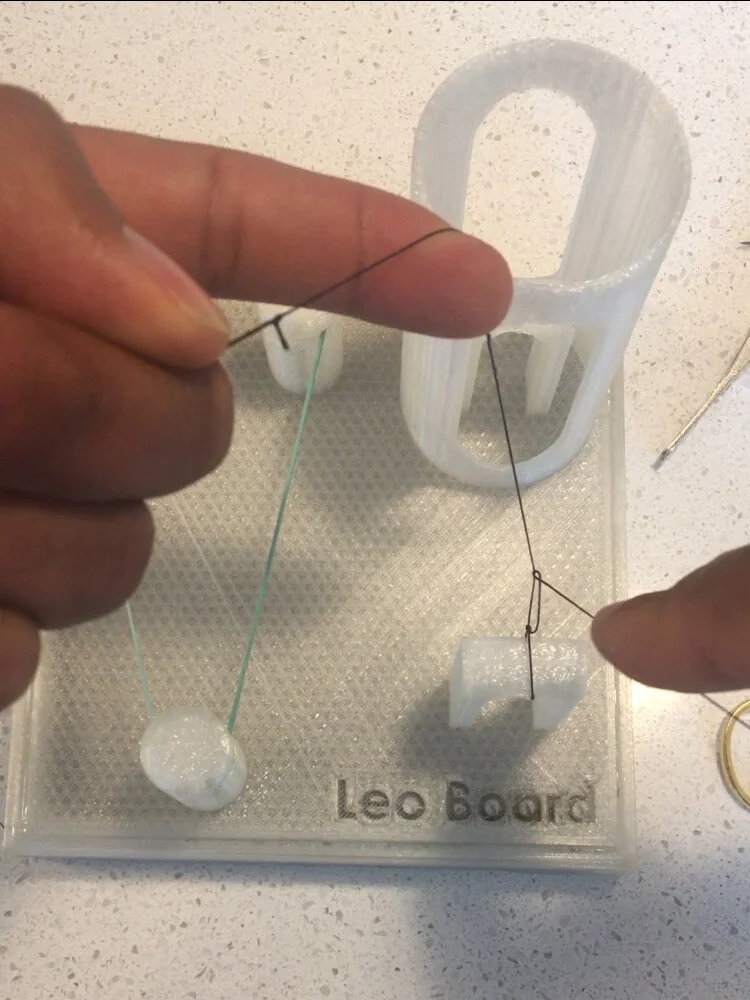
Image 2 - Basic Tying arch
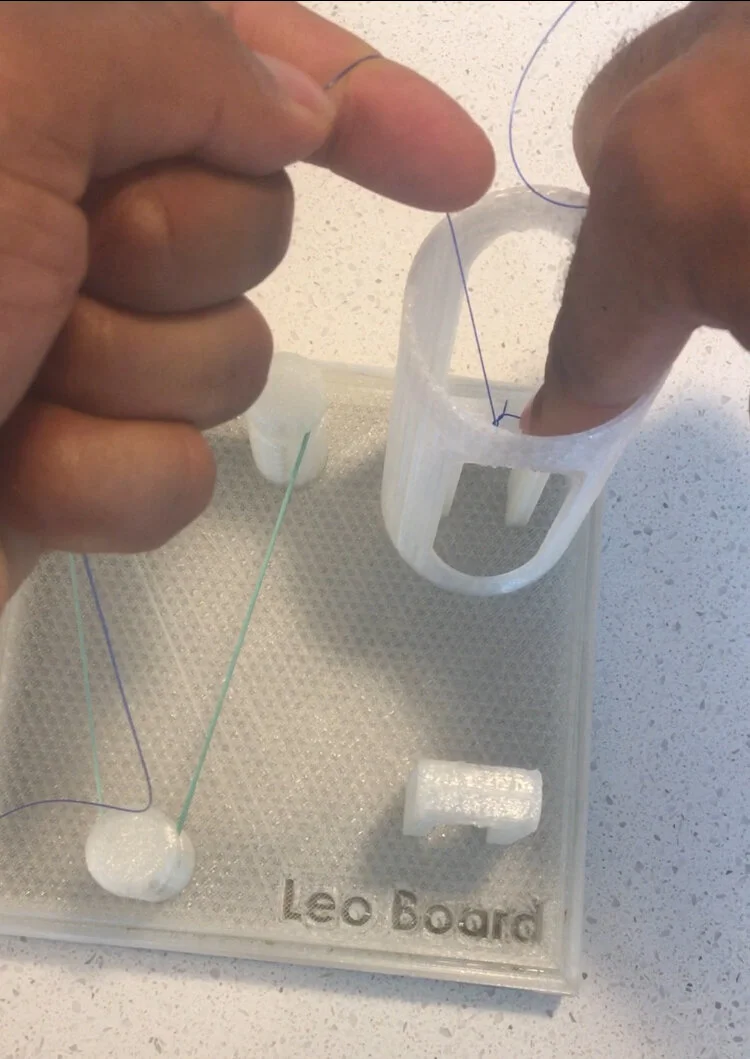
Image 3 - Deep Tying
Suture board
The Suture Board components were designed using a CAD software and is composed of the following components:
1) Base and Lid - The base is simply an open box with a shallow ridge at its top to allow the lid to sit flush on top. The base is filled with sand for weight. The lid seals the box filled with sand. Both components are printed in a PLA using a cubic subdivision pattern for added strength and decreased permeability.
2) Silicone Suture board. This is primary piece of the suture board. A 3D printed mold was created using a CAD program. Dragon Skin liquid silicone (A + B mix) is then poured into the mold (Image 4 and 5) and allowed to set. Once removed the silicone is very strong with a high tear strength. It can be used repeatedly due to it’s self healing properties. The silicone suture board has 4 distinct stations:
Straight laceration ( Image 6) - This can be used for practicing techniques for all different kinds of suturing (eg. subcuticular, vertical mattress, horizontal mattress, Figure of 8 etc). Additionally each silicon block is about 0.5in in height so you can also practice multi-level closures.
Star laceration (Image 6) and Sawtooth laceration (Image 6) - In the real world lacerations are never surgical (ie straight or curvilinear) in fashion, so it is important to be able to join un-even edges together for not only the best healing but also for cosmetics.
Anastomosis (Image 7) - Practice joining two flaps together similar to what you may need to do when anastomosing two segments of bowel.
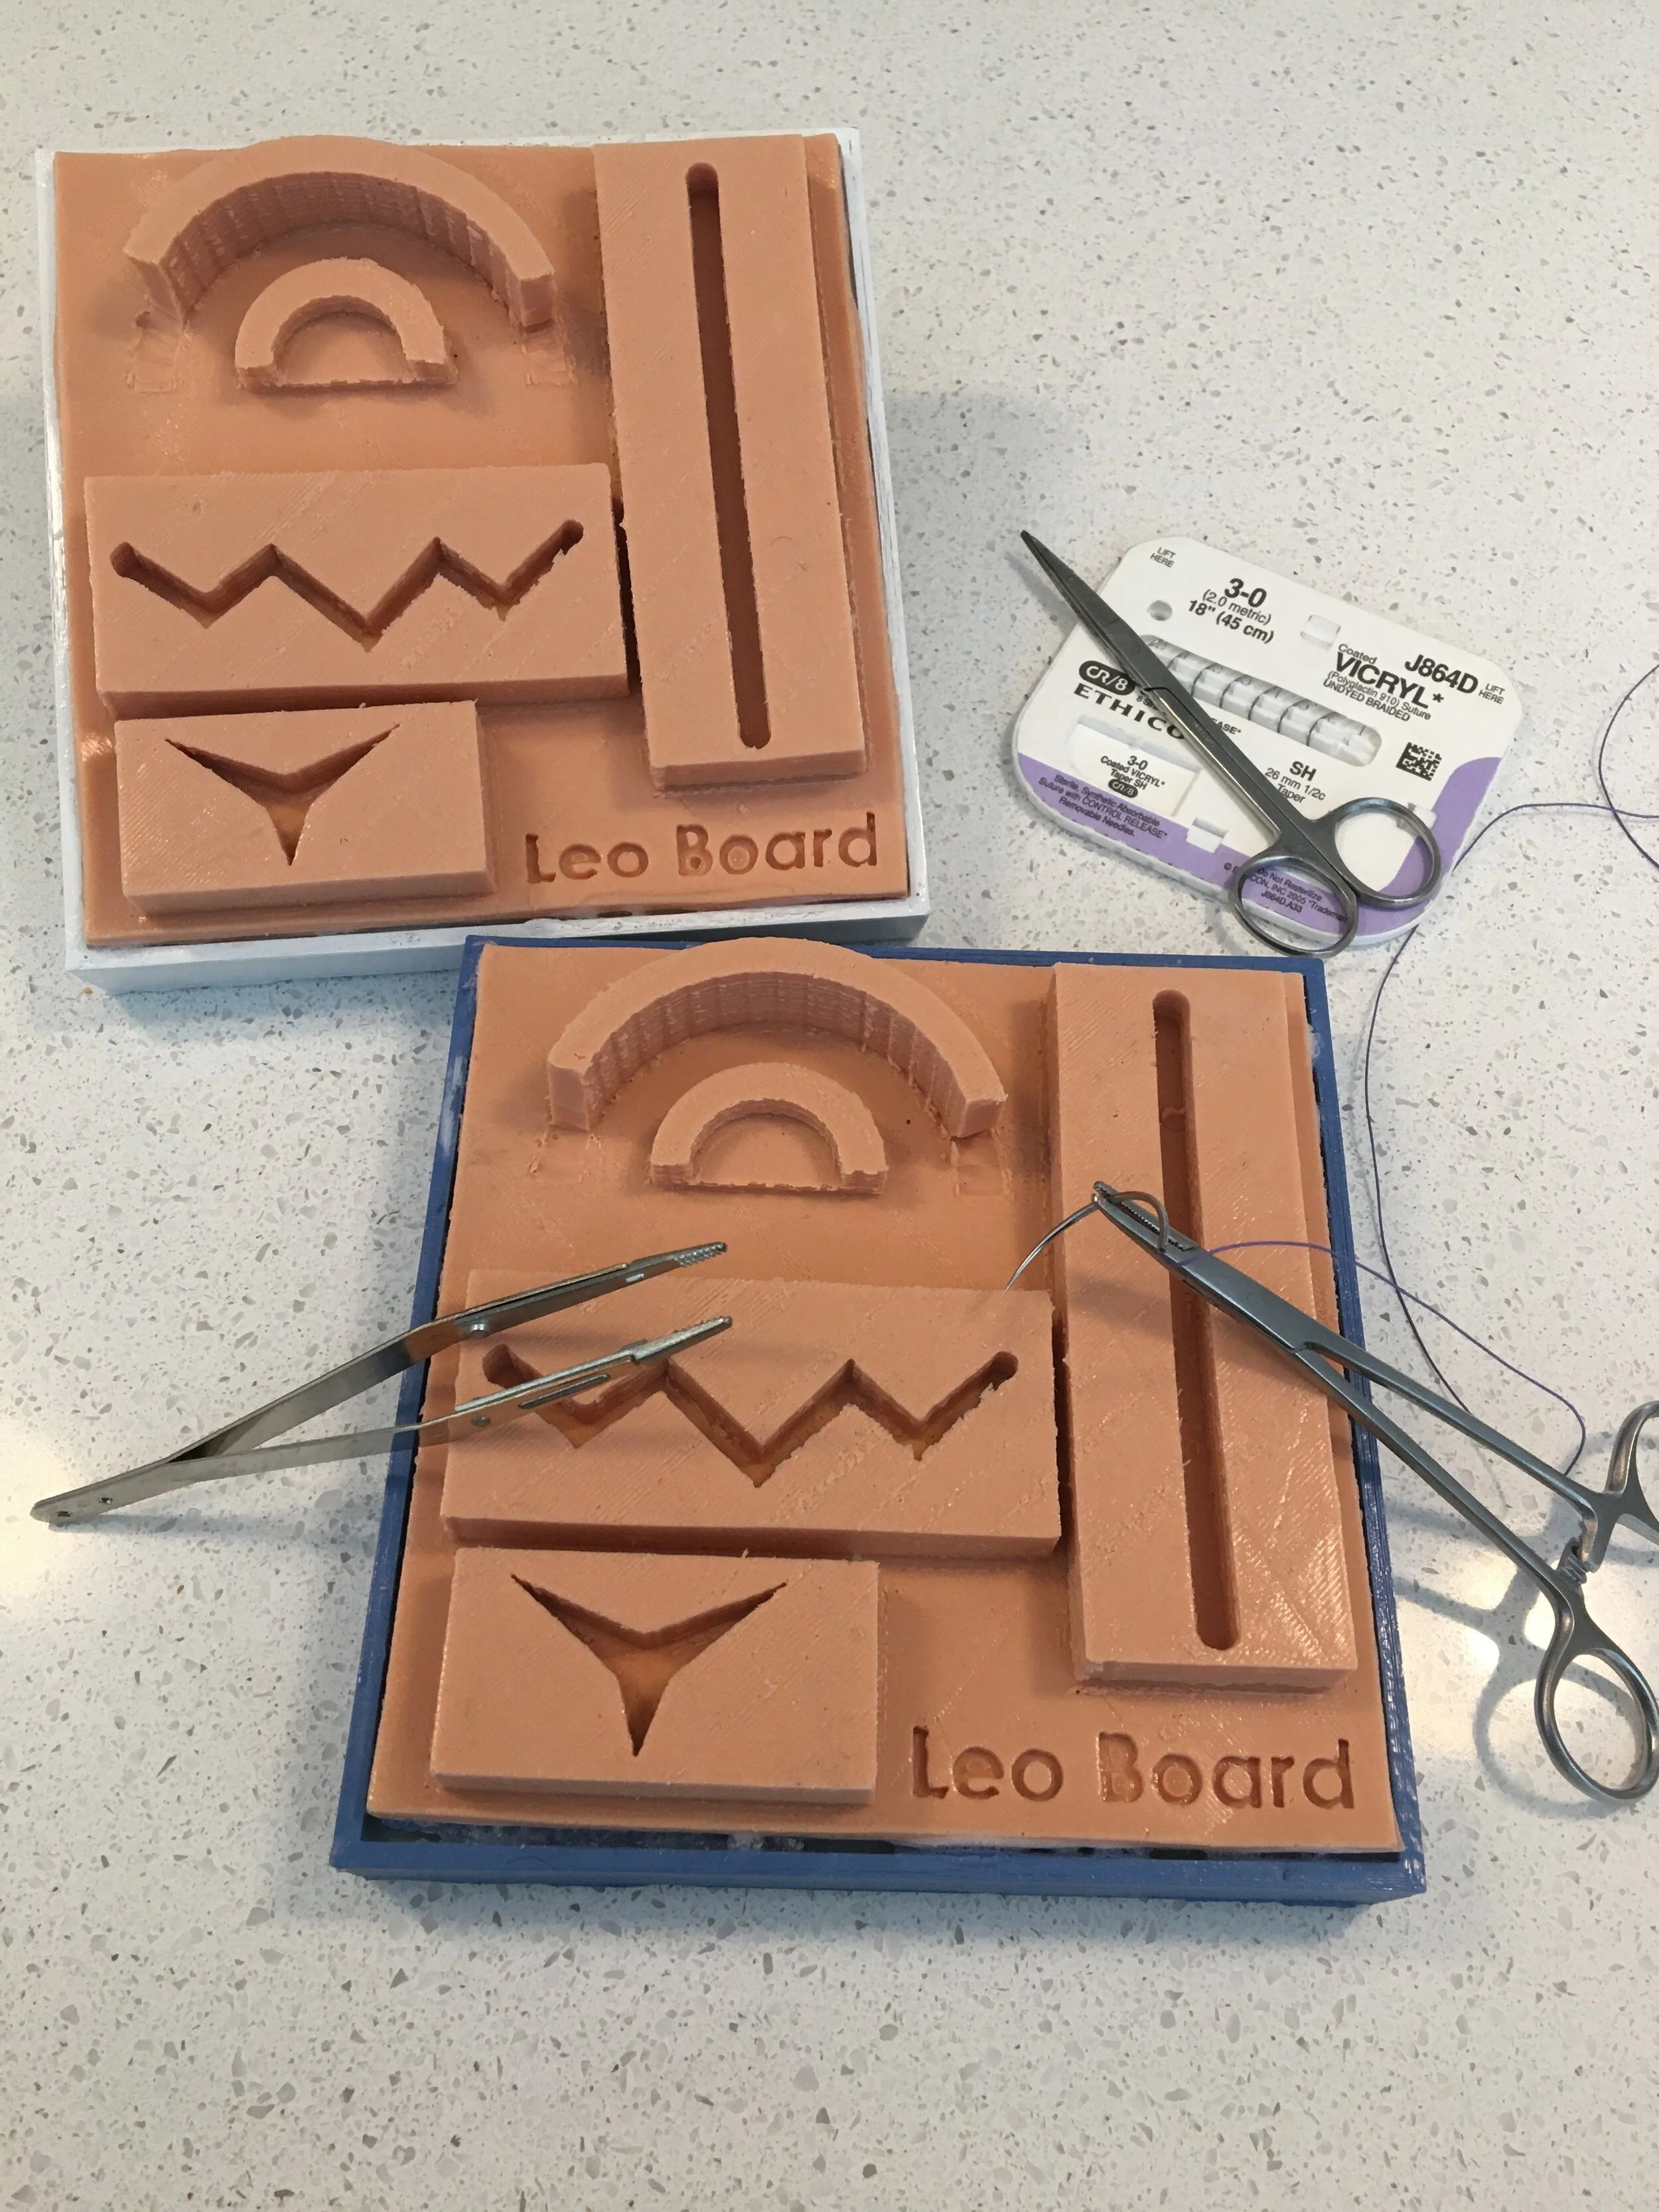
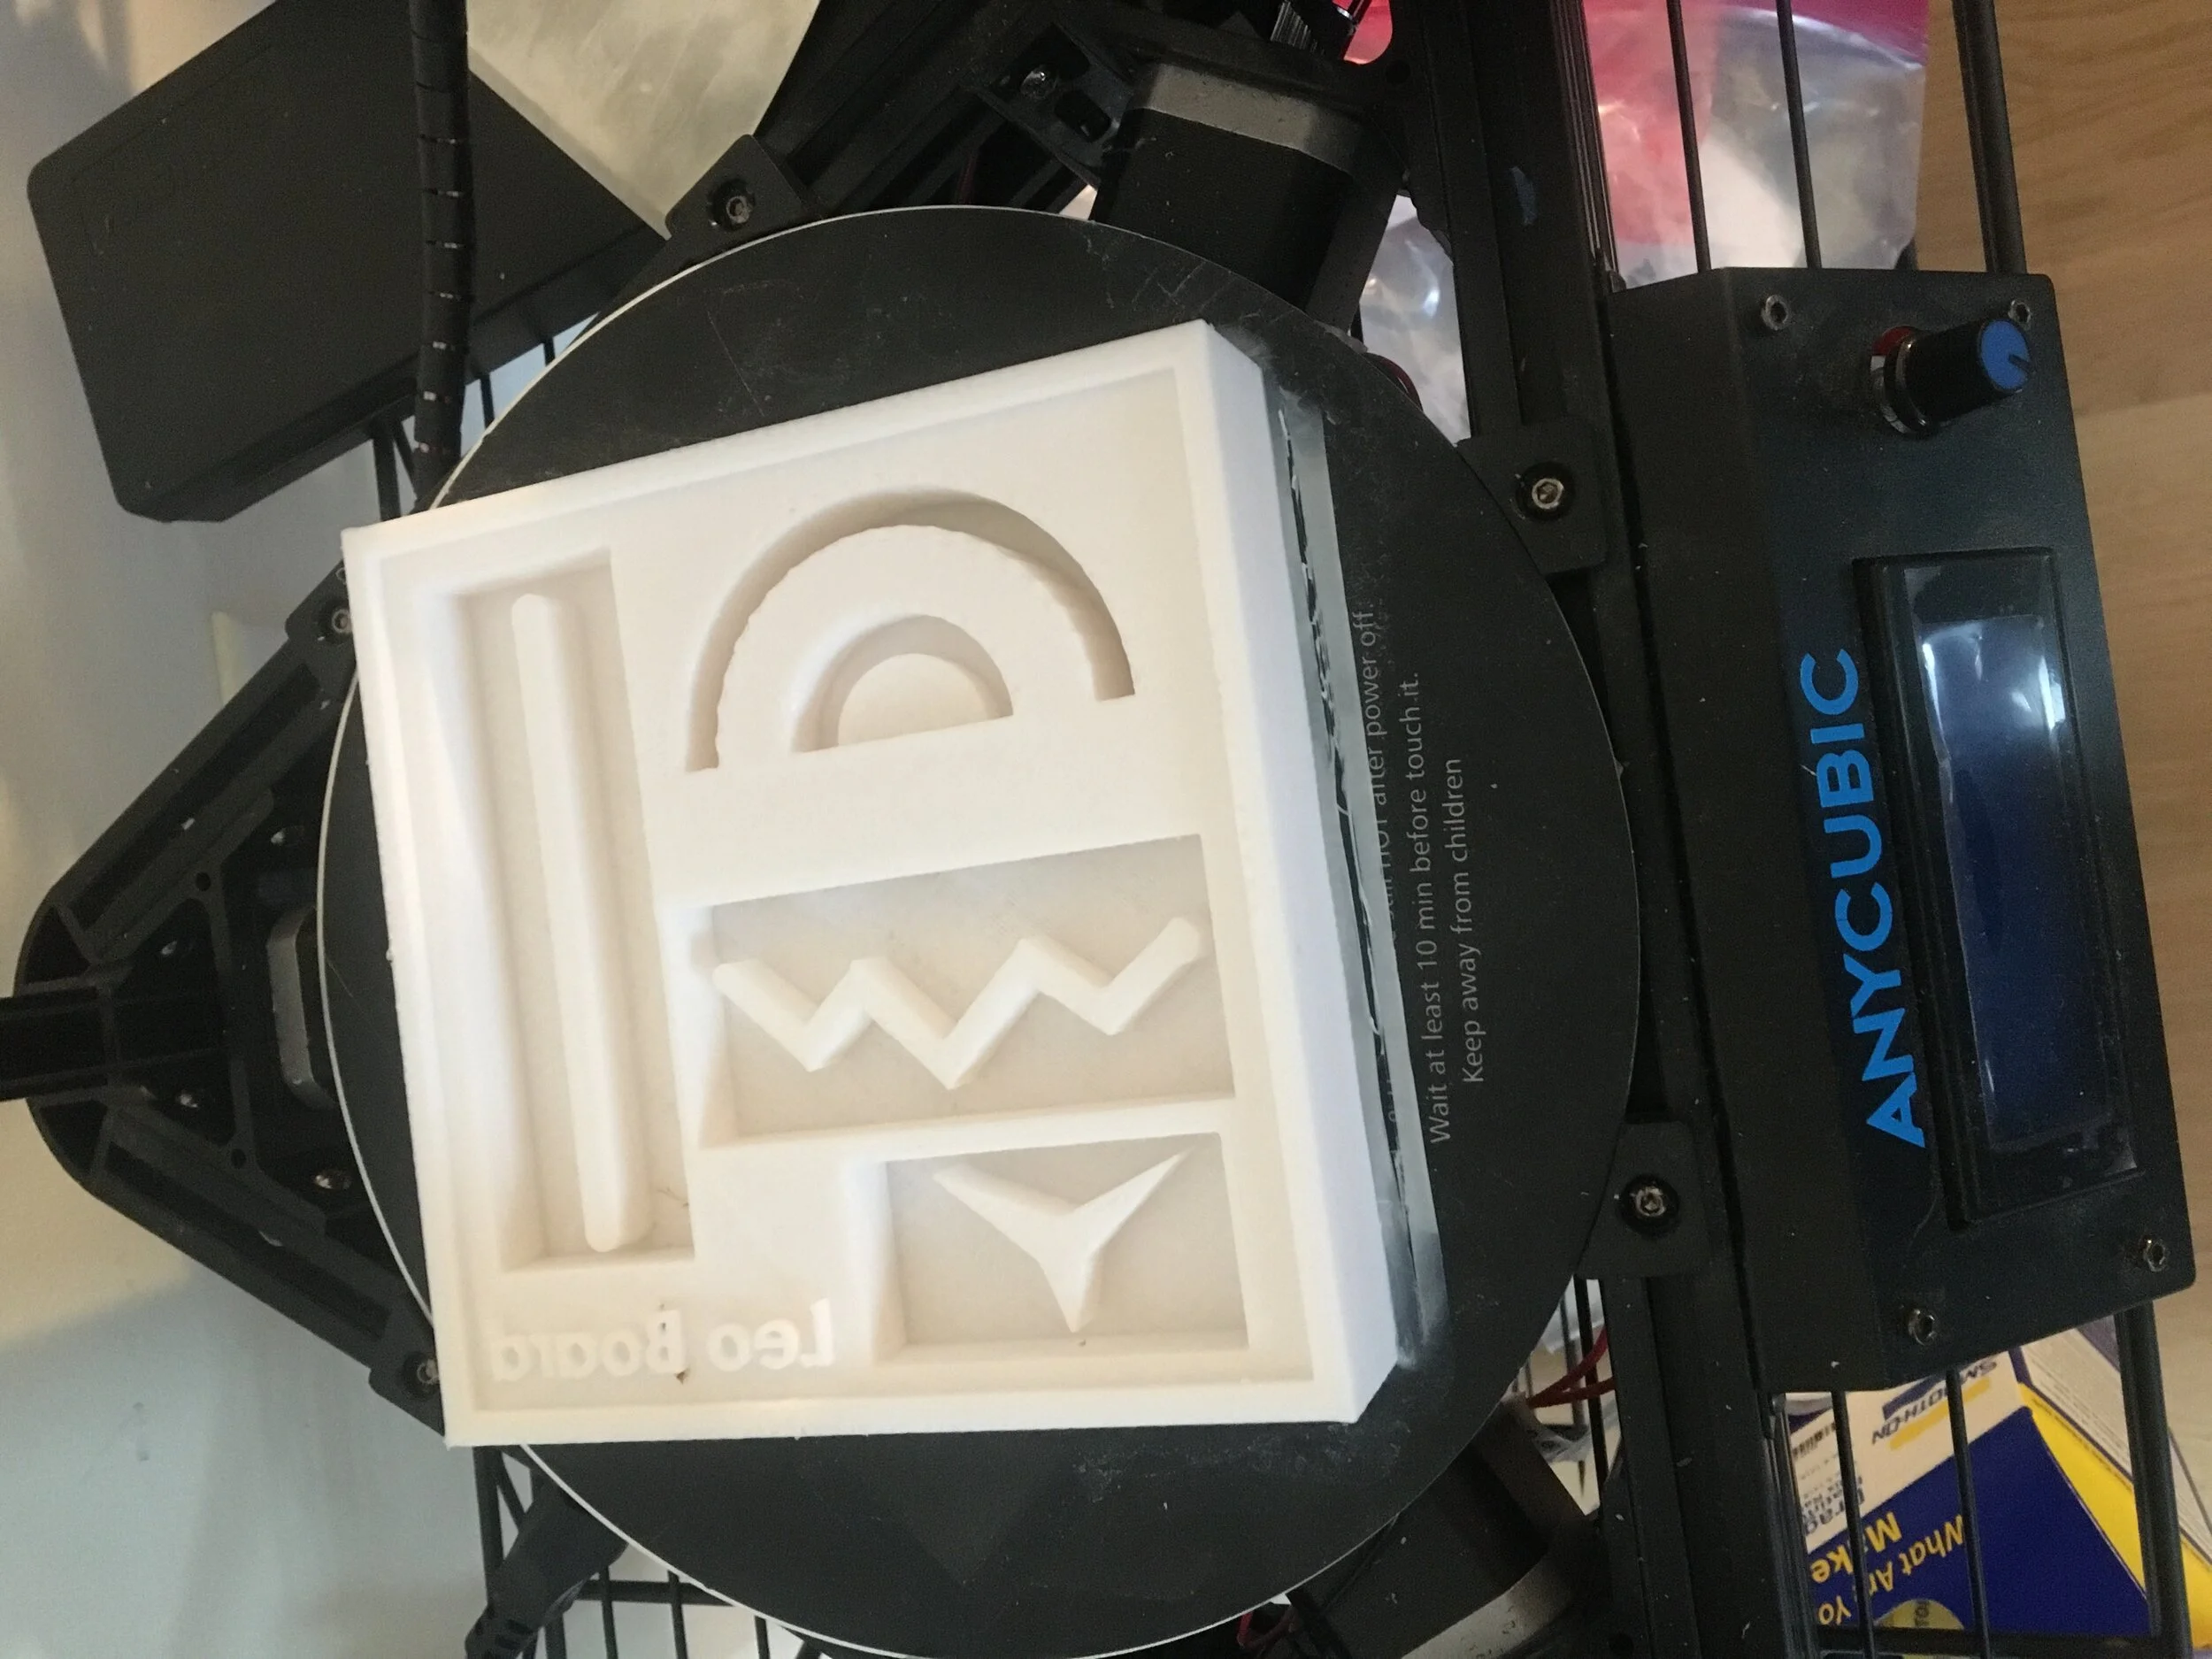
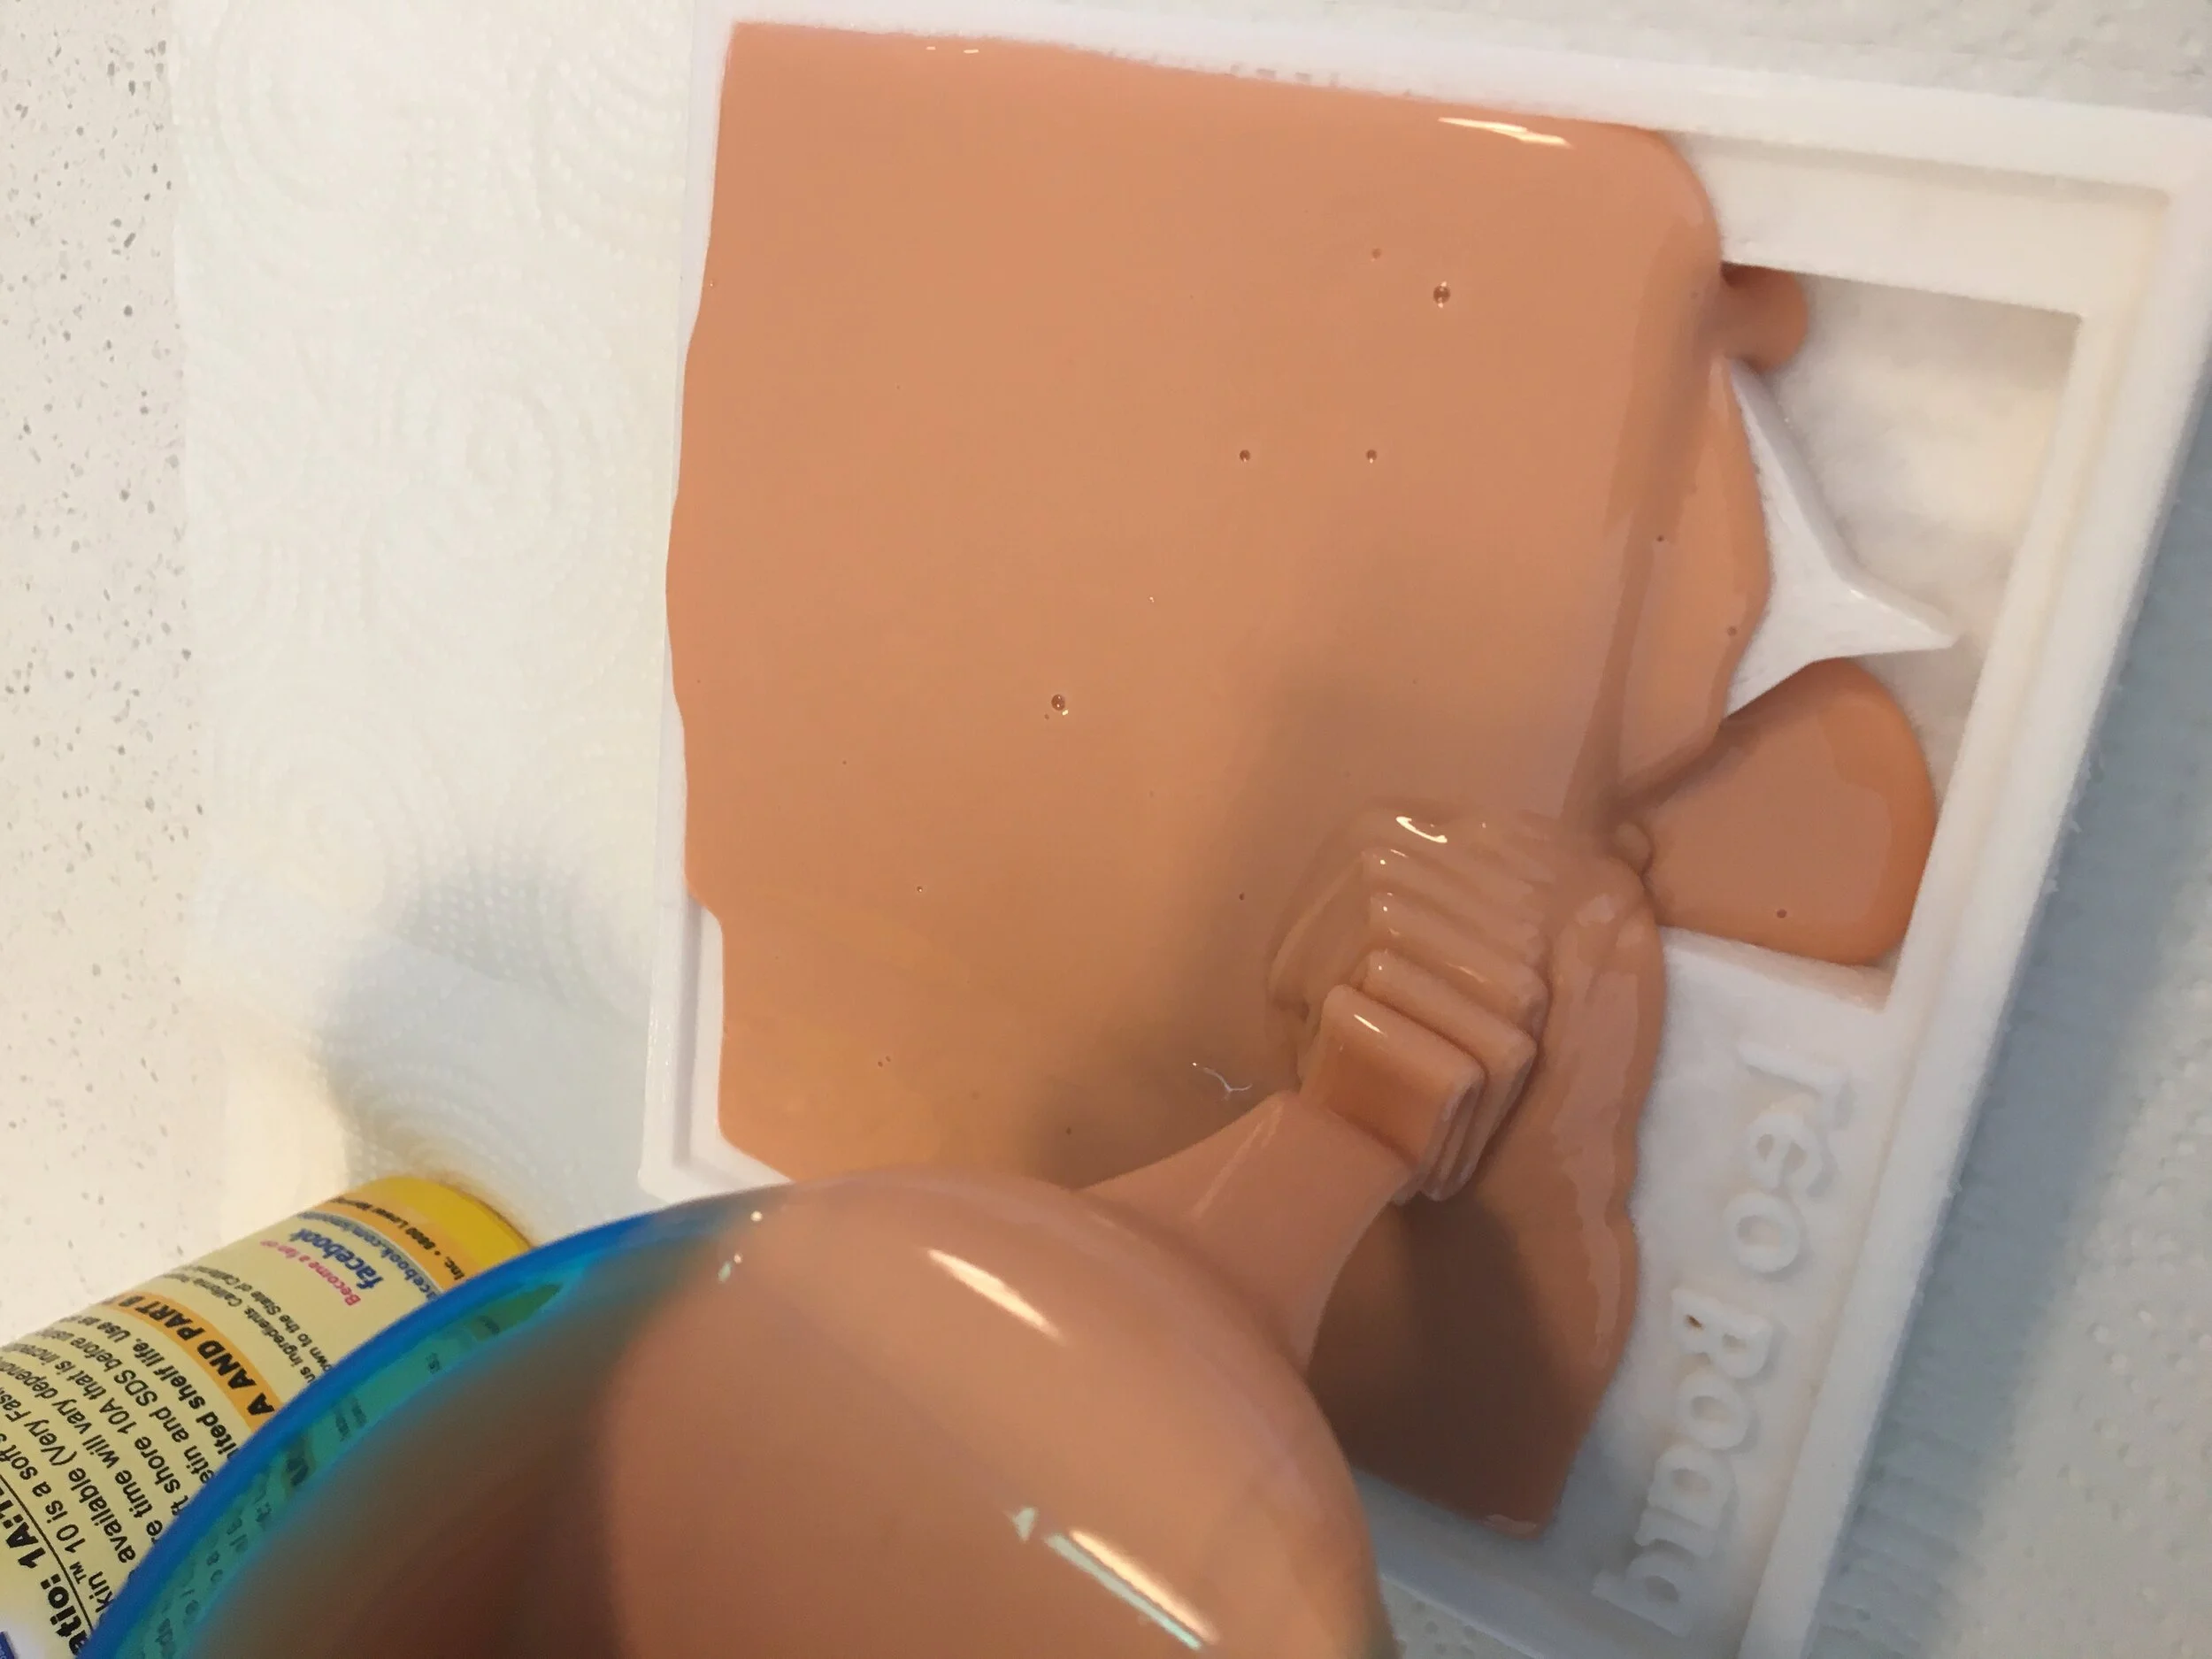
Image 5: Liquid silicone
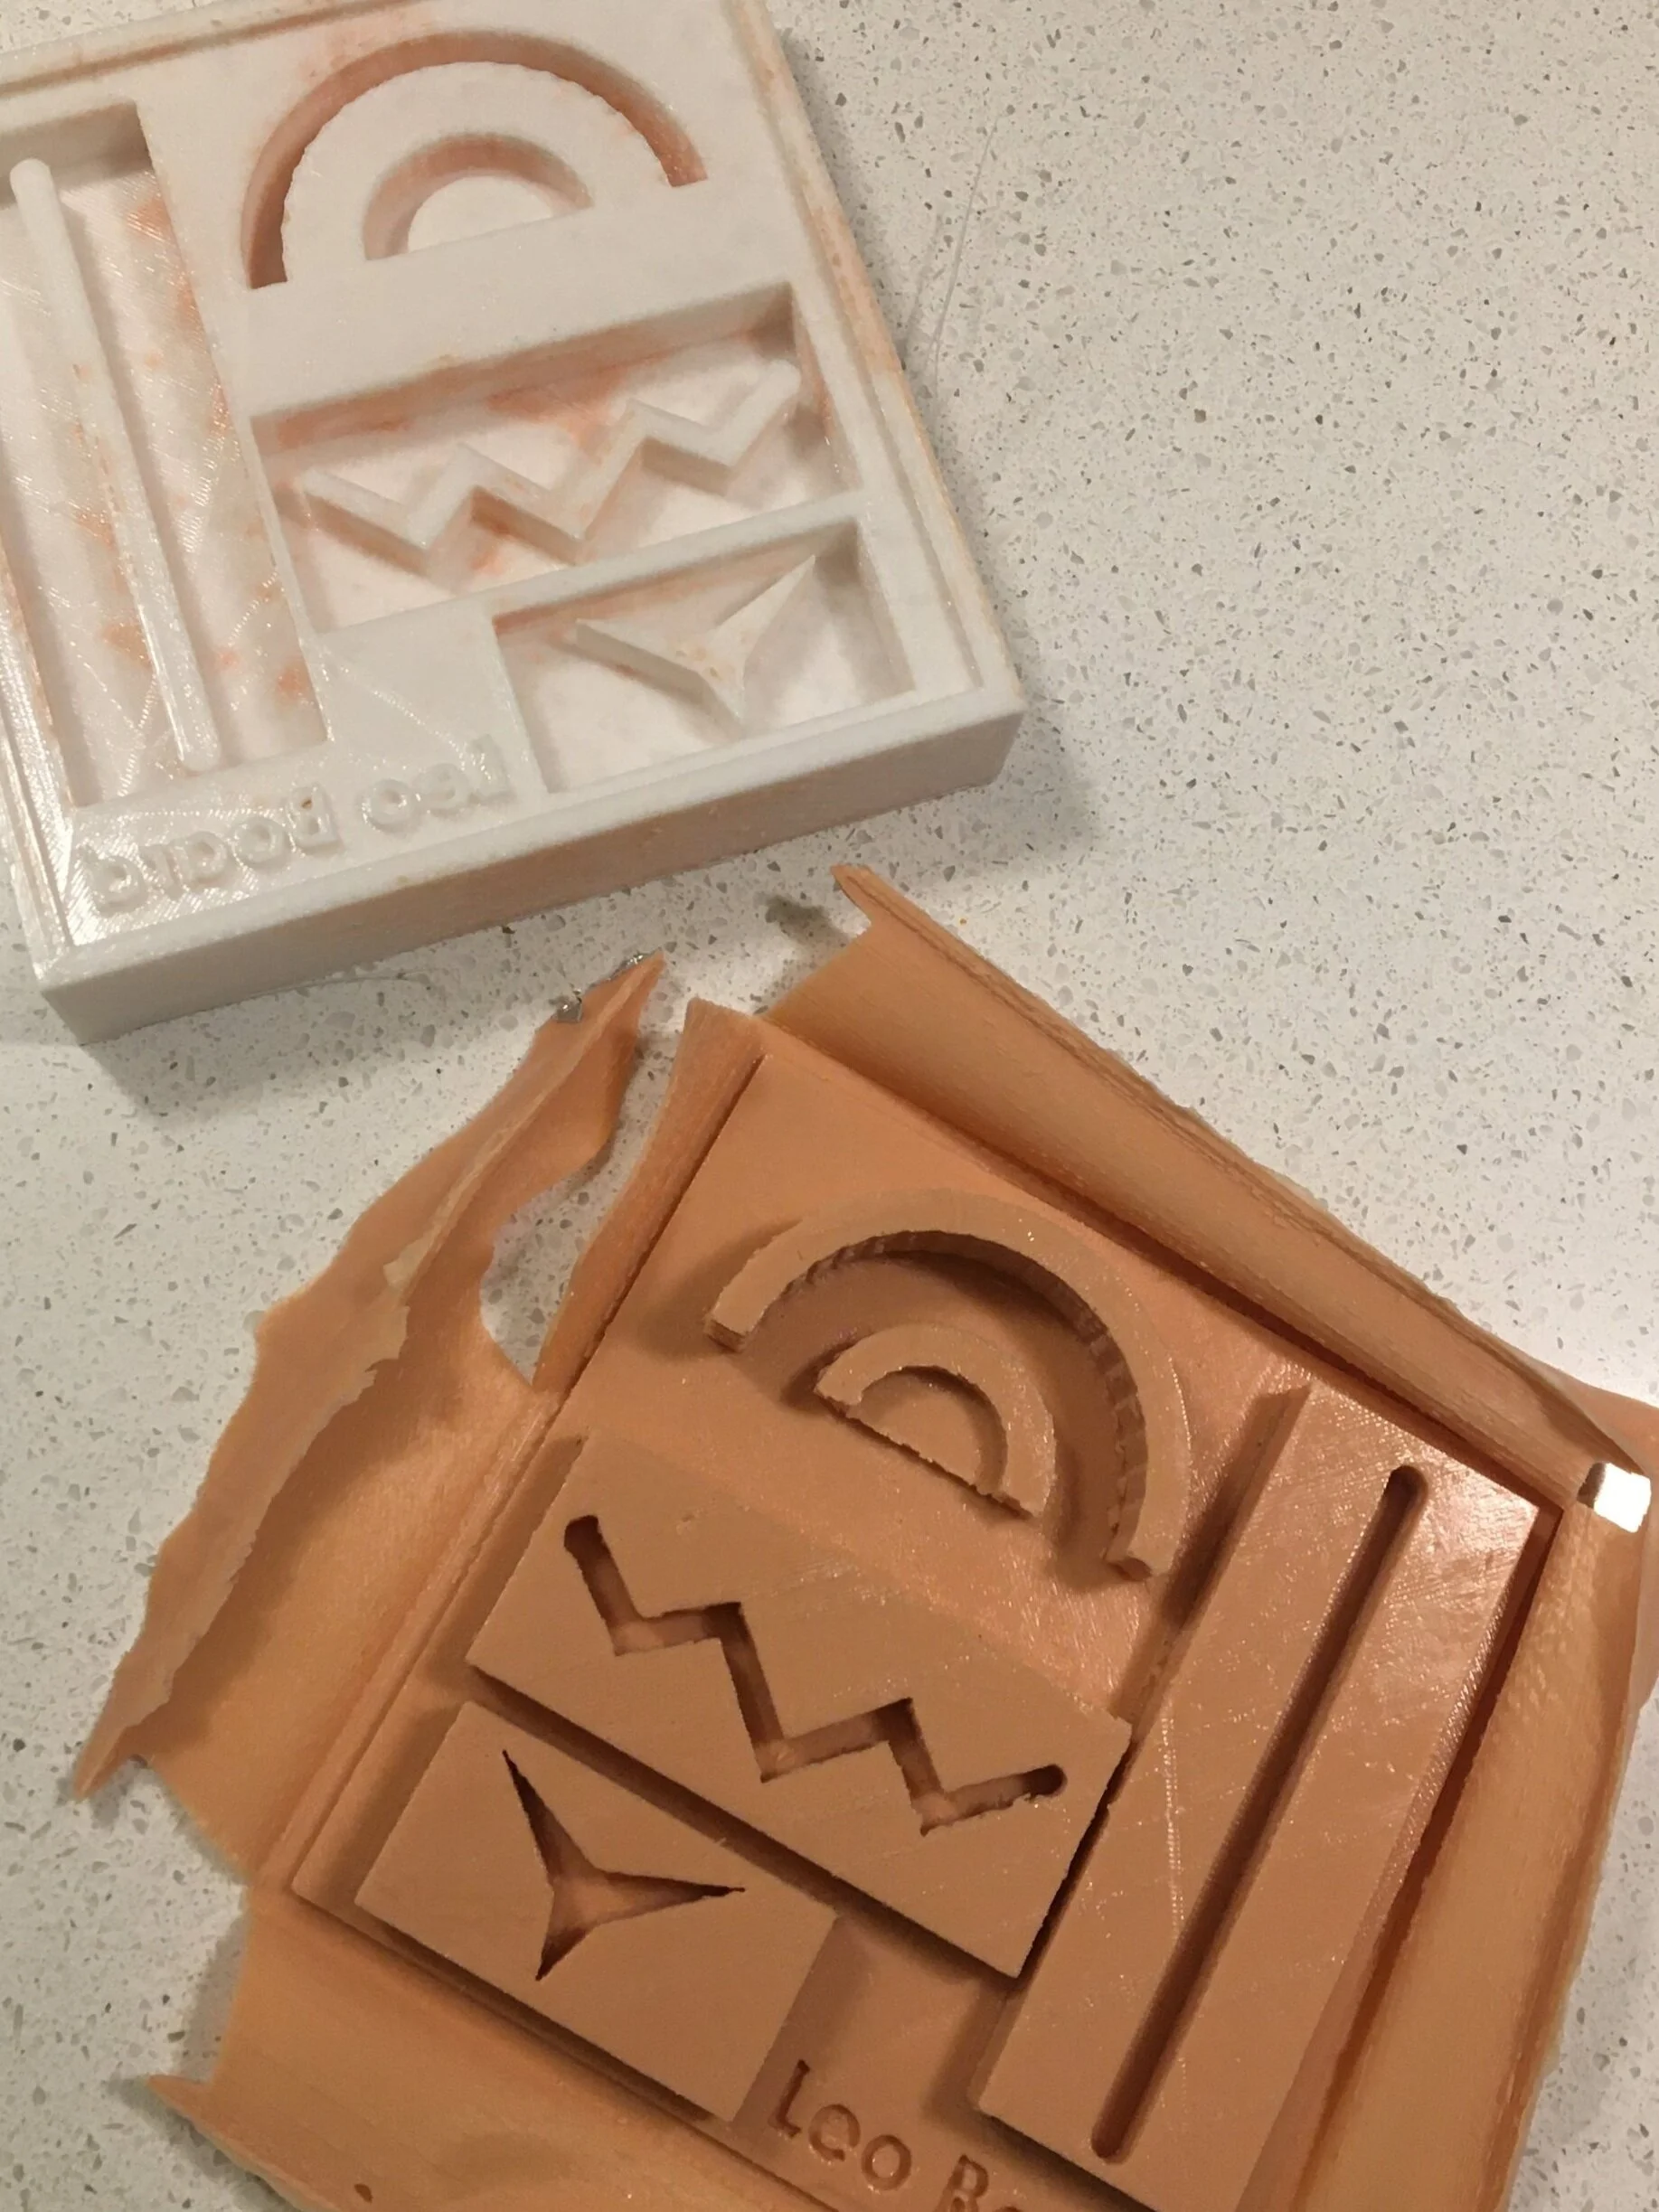
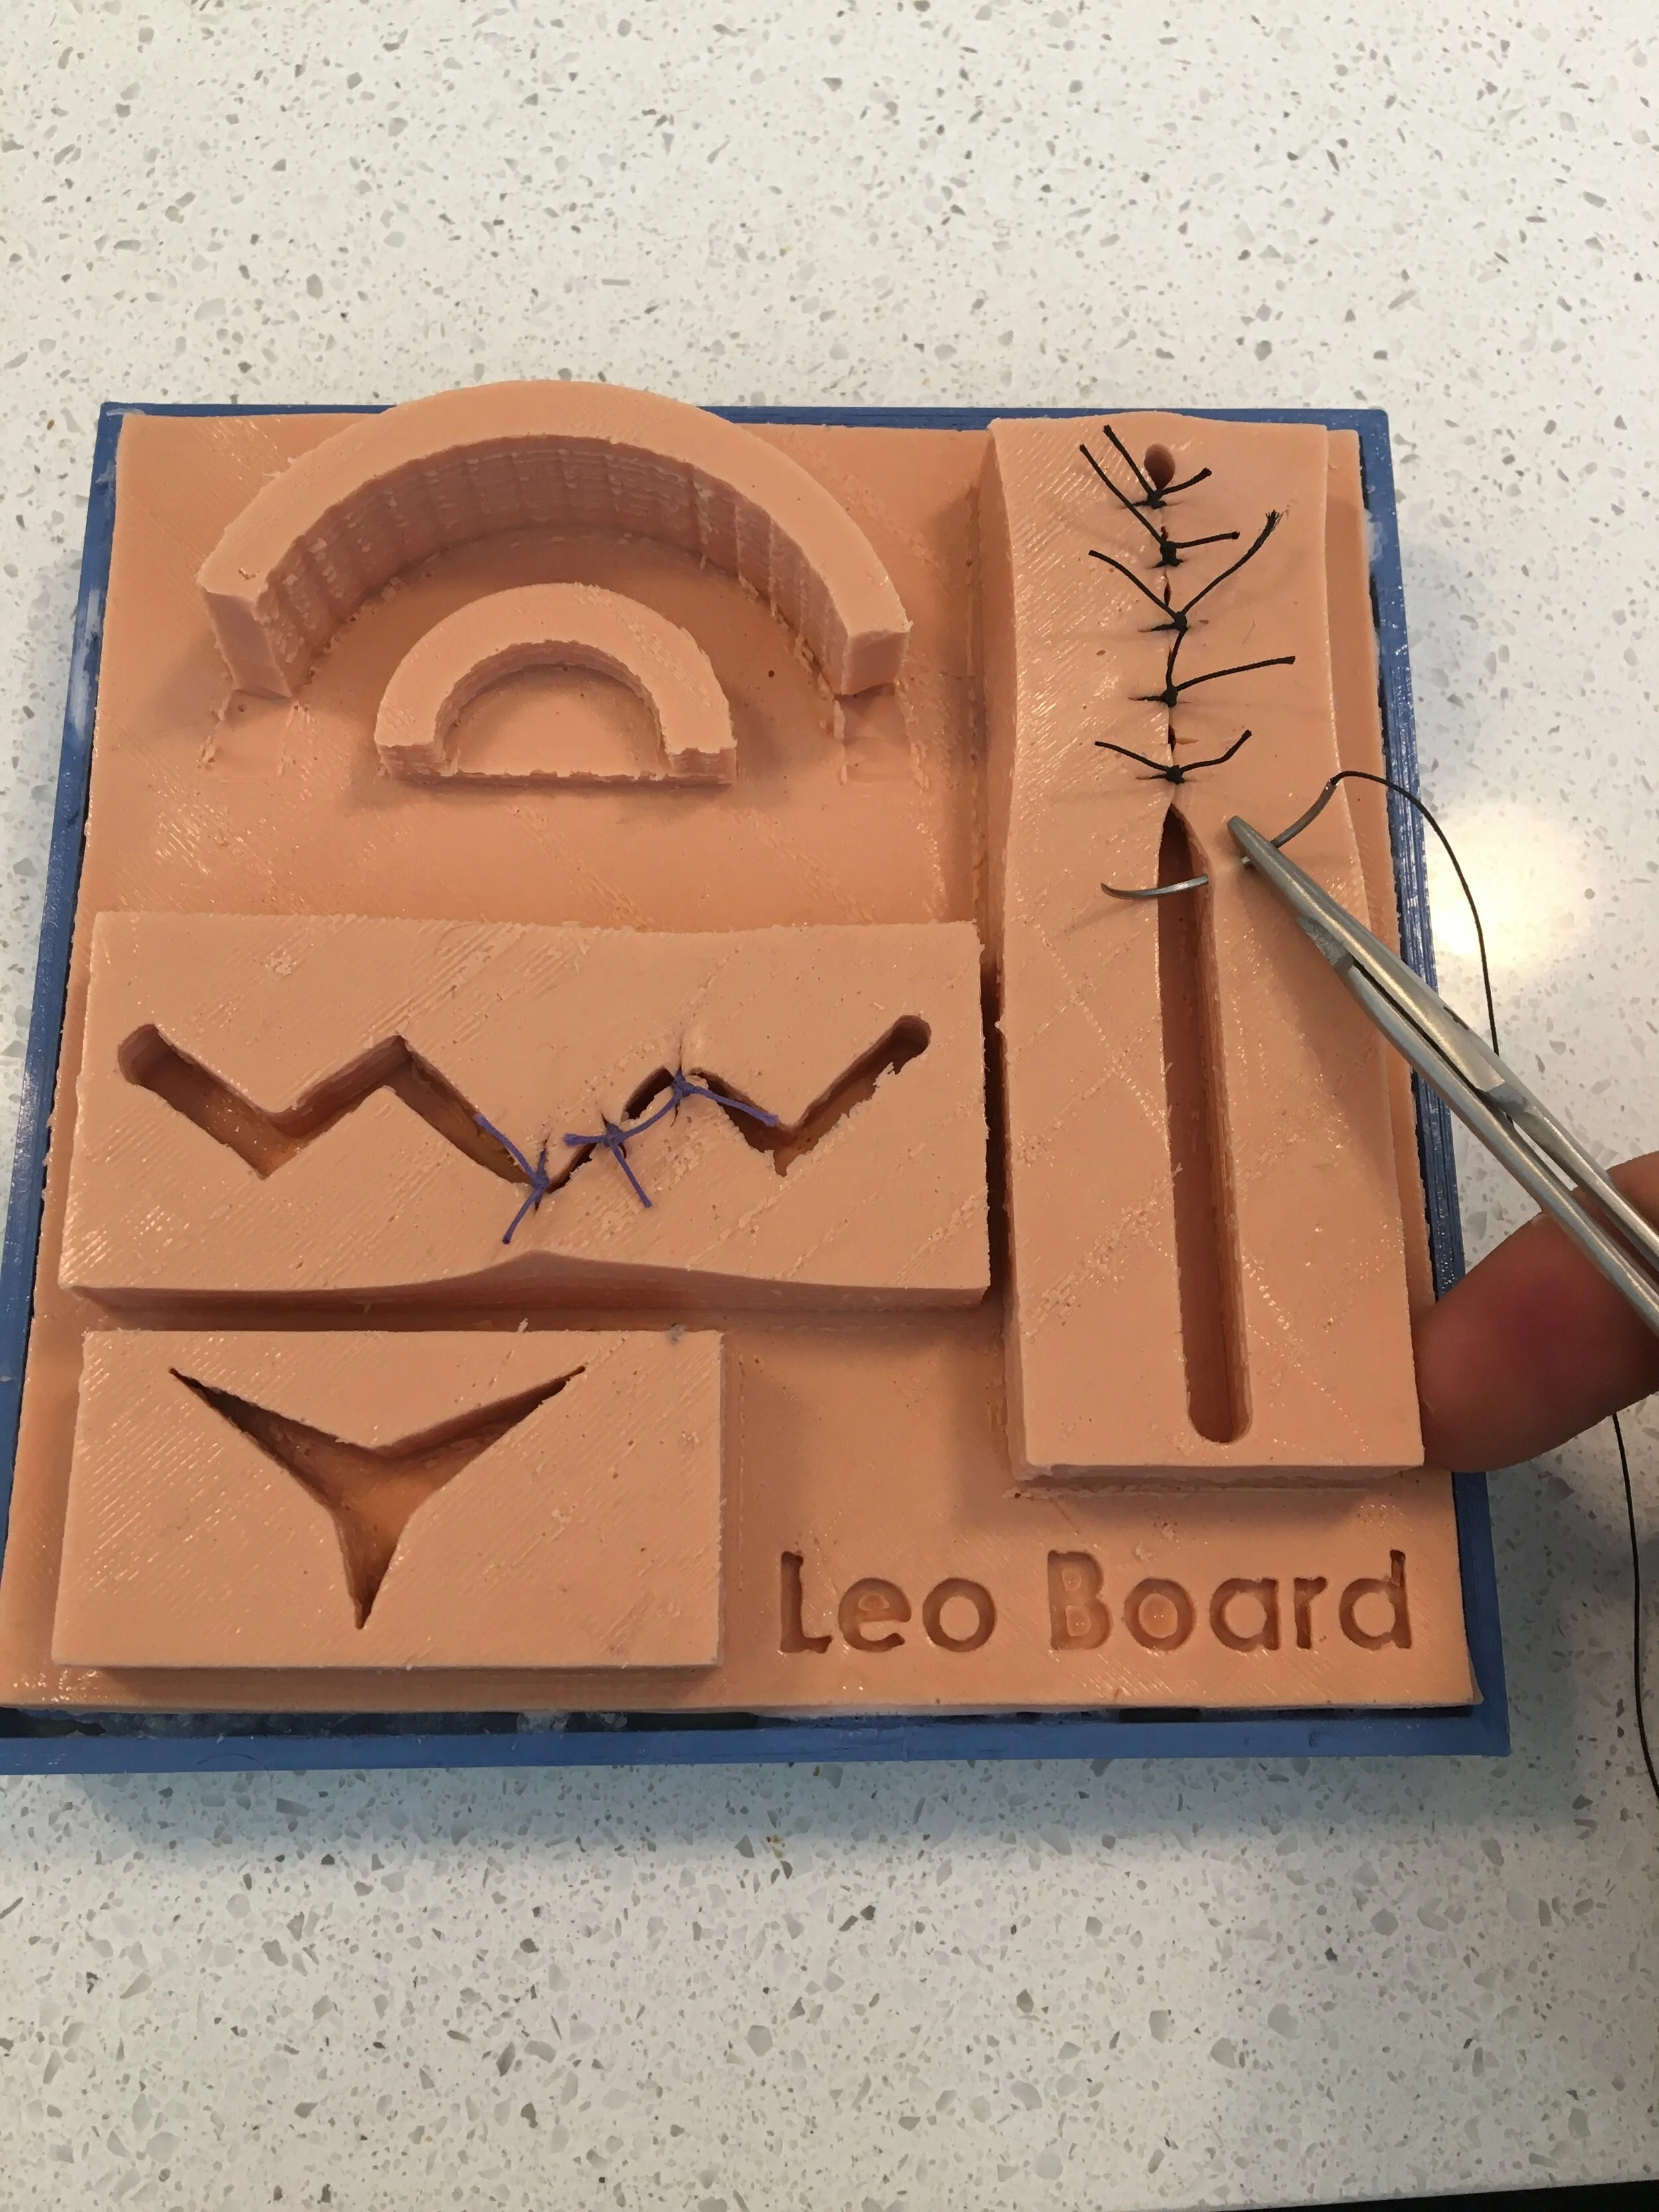
Image 6: Clockwise - Straight, Star, and Sawtooth lacerations.
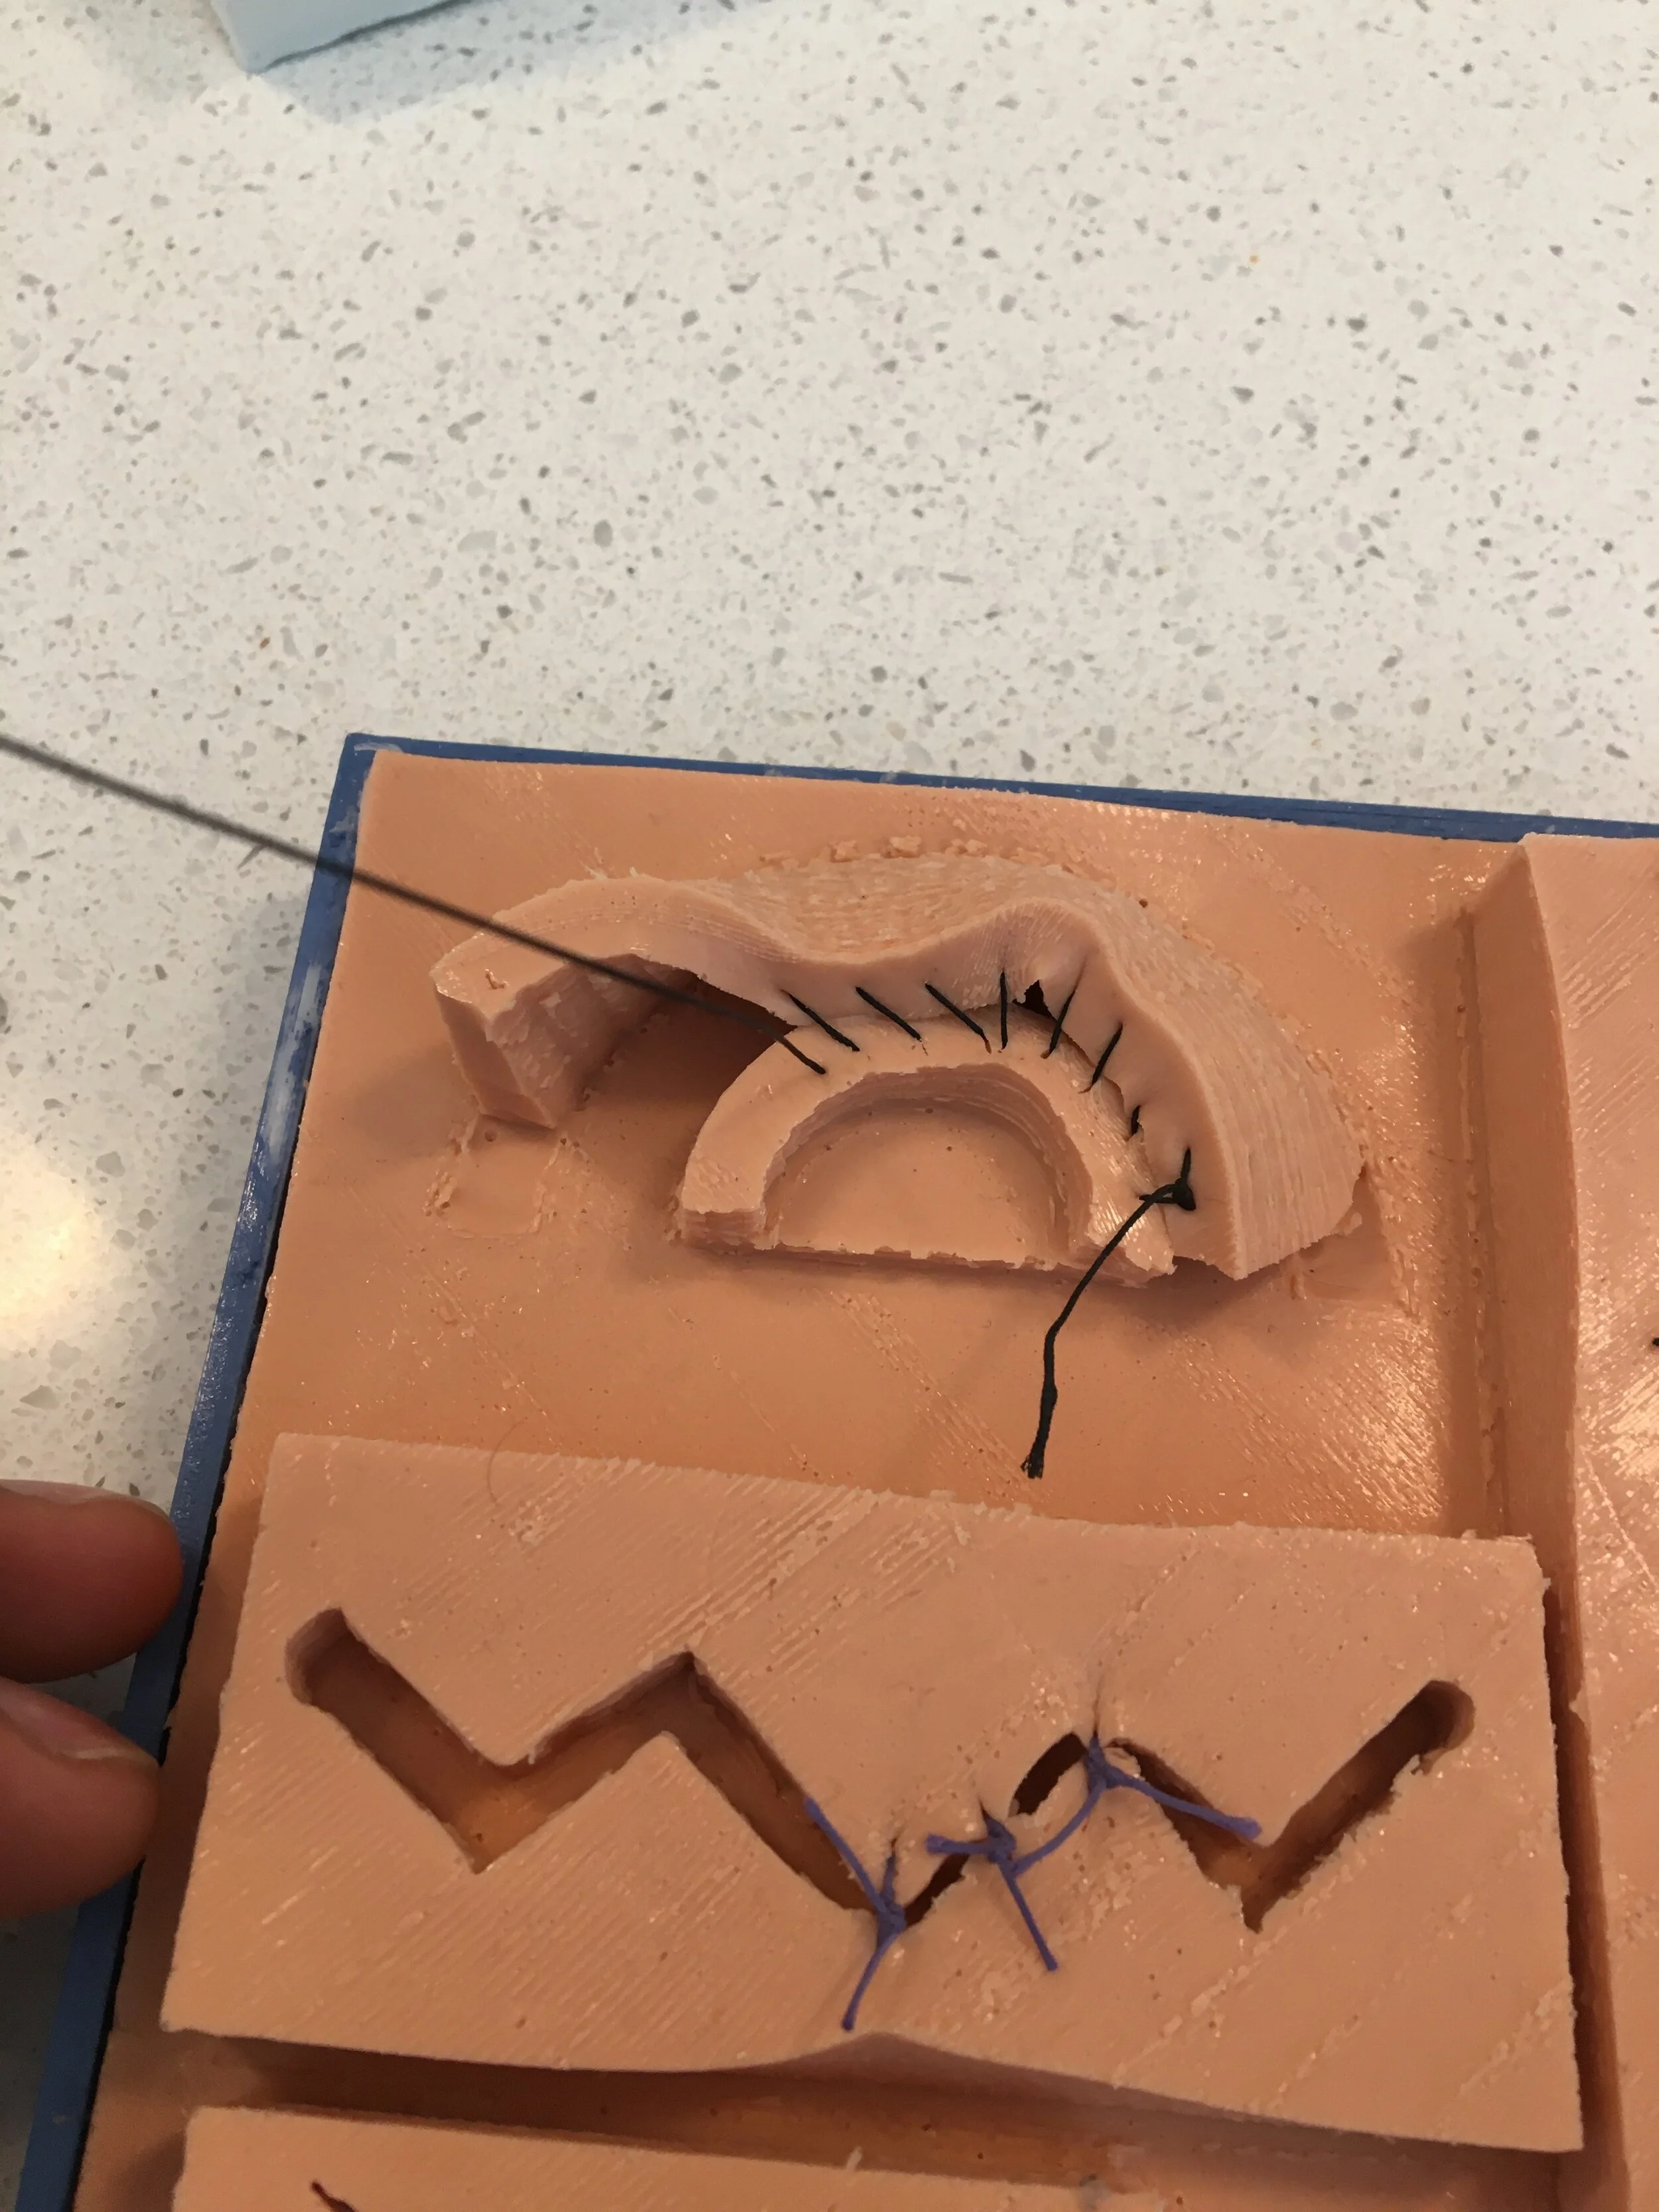
Image 7: Anastomosis practice