
Materials:
1.) PLA for the 3D printed cylinder
2.) GoPro Pole Mount
3.) Bicycle handle grip x 1
4.) Elastic string (If you have an old backpack or something you can use one from there!)
5.) Glue, Power drill with drill bit, Calipers
3D Printed GoPro Selfie Stick
Who doesn’t love an exciting adventure and capturing it on camera?!
This is a detailed guide to creating your own camera stick using minimal materials.
Background:
About 2 days before a ski trip, I thought it would be pretty awesome to have a stick mount for my GoPro. However, it was the weekend so ordering one would not be possible prior to my departure. I noticed I had a bicycle grip and thought I could just make one using the pole mount I already had. While I love the pole mount it just isn’t the wisest idea to go flying down a mountain waving a 3+ft pole around with a sharp end. I designed this, printed the stick, and assembled it in a day and half. Very simple project yet very useful!
Hope you enjoy! Here we go!
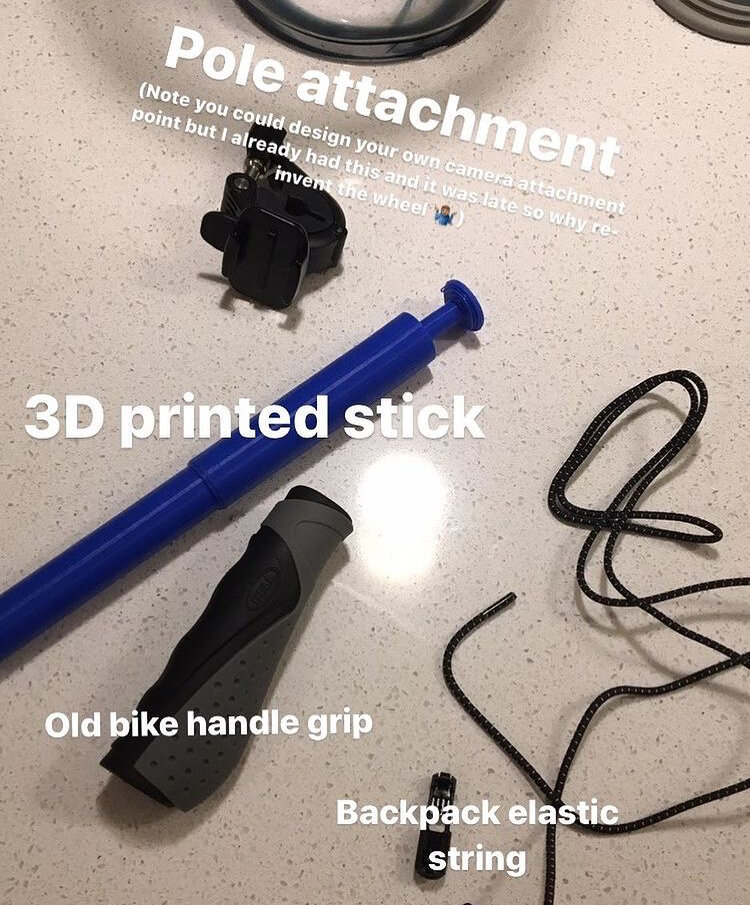
Figure 1: Materials
Methods:
Step 1: 3D printed Cylinder - You will be making a 4 tiered cylinder.
1) Begin by using your calipers to measure the inner and outer diameter of your bicycle grip. The inner diameter will be the diameter of Tier 1. The outer diameter will be the diameter of Tier 2 and Tier 4.
2) Tier 3 diameter is not specific but make it enough to provide adequate strength since this is the portion that the camera mount locks on to.
3) See the schematic below:
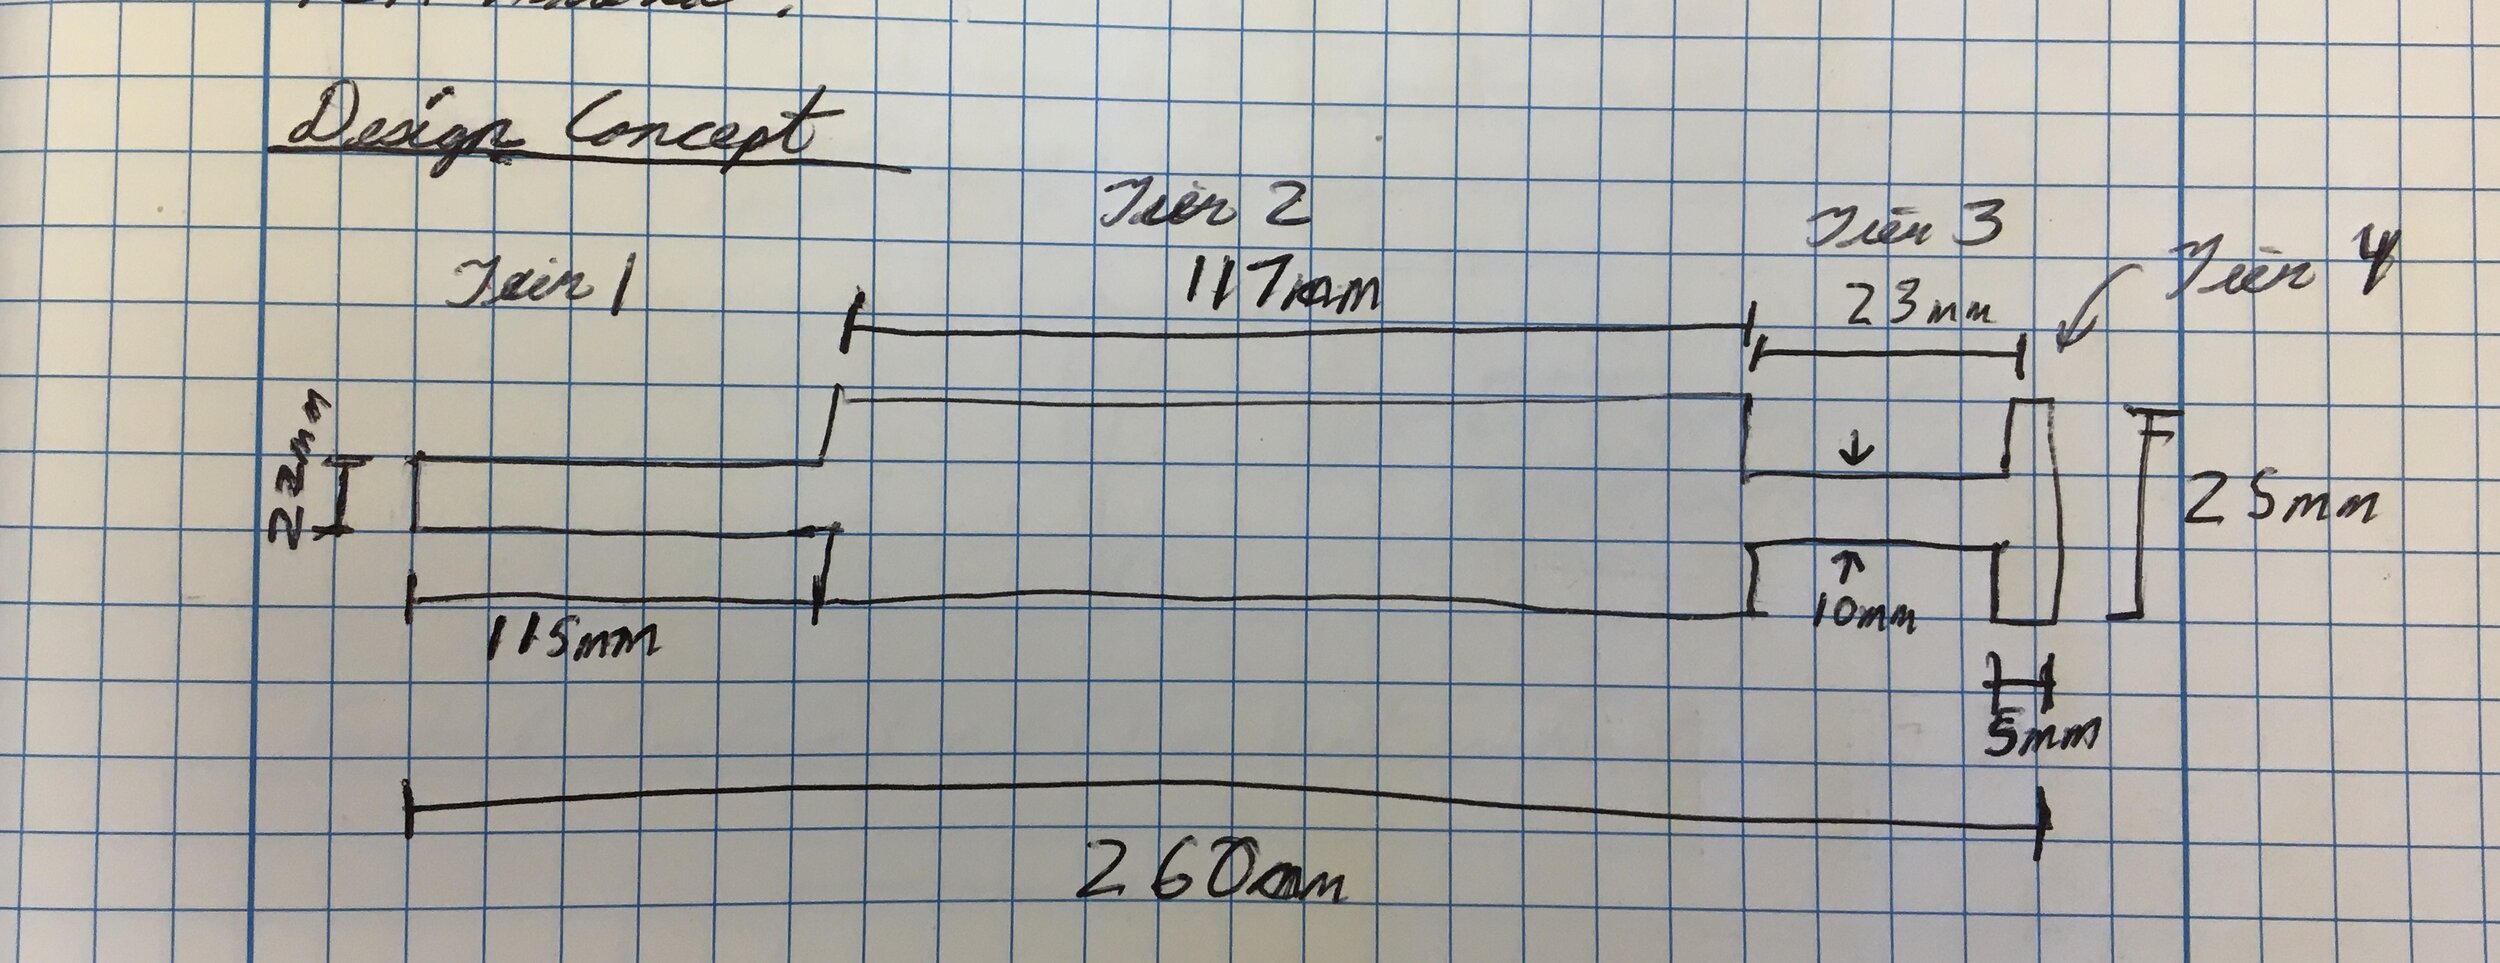
Figure 2: Schematic drawing of the measurements I used for my 3D printed stick mount. Tier 1 - diameter and length corresponds to the inner diameter and length of the bicycle grip. Tier 2 - diameter corresponds to the outer diameter of the bicycle grip. I arbitrarily chose the length to make the pole fit in my backpack. Tier 3 - diameter not as important but needs to be wide enough for strength. I chose 10mm and it is very strong. Tier 4 - diameter corresponds to the outside diameter of the bicycle grip (ie Tier 2).
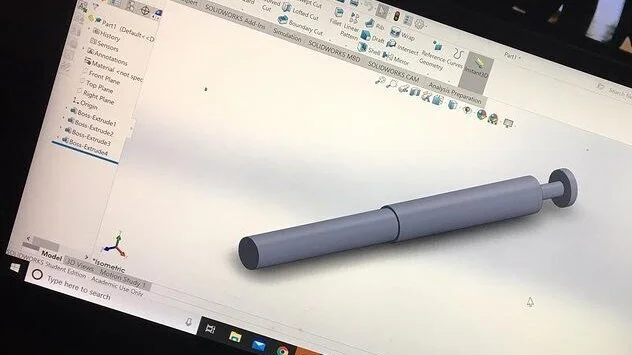
Figure 3: CAD model done in SolidWorks
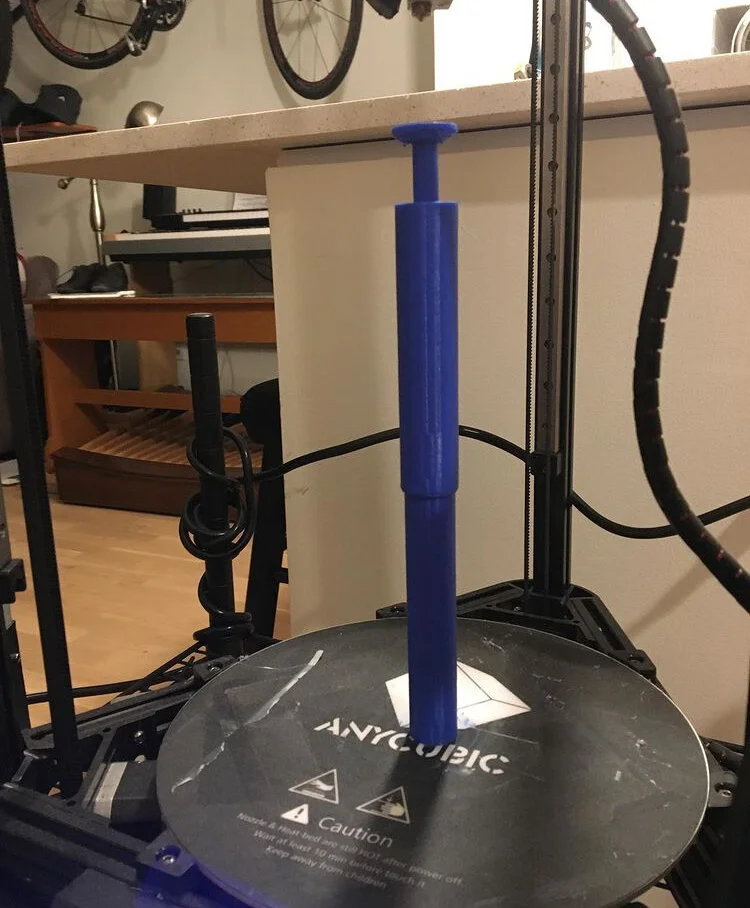
Figure 4: Completed 3D printed stick
Step 2: Assemble Grip Portion
1) Apply a thin line of glue (I like clear Gorilla glue for most of my projects) to Tier 1
2) Slide the grip over the handle. Since your grip is elastic you may have to work it on. We want it to be a snug fit to ensure (1) adequate adhesion of the glue and the grip (2) reduce risk of it flying off the handle.
3) Once secured let the glue set for about an hour
4) Next you will use your power drill and drill bit to drill a hole about 1 cm from the base of Tier 1. Through this hole you will pass the the elastic string. See Figure 5.
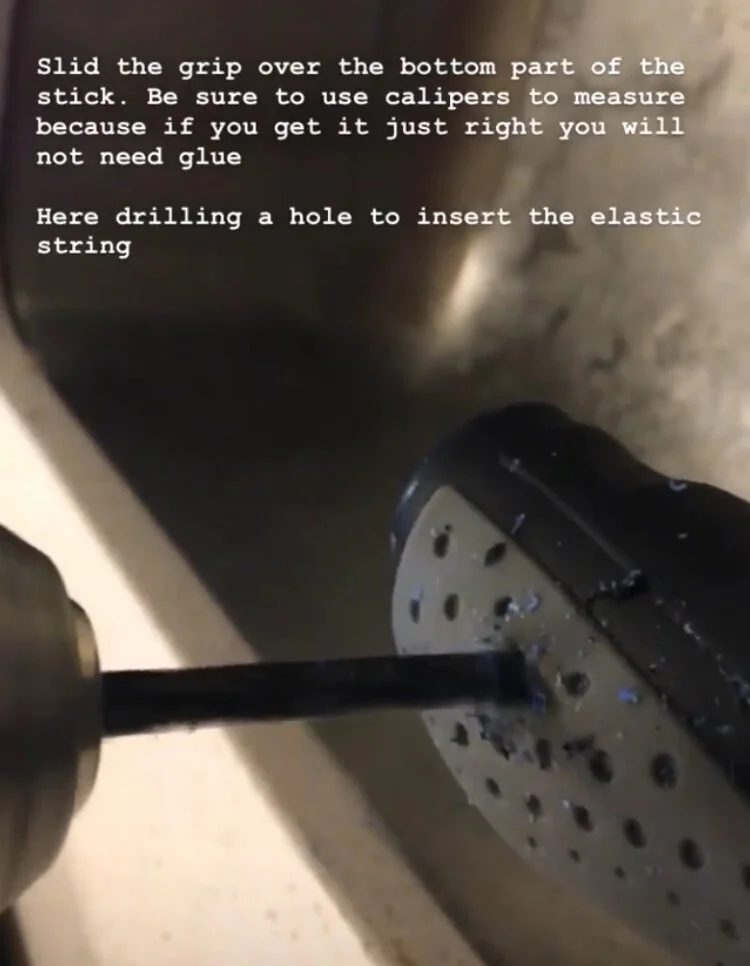
Figure 5: A small hole just wide enough to pass the elastic string through is made through the grip and the 3D printed stick.
5) Adjust the length of the elastic cord so that you can comfortably pass your hand through it and hold the grip portion. Here I used an adjustable slider to make sure it stays snug on my wrist while “adventuring”. Then make sure to either tie the tails or use a locking clamp.
6. Attach the GoPro Pole mount to Tier 3
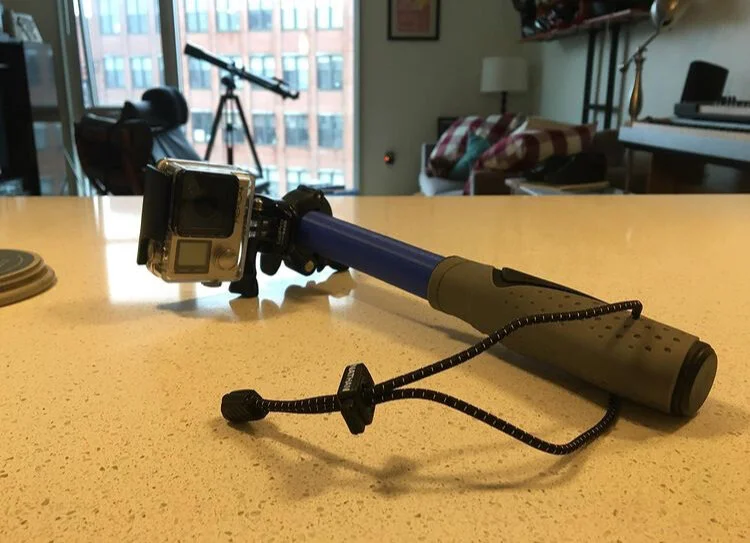
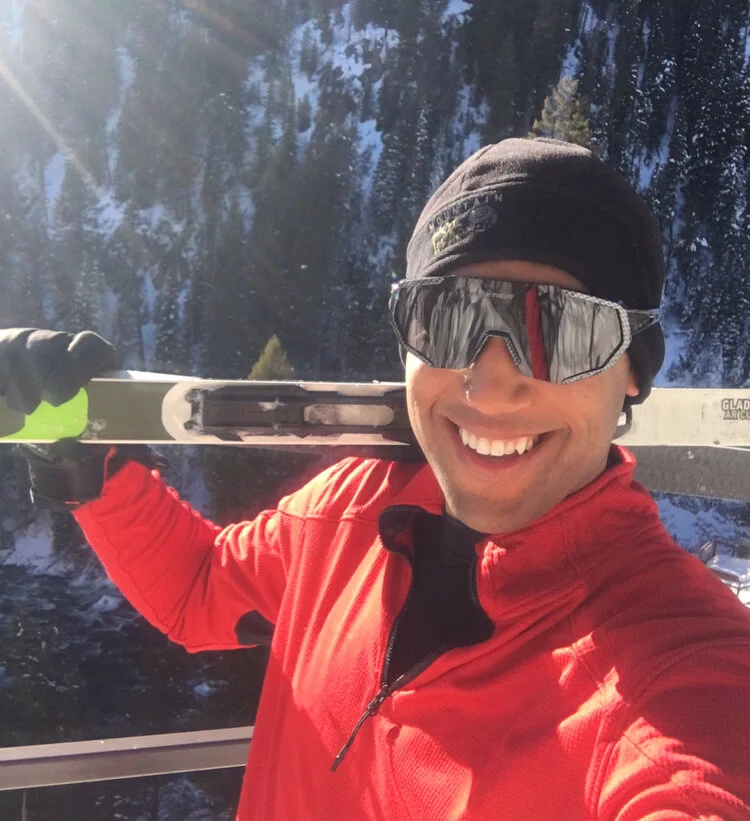
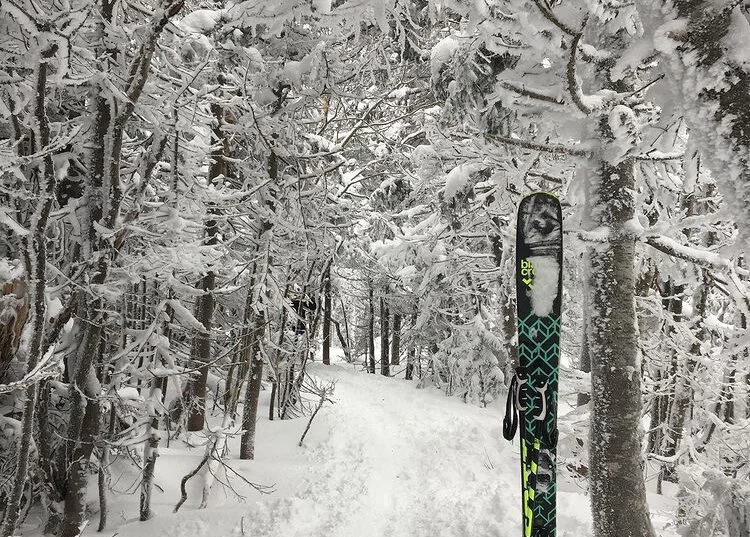
Step 3: Attach your camera and GO ADVENTURE :)

Project completion date: 3/29/20